Azure Virtual Machine Backup Step by Step
This step by step guide will give you instructions on implementing Azure Virtual Machine backup using Azure backup policies. This is complete guide explains creating Azure recovery services vault and backup policies to enable an Azure virtual machine backup schedule as defined in the policy.
We are going to go over the following steps to implement backup on the Azure virtual machine.
The Azure Document home page can be accessed here.
- Create Azure Recovery Services Vault
- Create and Configure Azure Backup policy
- Enable backup on the Windows Virtual machine running on Azure
Create Azure Recovery Vault
Login to Azure Portal and follow the instruction below to create a recovery vault for the Azure Virtual Machine Backup with Azure backup policies.
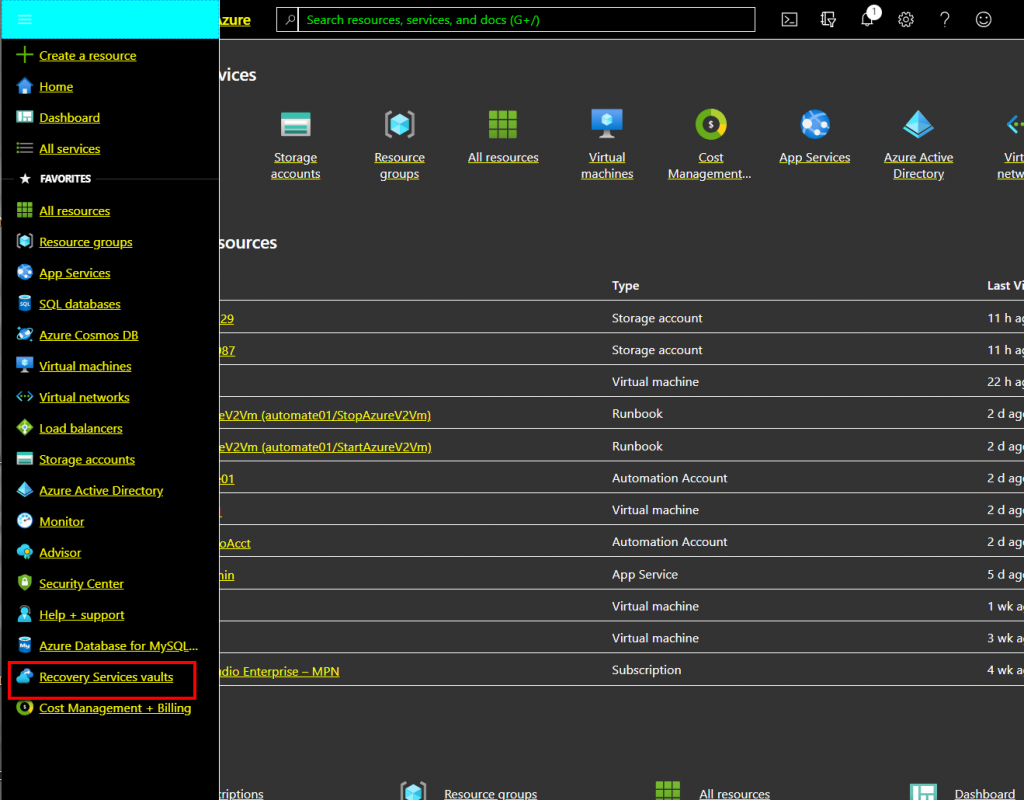
Click on the menu icon on the top and select Recovery Services Vault in order to create a new vault on the next screen.
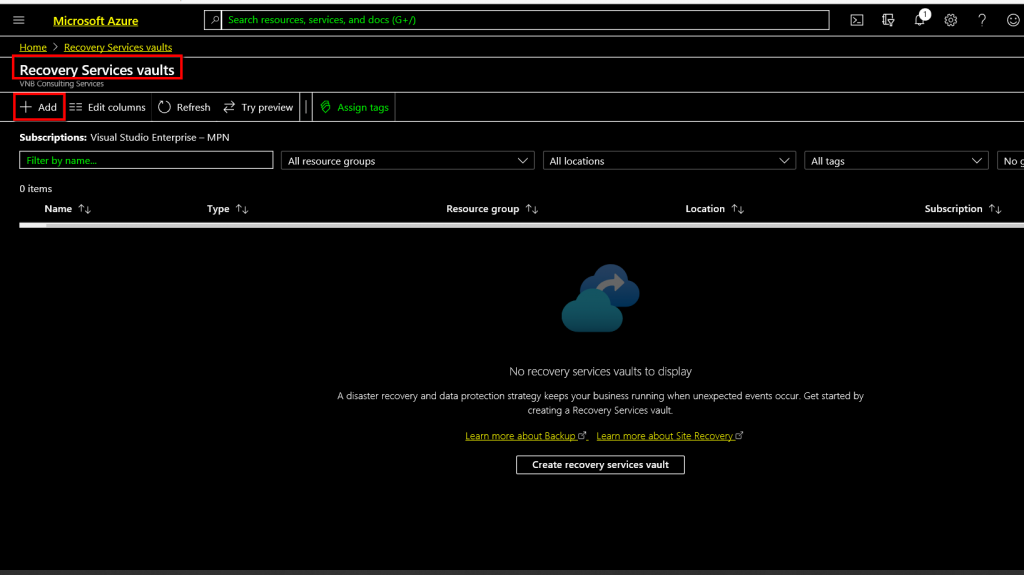
In the Recovery Services vaults, tab Click Add to add a new vault.
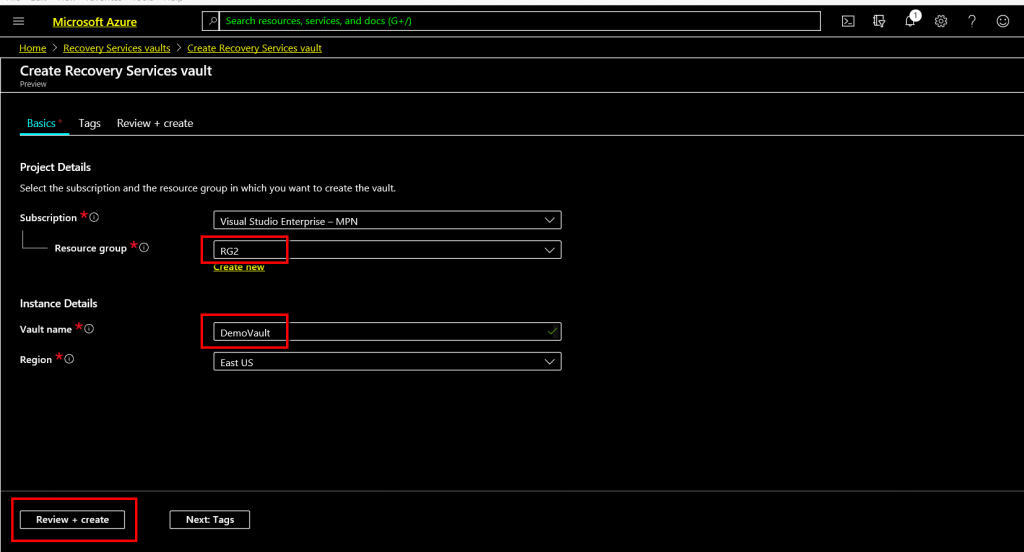
Creating a new recovery services vault is simple, you just need to select the Resource Group where the Virtual machine that you want to backup and type a relevant name to it and the Region column will be filled based on the Resource Group that you have selected.
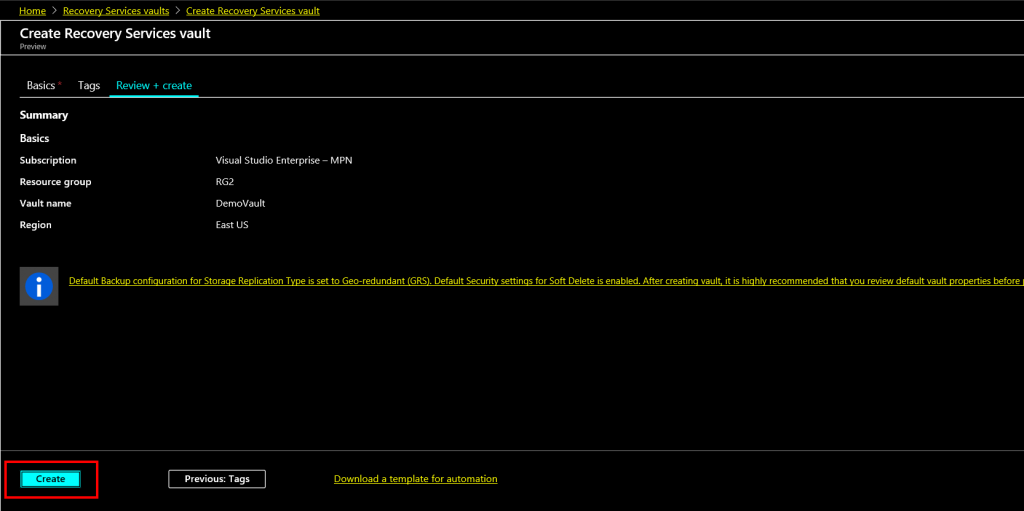
Click Review + Create to create the vault.
A summary with the details that were mentioned in the Basics tab will be displayed for review and review it and go forward and click create if the details are correct.
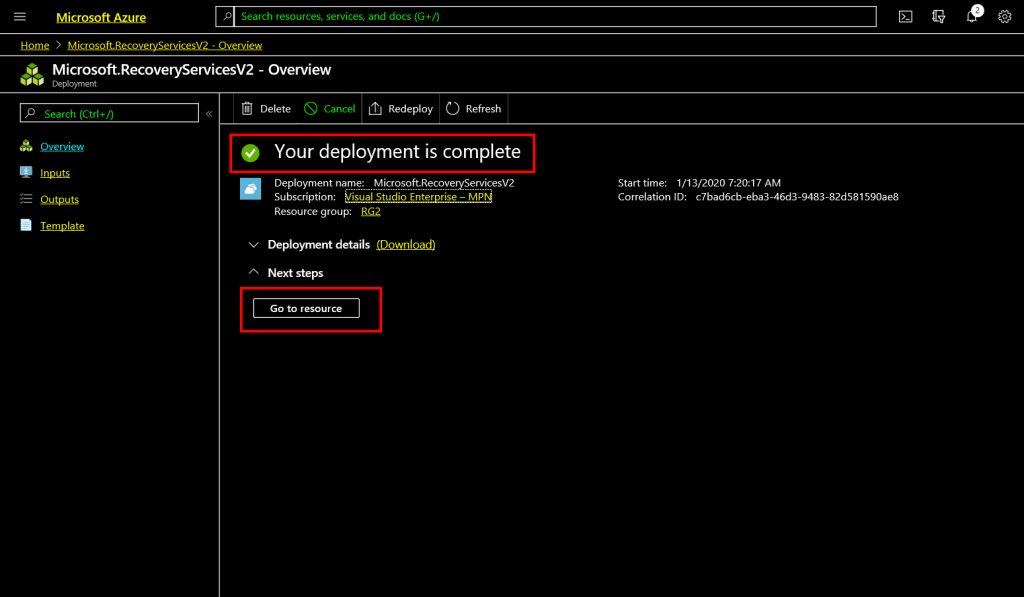
This will deploy the recovery vault and you would get the confirmation that it has been completed and click “Go to Resource”.
Create and Configure Azure Backup policy
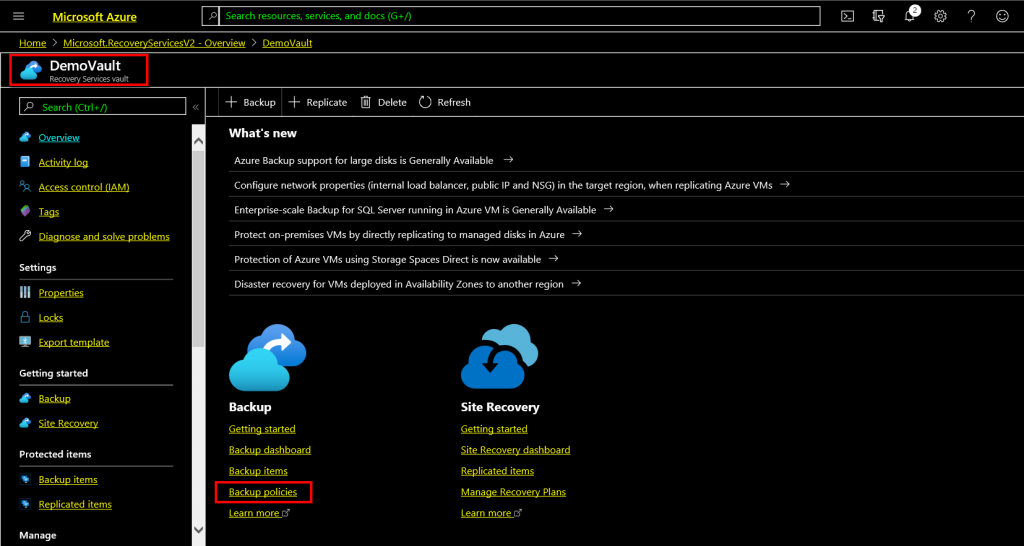
In the vault that we have newly created, select Backup policies out of the backup links on the working window.
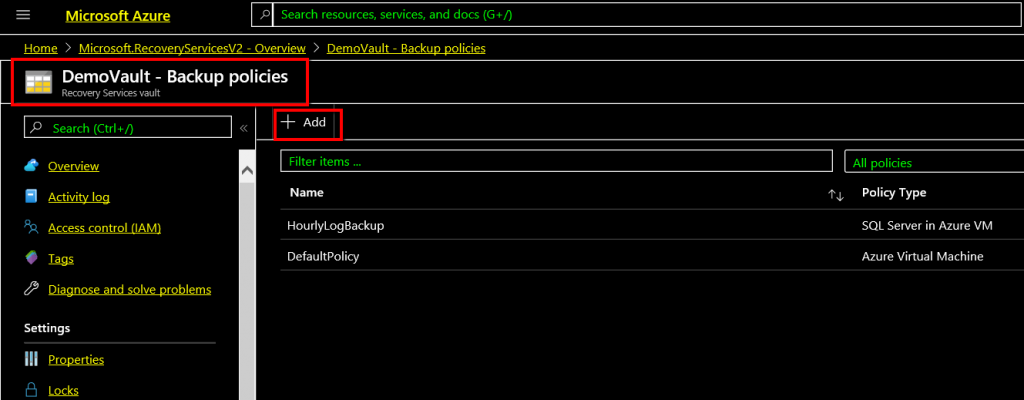
There are some default backup policies already there in the policies list, you can edit the Default policy or on to create new policy as you will have the default policy intact and can be used in the future. In this example, we are going to create a new policy to look into the policy in more detail.
Select the Azure Virtual Machine as the policy type as we are going to demonstrate the Azure VM backup here and creating a new policy for the same. On the “Create Policy” window on the right and start typing policy details as per our requirement. Type a name for the policy and choose the backup schedule such as frequency, time and Time zone. Choose the time zone where you located and pick a time when the backup to be started.
You can choose a number of days for the snapshots to be retained so that the snapshots can be used for instant recovery. The default value is 2 and can be changed.
Also, the retention of Daily backup point and Weekly backup point needs to be updated so that the backups will be removed when the retention period voids.
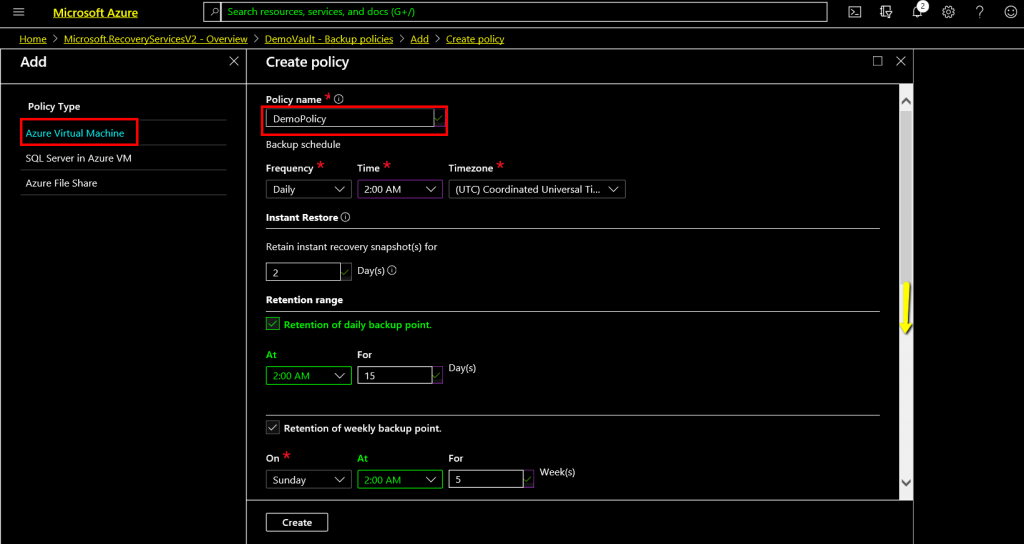
If you scroll down the scroll bar you can configure the rest of the backup points such as Monthly and yearly. All these backup point retentions are based on what your organization follows and you may have to contact the backup team in your organization to get more detail and configuring it with precise value.

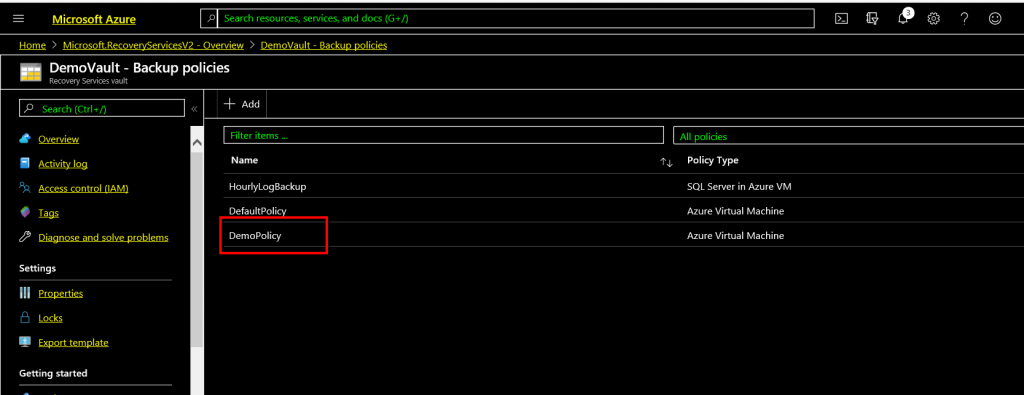
A new policy name DemoPolicy has been created and the next step is to apply the policy to back up an Azure VM.
Enable backup on the Windows Virtual machine running on Azure
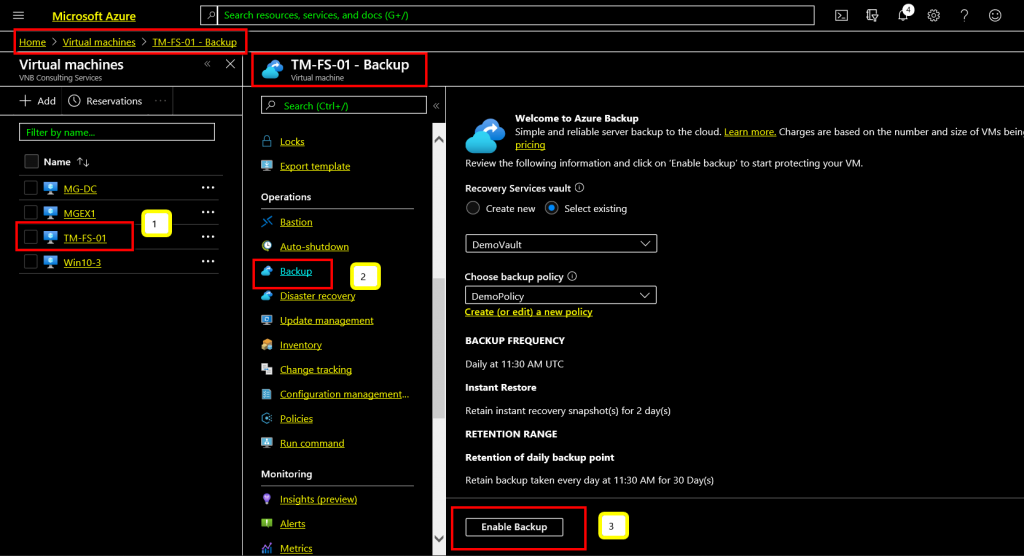
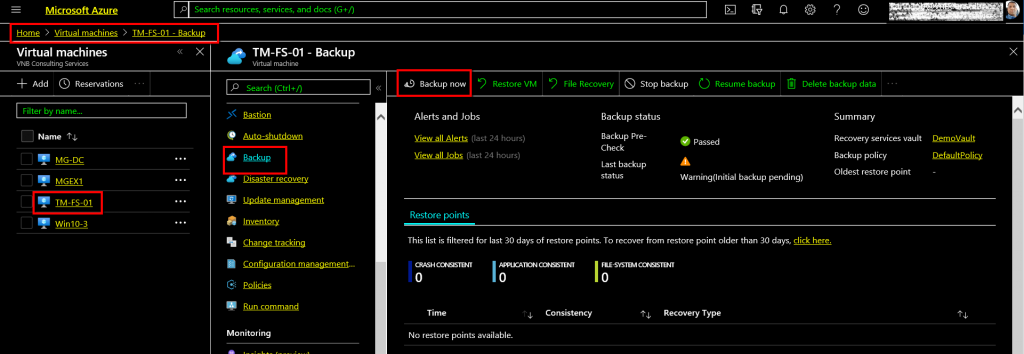
Go to Virtual machines from the home tab and select the Virtual machine you want to backup. In the navigation menu of the Virtual machine that you have selected you would find Backup under Operations Menu. Click backup and select the existing Recovery services vault and DemoPolicy and Click “Enable Backup”.
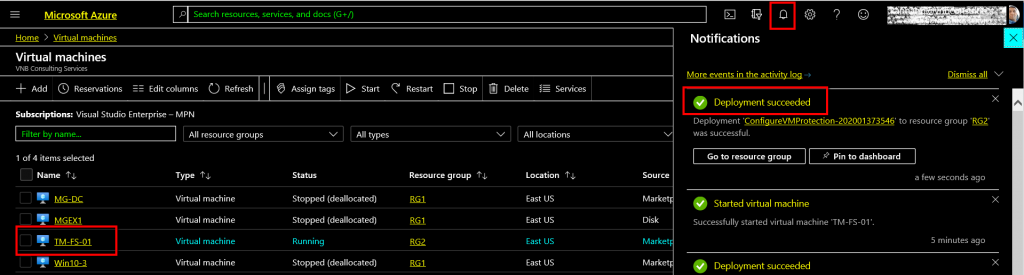
You would be notified when the backup is enabled. Click the notification button on the top bar and confirm it is succeeded.
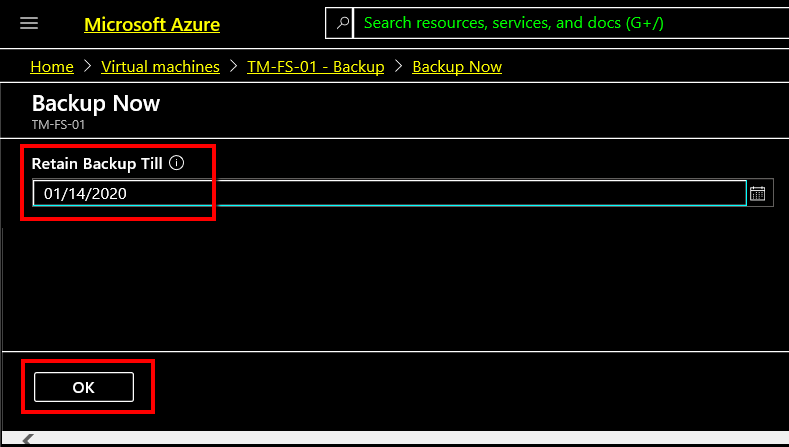
The backup will be started at the time scheduled on the backup policy, but the backup can be run anytime by clicking on “Backup now”. Click “Backup now” to confirm the process above carried over was successful. The first time backup will be full backup and subsequent backups will be incremental.
Once you click backup now, the next dialog box will prompt for the retention period of the backup, select a date based on your requirement.
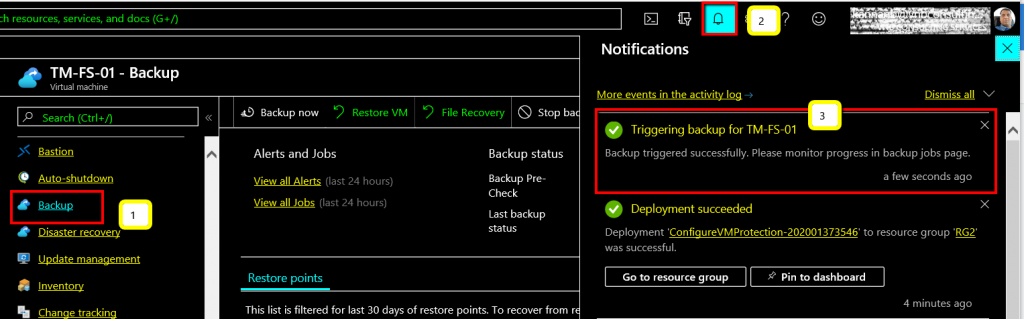
The notifications tab will show the completion of backup triggering.
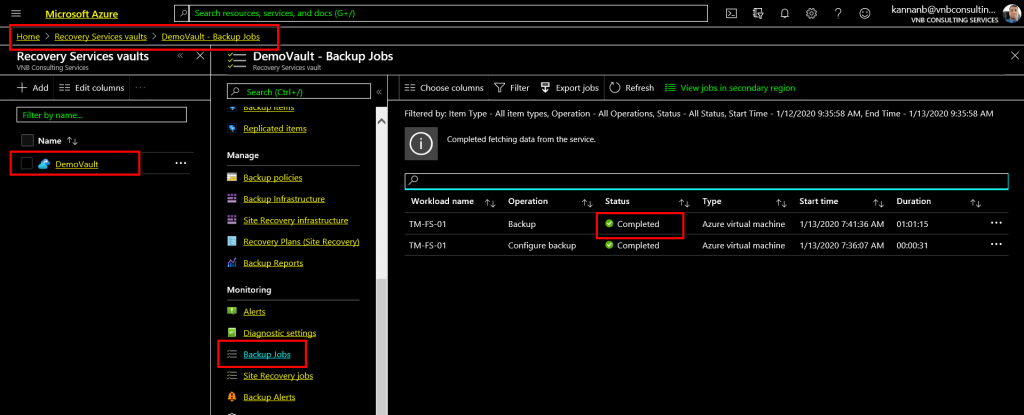
The backup can be monitored by navigation to Recovery Services Vault > Demo Vault > Backup Jobs.
The backup was completed that we had started sometime back.
In this demo, we have created Azure Recovery Services Vault and added a custom backup policy to it and then enabled backup on the virtual machine. This article under the topic Azure VM backup would help you configure Virtual Machine backup to the vault with ease.
Please send your valuable feedback in the comment below.