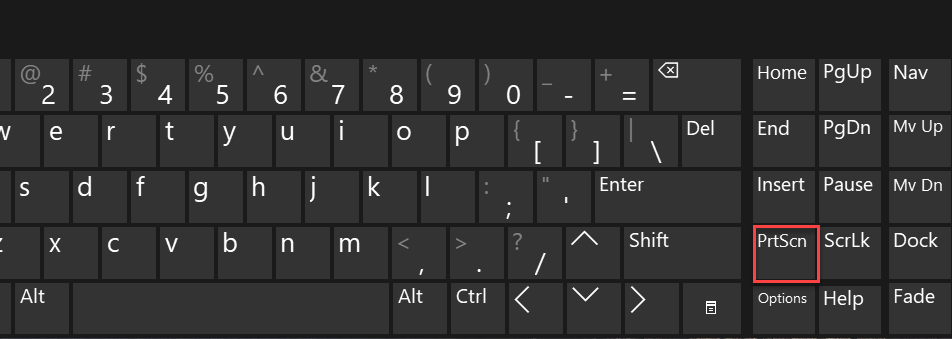
In today’s post we’ll see how to Screenshot on Windows 10 using your keyboard
Whether you want to save the entire screen, or just a piece of it, we’ve rounded up all the most common techniques for taking a Windows 10 screenshot.
How to take a screenshot on Windows 10 with the PrtScn key:
A Simple way is to press the “Print Screen” key or the “Print Scn” as usually found on the Keyboards, it can also be found in multiple versions depending on the keyboards, but its functions are the same
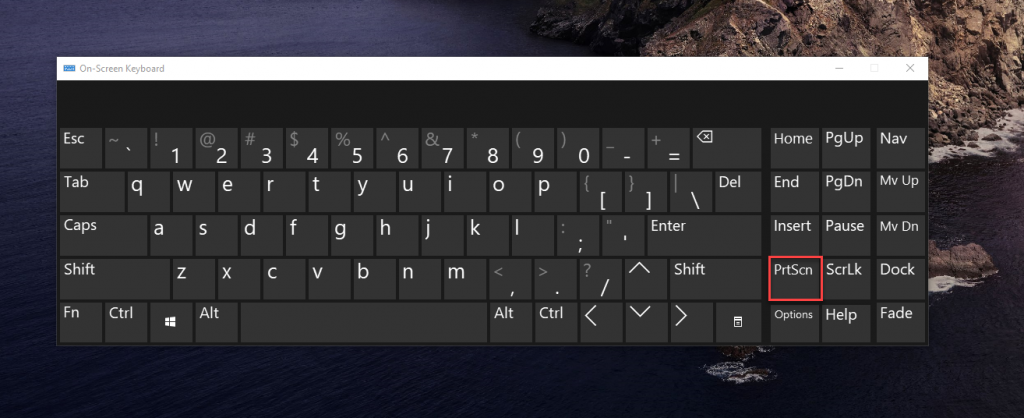
How to Screenshot on Windows 10 using Prt Scn on Laptops:
On some Laptops the Print Screen Key needs to be Triggered, for that we must use the Function key “Fn”.
In other words, hold the Function key and then press PrtScn.
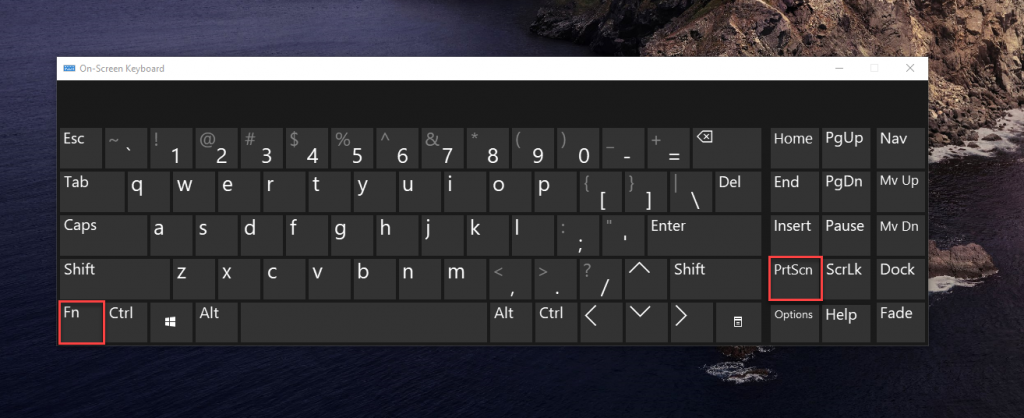
Combinations that go with Print Screen:
Press PrtScn: This copies the entire screen to the clipboard. You can paste the screenshot into any program that displays images, like Paint or Microsoft Word.

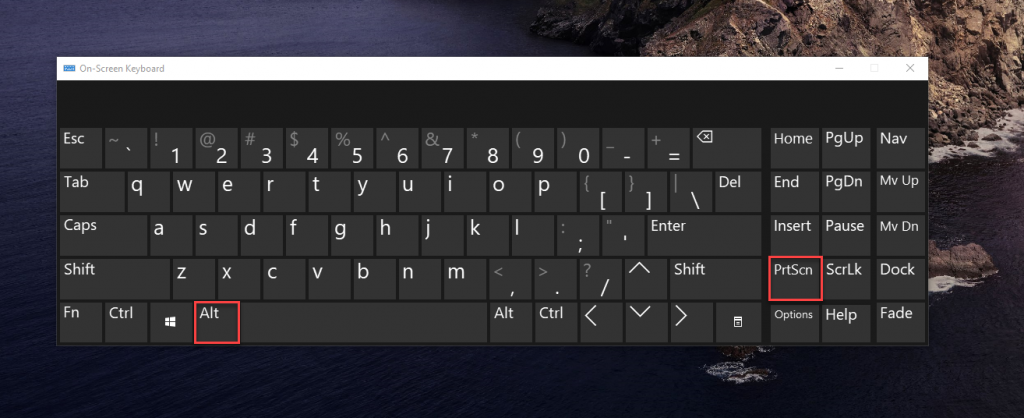
Press Alt + PrtScn. This copies the active window to the clipboard, which you can paste into another program.
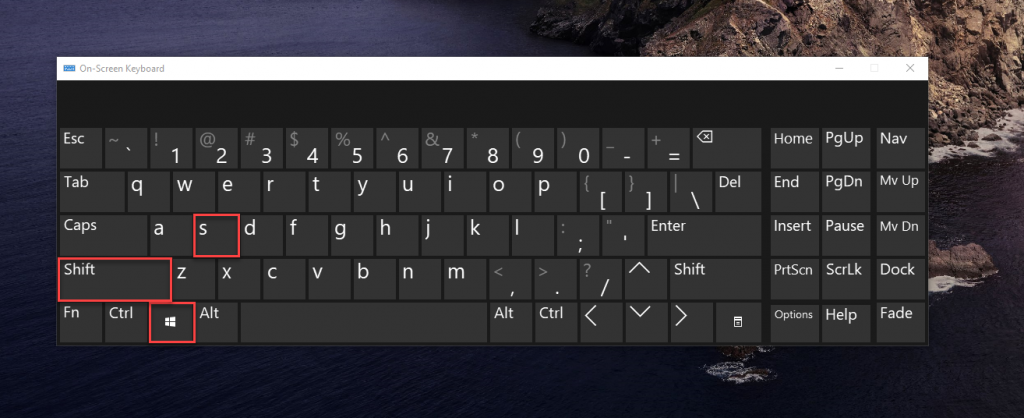
Press the Windows key + Shift + S. The screen will dim and the mouse pointer will change. You can drag to select a portion of the screen to capture. The screenshot will be copied to the clipboard, which you can paste into another program. (This shortcut only works if you have the latest version of Windows 10 installed, called the Windows 10 Creators Update.)
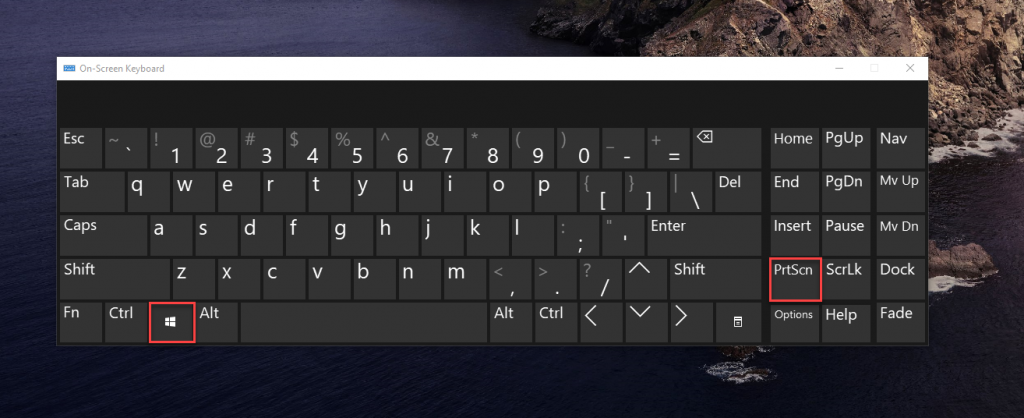
Press the Windows key + PrtScn. This saves the entire screen as an image file. You can find it in the “Pictures” folder, in a subfolder called “Screenshots.“
Conclusion
Now that you know the combinations to take a screenshot, just try it out anytime you want! If you want to familiarize yourself with a cluster of Windows combinations, Check out our Blogs related to Windows 10

