How to Change Mouse Sensitivity on Windows 10
In this article, we will see how to change Mouse Sensitivity on Windows 10. First, we will change the scroll speed, and then move on to changing the speed of the cursor, we do this using 2 methods, one using Mouse Settings, and the other using the Control Panel
The mouse is an essential component of the PC. But it is ideal to have your cursor speed in a value that you desire. The value that gets things done faster. This value varies from one individual to another. For instance, some people, who have multiple monitors would prefer to have a fast-moving cursor. Whereas the ones working on small screens would prefer a slower cursor. This is to keep track of your mouse pointer more easily. Precision for gaming, drafting apps, and more can be achieved by changing mouse sensitivity. Use the tips detailed below to adjust how much your mouse pointer responds when you move the mouse.
Now that you have a clear idea on today’s post, lets jump right in and get things working as desired.
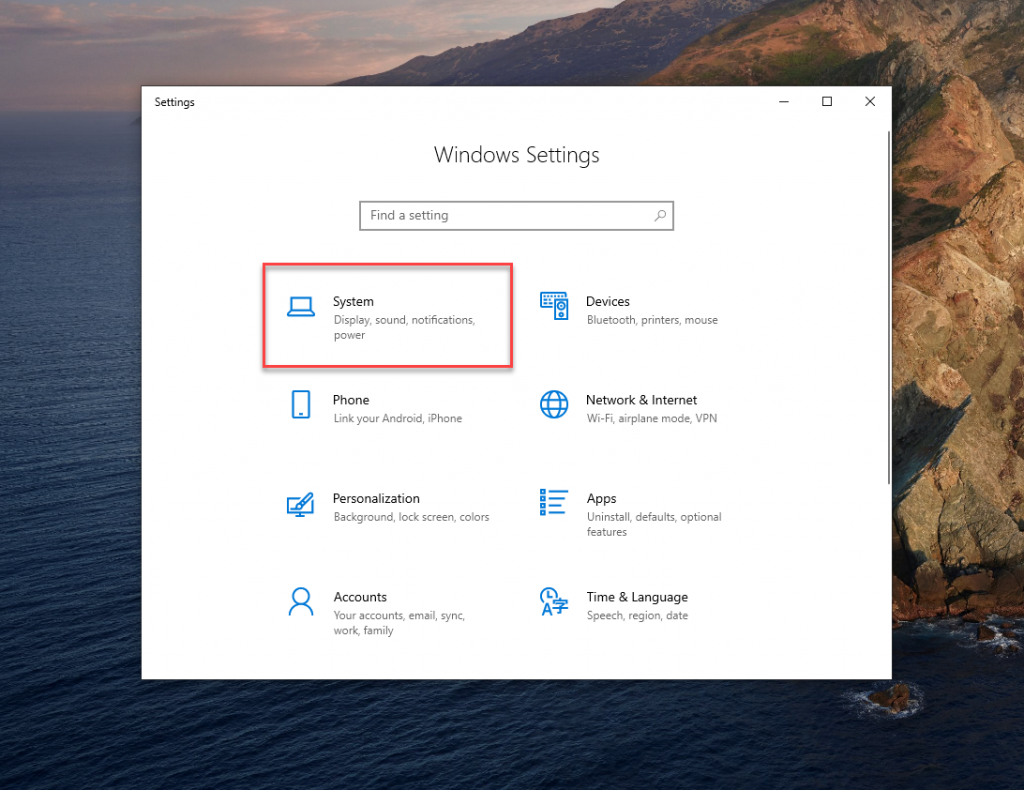
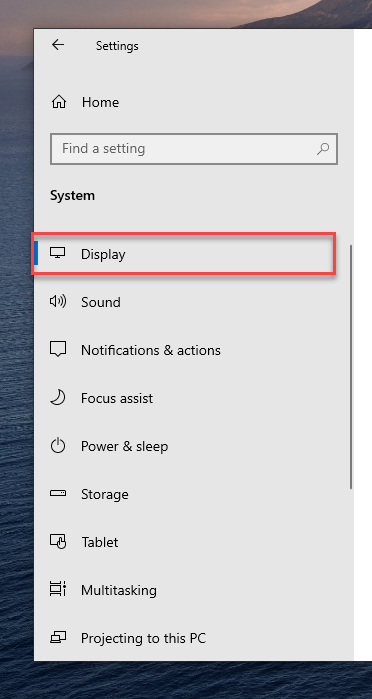
METHOD 1 : MOUSE SETTINGS
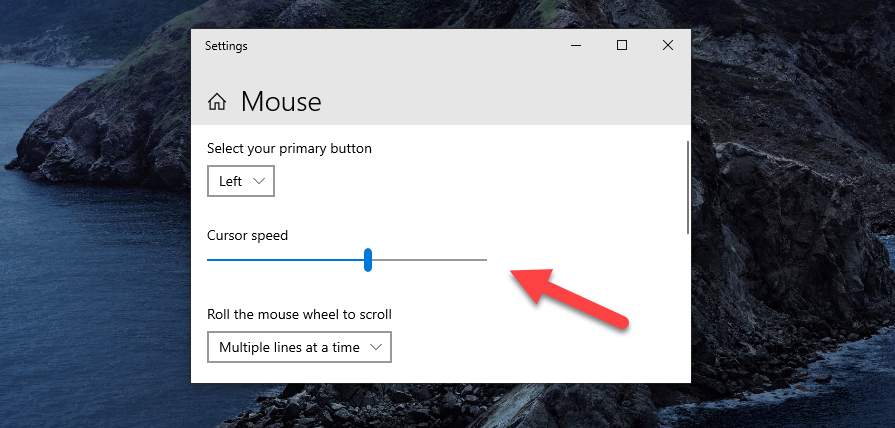
CURSOR SPEED
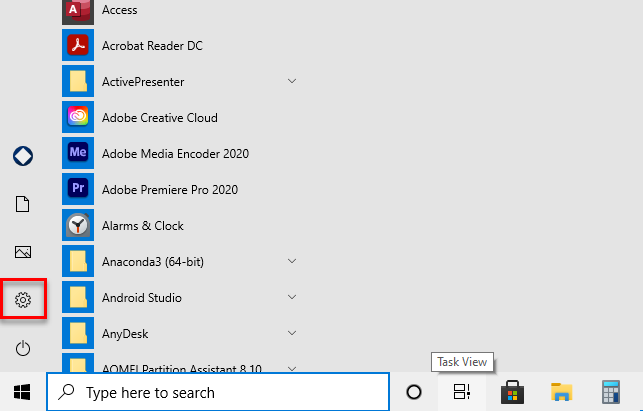
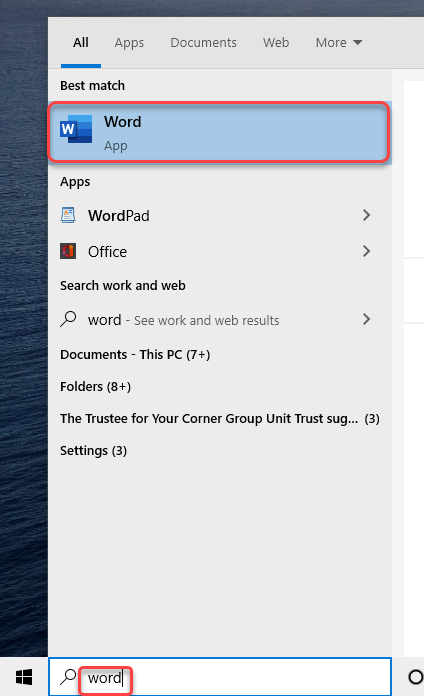
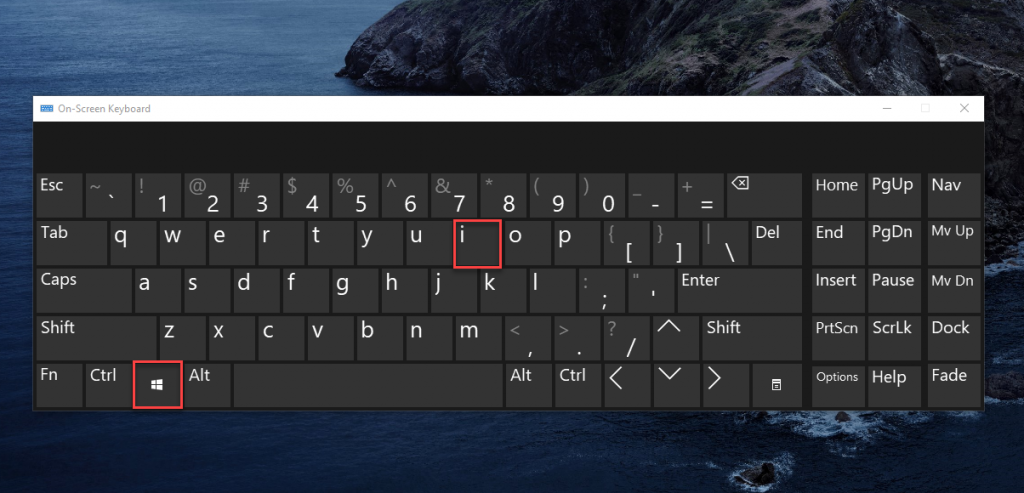
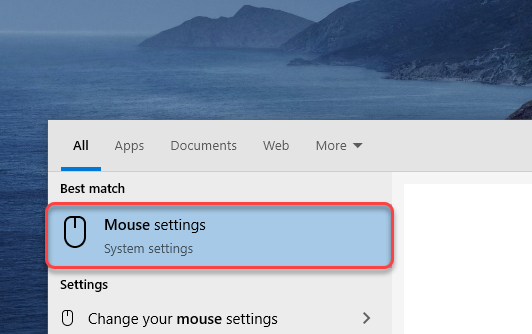
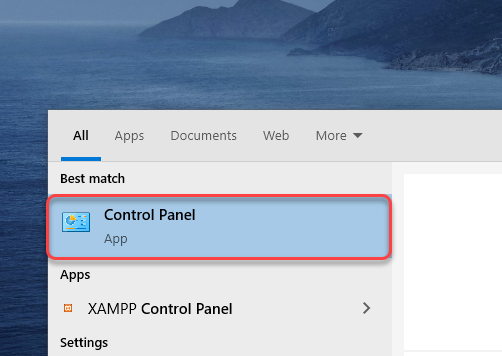
Search for Mouse Settings in the Taskbar Search
You can use the slider to change your cursor speed
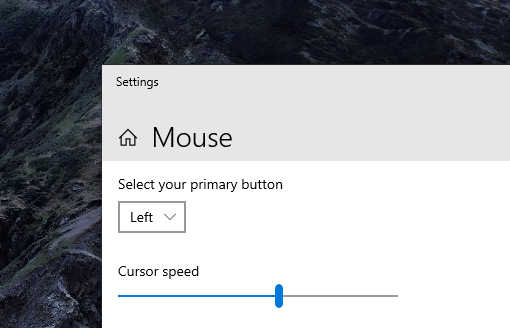
The Default Value is 10
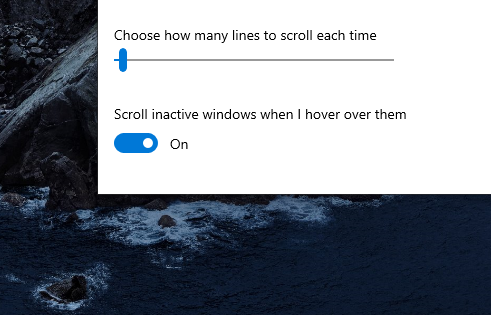
Scroll Speed
Similarly you can use the Slider labeled Choose how many lines to Scroll each time to change scroll speed
METHOD 2 : CONTROL PANEL
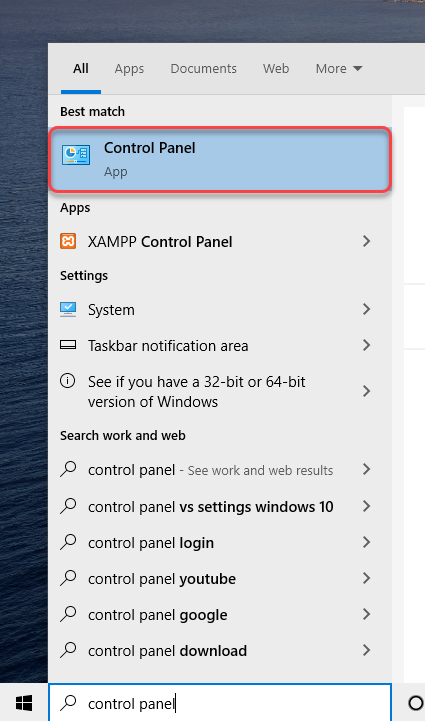
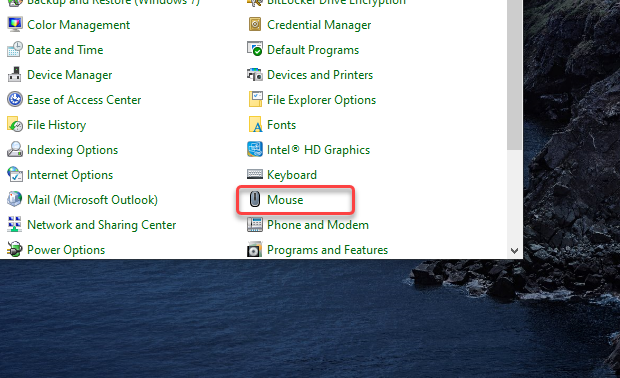
Search for Control Panel in the Taskbar Search
Click on the option named Mouse
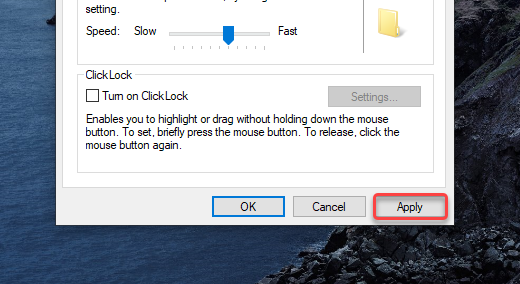
You can use the slider to change your cursor speed
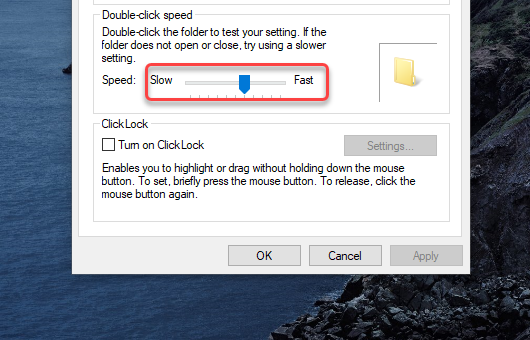
Click Apply
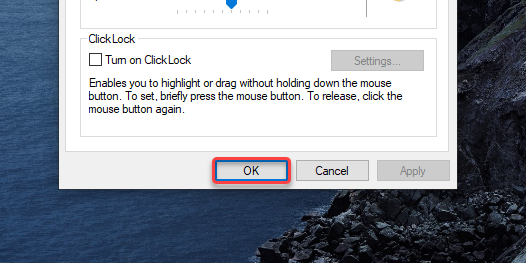
Click OK
To Sum Up…
Now that you know How to Change Mouse Sensitivity on Windows 10 using Mouse Settings and Control Panel, go ahead and change the mouse speed according to your need, and increase your productivity! If you want to familiarize yourself with a cluster of Windows combinations, shortcuts, and Tricks, Check out our Blogs related to Windows 10