Tag Archive : How to Migrate MS Exchange Server 2016 to Exchange

How to Migrate Exchange Server 2016 to 2019 | Part 3

How to Migrate Exchange Server 2016 to 2019 | Part 3

Migrate Exchange Server 2016 to 2019 | Part 1
Migrate Exchange Server 2016 to 2019 | Part 2
Migrate Exchange Server 2016 to 2019 | Part 3

Preface

This is the third part of the three-part article series on How to Migrate Exchange Server 2016 to 2019. If you are landed directly to this page, please take some time, and go through the first two parts in the link above and come back to this part as this part is a continuation of the other two parts.

In this part of the article series, we are going to look at renaming the database, cutover mail flow, move mailboxes to Exchange Server 2019 including user mailbox, arbitration mailbox, and audit mailbox. In the end, we are going to look at decommissioning Exchange Server 2016 once all the workloads are migrated to Exchange Server 2019.

Rename and Move Default Mailbox Database

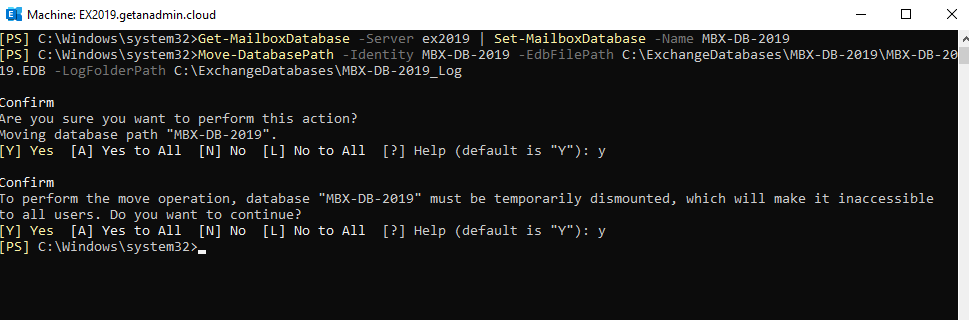
We are renaming the database as its long and random numbers in the default database name. So, giving a meaningful name to the database would be appropriate and move the path of the database to somewhere having enough disk space for the database to grow and location to store the transactional logs.

Get-MailboxDatabase -Server ex2019 | Set-MailboxDatabase -Name MBX-DB-2019

Move-DatabasePath -Identity MBX-DB-2019 -EdbFilePath C:\ExchangeDatabases\MBX-DB-2019\MBX-DB-2019.EDB -LogFolderPath C:\ExchangeDatabases\MBX-DB-2019_Log

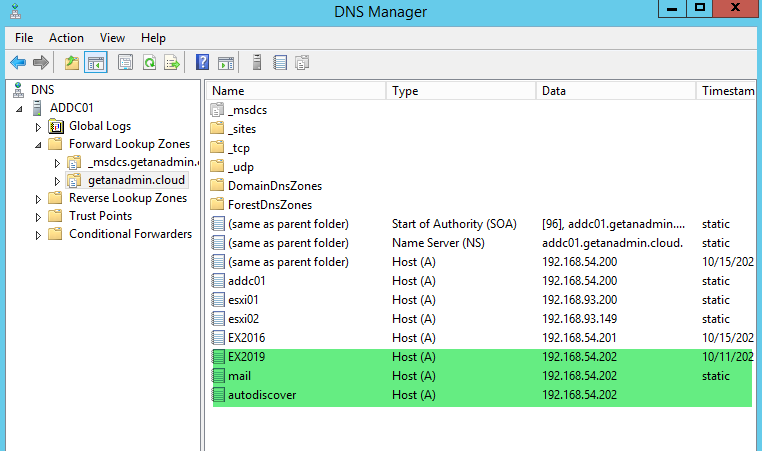
Cutover Client Access

We have completed renaming the default database name and moving the database file location to other drives. The next step on this migration is to point Exchange server 2019 IP address to hostname records such as Autodiscover and exchange server FQDN hostname. The email clients internally will point to the exchange server for client access. We need to do the NAT settings on the firewall to point to Exchange Server 2019 as well. We are making these changes even though the mailboxes are still in Exchange Server 2016. Exchange server 2019 will act as a proxy to the mailboxes residing in Exchange server 2016.

Move Mailboxes to Exchange Server 2019 Database to Migrate Exchange Server 2016 to 2019

We have completed most of the Exchange server 2019 configuration-related settings and migration work. But the mailbox move is the meaty thing that we need to do next and it is the most time-consuming. We are migrating all mailboxes which are residing in Exchange Server 2016. We can do it through the Exchange Admin Center also.

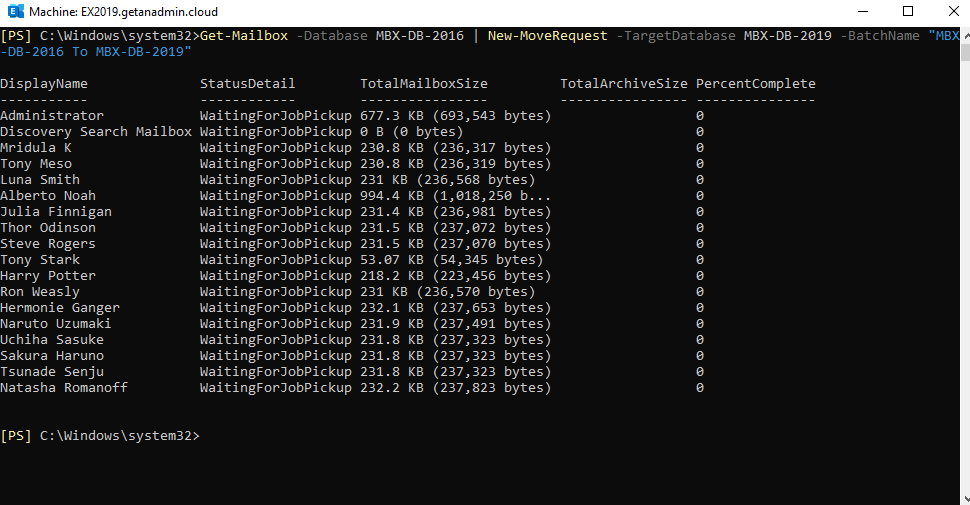
Get-Mailbox -Database MBX-DB-2016 | New-MoveRequest -TargetDatabase MBX-DB-2019 -BatchName “MBX-DB-2016 To MBX-DB-2019”

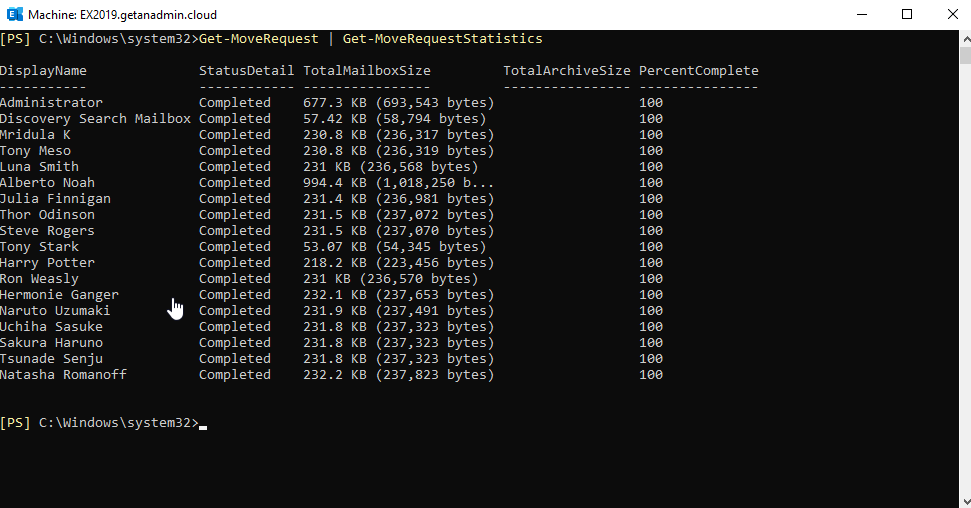
Periodically you can check the mailbox move status by running the command

Get-MoveRequest | Get-MoveRequestStatistics

In this case, our mailboxes are less in size, so the mailboxes completed moving to Exchange 2019 server database.

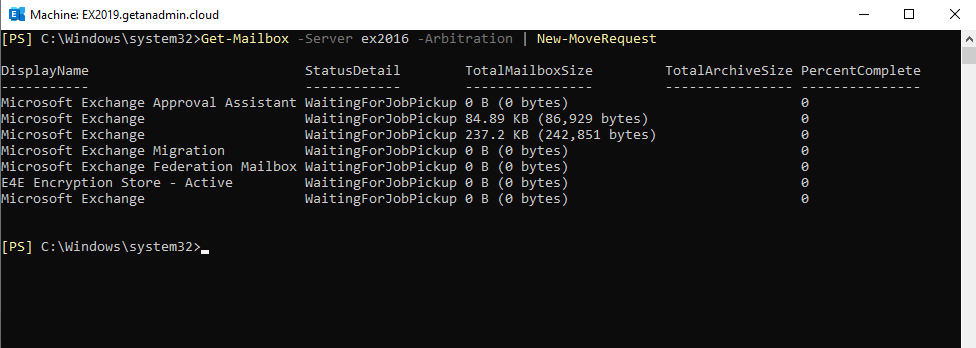
We are going to move all arbitration mailboxes from Exchange server 2016 to 2019. The command to move arbitration mailboxes is

Get-Mailbox -Server ex2016 -Arbitration | New-MoveRequest

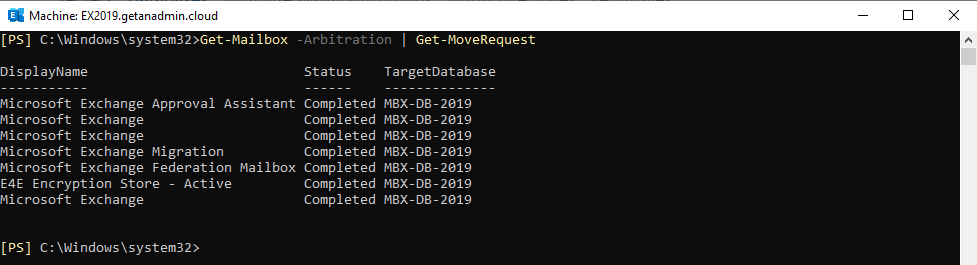
You can check if the arbitration mailboxes move completed by running the following command

Get-Mailbox -Arbitration | Get-MoveRequest

From Exchange Server 2016 onwards, there is one more system mailbox called Audit Log. You can check the Audit Log mailbox containing the server by running the following command

Get-Mailbox -AuditLog

You can move the audit log mailbox to Exchange 2019 server running the following command

Get-Mailbox -AuditLog | New-MoveRequest

The following command will show the status of the mailbox move.

Get-Mailbox -AuditLog | Get-MoveRequest

Migrate Exchange Server 2016 to 2019

Decommission Exchange Server 2016

We have completed moving all the workloads such as mailboxes and service points to Exchange Server 2019. In the process of moving all the workloads, we need to remove the Exchange server 2016 hostname from send connector. Login to ECP and go to mail flow\send connector. Edit the send connector and on the scoping page, remove Exchange 2016 server name from the list. If Exchange Server 2019 was not already added, add it now and remove the exchange 2016 server hostname.

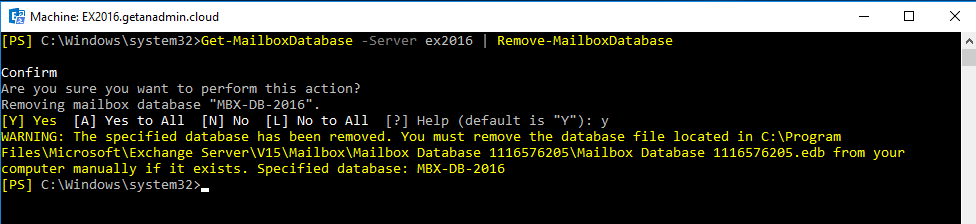
Also, in the process of decommissioning Exchange server 2016, we need to remove the Exchange 2016 server mailbox databases. Run the following command from Exchange Management Shell to remove the Exchange server 2016 databases.

Get-MailboxDatabase -Server EX2016 | Remove-MailboxDatabase

Migrate Exchange Server 2016 to 2019

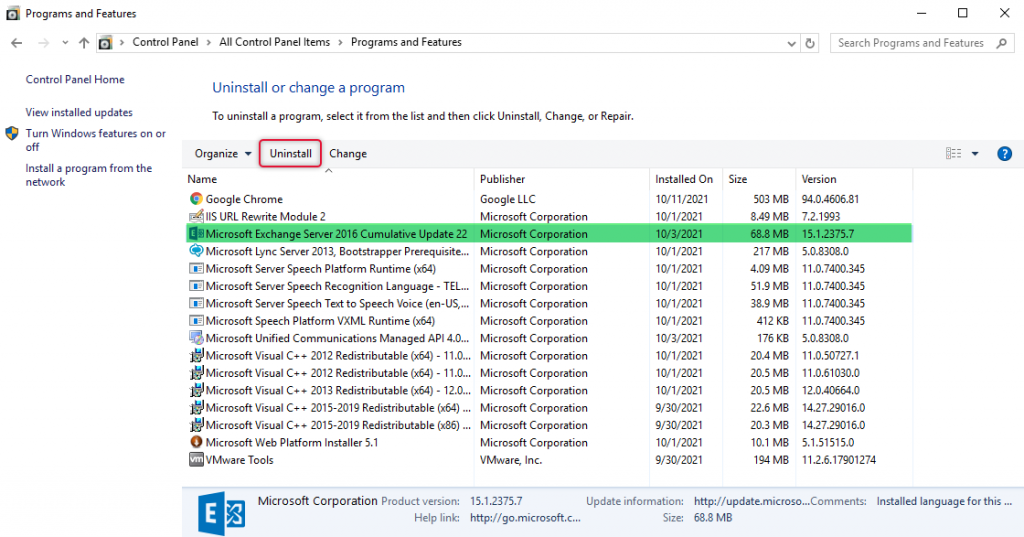
Now, it’s time to uninstall Exchange server 2016, log in to Exchange Server 2016 server desktop and go to control panel, Add Remove Programs and select Exchange Server 2016 from the list and uninstall.

Migrate Exchange Server 2016 to 2019

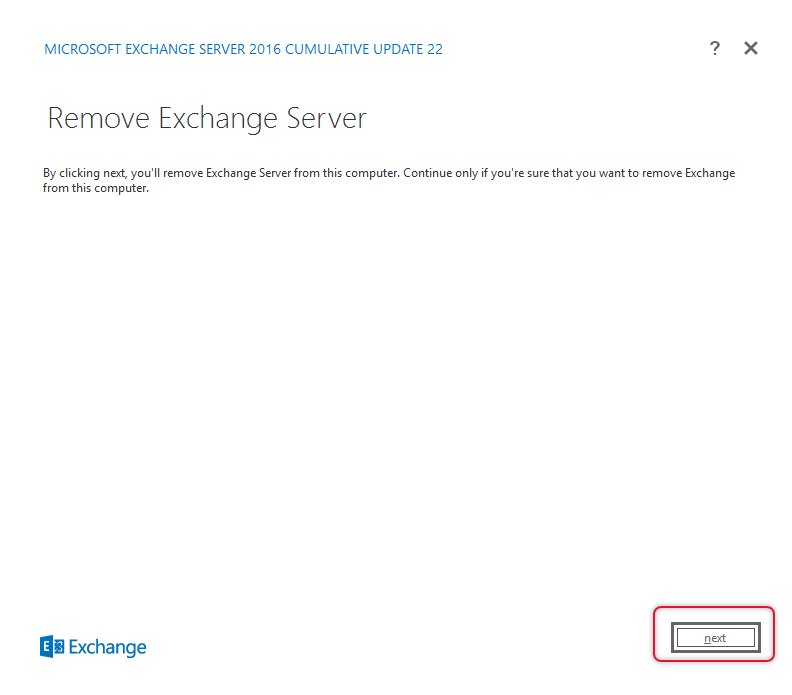
The Remove Exchange Server Wizard will open and click Next to continue.

Migrate Exchange Server 2016 to 2019

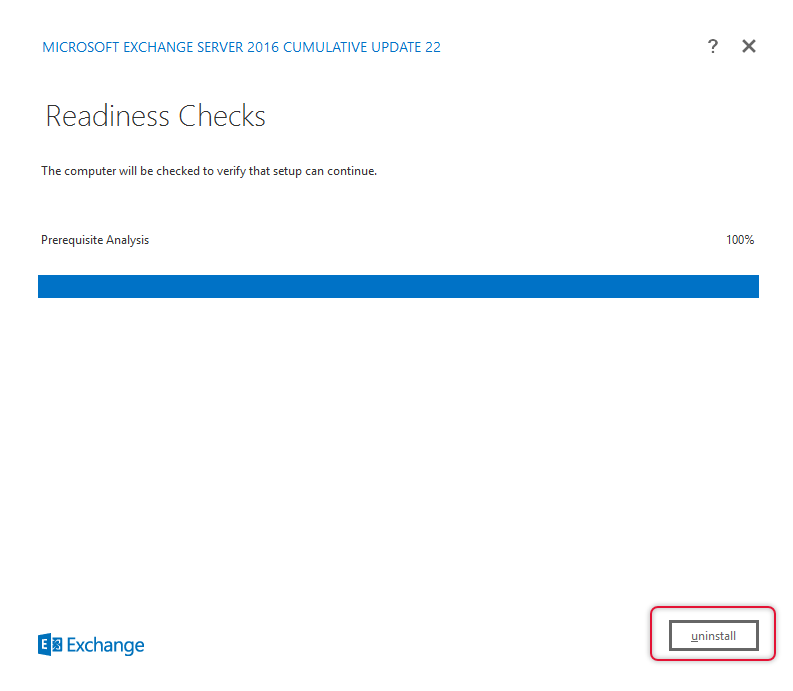
Once the readiness checks are completed click uninstall to uninstall Exchange Server.

Migrate Exchange Server 2016 to 2019

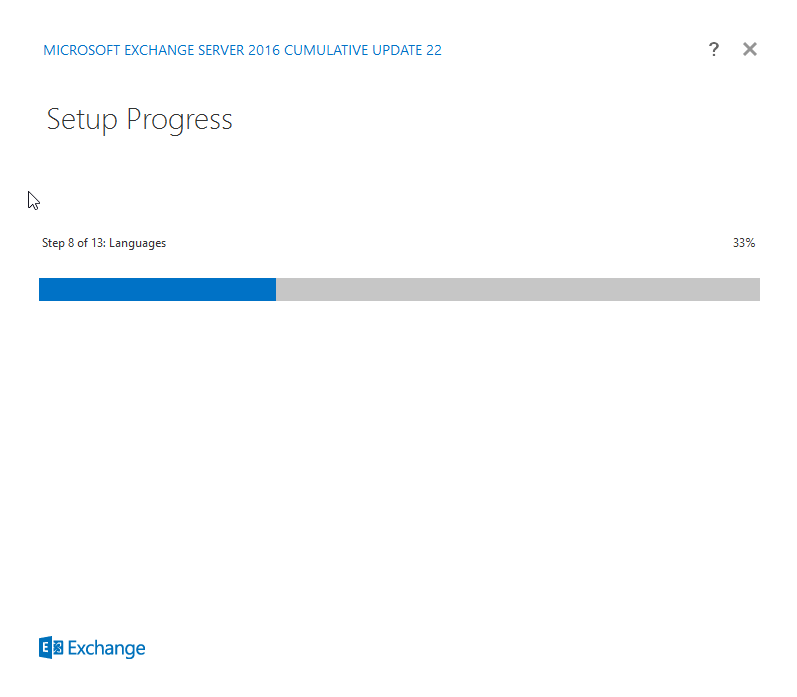
The Uninstall Progress will show the uninstall step and its progress.

Migrate Exchange Server 2016 to 2019

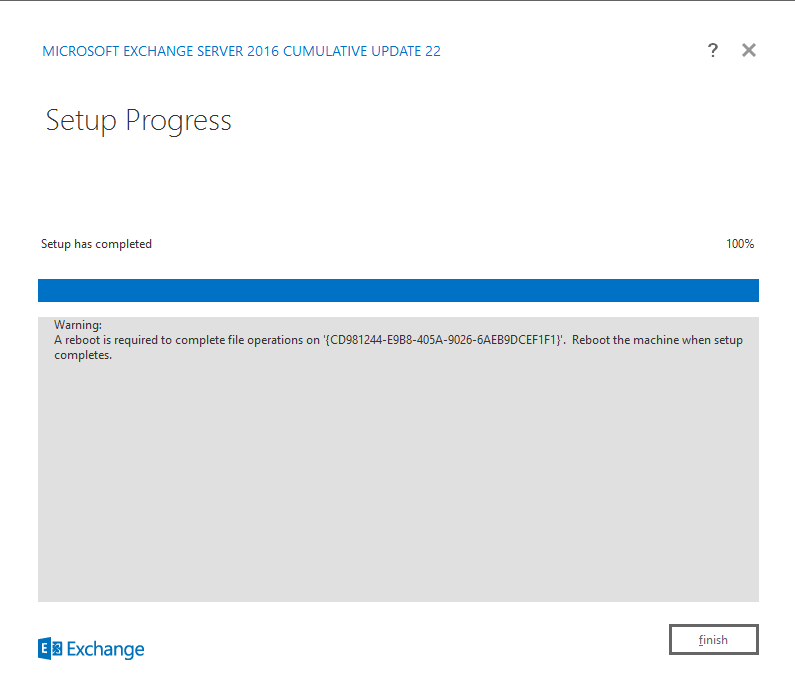
Once uninstall process is completed, click Finish Exit out of Uninstall wizard.

Migrate Exchange Server 2016 to 2019

Conclusion:

In this three-part article series, we have started with discussing Exchange Server 2019 installation on the Existing Exchange Server organization with prerequisites install followed by the exchange server setup. We have discussed configuring Exchange Server 2019 components such as Outlook Anywhere, Virtual Directories, Service Connection Point, and Certificate import from the old Exchange server. We have discussed Client access service cutover and mailbox move. In the end, we have decommissioned the old Exchange server which includes uninstallation of the Exchange server.

I had already created Exchange Server 2013 to 2019 migration, even though I mentioned Exchange server 2013 and 2016 migration is more or less the same, most of the users migrating Exchange server 2016 are not following that article. Also, I thought an exclusive article series just for Exchange Server 2016 to 2019 will help migrate flawlessly.

This is the end of the Exchange Server 2016 to 2019 migration demonstration; I look forward to connecting with you to clarify your questions and answer them and I will be helpful to solve the issues in case you come across any. I will join you in an instance with another article and would like to say goodbye for now. Thanks for following my article to migrate your Exchange server.

Migrate Exchange Server 2016 to 2019 | Part 1
Migrate Exchange Server 2016 to 2019 | Part 2
Migrate Exchange Server 2016 to 2019 | Part 3

How to Migrate Exchange Server 2016 to 2019 | Part I

How to Migrate Exchange Server 2016 to 2019 | Part 1

Migrate Exchange Server 2016 to 2019 | Part 1
Migrate Exchange Server 2016 to 2019 | Part 2
Migrate Exchange Server 2016 to 2019 | Part 3

Preface:

The messaging system evolving day by day, but the fundamental elements of messaging doesn’t change. There is a new way of the email systems coming to use in the modern world and the Microsoft product Exchange servers have no exception. The exchange servers are shining with new updates every three months with cumulative updates and Microsoft fixing all the loopholes of the product with sending the security updates regularly for each exchange server version. But upgrading the Exchange server is important for an organization to keep the messaging environment up to date and fulfill the need for messaging functionalities. In this article, we are going to look at the Exchange server 2016 to 2019 migration step by step and in the end, we are decommissioning the Exchange Server 2016 server after we completely migrate the exchange server to Exchange server 2019.

We had already discussed the migration of Exchange server 2013 to 2019 in another article series if your email system is Exchange server 2013 and you want to migrate to Exchange server 2019, I have provided the link to jump into Exchange server 2013 to 2019 Migration and you can follow those article series to migrate your Exchange server 2013. Even though most of the steps are identical as far as migration to Exchange server 2019 from Exchange server 2013 or 2016, it is not satisfying to follow an article that does not discuss its own article series. So, I have decided to write a separate article series to migrate Exchange Server 2016 to 2019, and here are those articles just for you migrating from an Exchange server 2016. I encourage you to come up with your questions and feedback either it is positive or negative and shares your thoughts in the comments section after you follow the steps or go through it completely. I will be there always to help you solve your issue and if you want to resolve or migrate the Exchange server from 2016 to 2019 and need my consultancy, please do not hesitate to connect me on skype at the skype ID “mrigotech” or send an email to my email ID hello@getanadmin.com.

To get the migration going, start the migration by installing Exchange server 2019 on a Windows 2019 server on the same Active Directory network as Exchange Server 2016 and follow the other part of the migration to get it migrated fully. Once the Exchange Server 2019 installation is completed, we are going to set the virtual directories with the internal and external URLs with the Exchange server’s common hostname with the certificate acquired from the third-party certification authority. Also, we are updating the internal and external server names of the ‘outlook anywhere’ settings on the server properties. We are completing the migration by moving the user mailboxes and arbitration mailboxes to the new exchange server and decommissioning the Exchange server 2016 once we verified Exchange Server is migrated to Exchange Server 2019 completely.

Concept:

Migrating Exchange Server 2016 to 2019 is the same as migrating Exchange Server 2013 to 2019. This article is written for the administrators who want to follow Exchange server 2016 to 2019 migration steps just as a specific migration step just for Exchange Server 2016. You may see this article is identical to the Exchange server 2013 to 2019 and if you are an Exchange server migration learner do not get surprised by seeing the same steps but medium changes between the articles.

Before starting the Exchange Server 2019 installation I would like to urge the need to update the Exchange Server 2016 to the latest build. When I was writing this article the latest cumulative update for Exchange Server 2016 is CU 22. You can find the Exchange Server build numbers in the link here. You need to download the cumulative update ISO file and mount it as an ISO drive and run the setup to update the Exchange Server 2016.

Migrating Microsoft Exchange Server 2016 to 2019

The following list of steps we are following to migrate Exchange server 2016 to 2019

  1. Install Exchange Server 2019 on the same Active Directory domain where Exchange Server 2016 Installed
  2. Configure Exchange Server 2019 roles such as Client Access, Mailbox, and Transport roles
  3. Move mailboxes from Exchange server 2016 to 2019
  4. Decommission Exchange Server 2016

Install Exchange Server 2019

We are going to discuss Exchange Server 2019 Server requirements and Prerequisite installation before installing Exchange Server 2019.

Exchange Server 2019 system requirements.

Before preparing the Windows server where the Exchange server 2019 is deployed, we are going to analyze some important system requirements that are the baseline to install the 2019 version of Exchange Server into the Organization.

The forest functional level of Domain controllers in the Active Directory Forest needs to be Windows Server 2012 R2. If you have any Domain Controller running older than Windows Server 2012 R2 that is not be supported and you need to decommission them or upgrade them to Windows Server 2012 R2 and raise the functional level. Without fulfilling this Active Directory requirement, you will get an error on the Exchange installation readiness check.

The Windows Server you are going to install Exchange Server 2019 must be Windows Server 2019 (at the time of writing this article the RTM version of Windows Server 2022 is not released). You can’t install Exchange server 2019 on Windows Server 2016 or earlier versions.

The MAPI client needs to be Outlook 2013 or later with Windows and Outlook 2016 on the MAC client.

Install Exchange Server 2019 Prerequisites

The following Exchange Server 2019 Prerequisites need to be installed on the server where the Exchange Server 2019 is installed, once the prerequisite installation is complete you can install Exchange Server 2019.

The following are the Prerequisites that need to be installed.

  1. Install .Net Framework 4.8
  2. Microsoft Visual C++ 2012 Redistributable
  3. Microsoft Visual C++ 2013 Redistributable
  4. Microsoft Unified Communications Managed API 4.0
  5. URL Rewrite 2.1
  1. Install .Net Framework 4.8

You can download the Don net Framework 4.8 from the following link

Install .Net Framework 4.8

Doble clicks the installer package and goes through the wizard to install it.

The following setup wizard will appear and click install to start the install wizard.

Exchange Server 2016 to 2019 Migration

Once the installation is complete, click finish and restart the Server.

Exchange Server 2016 to 2019 Migration
  • Microsoft Visual C++ 2012 Redistributable

Click on the link below to start the Microsoft Visual C++ 2012 Redistributable 2012 and double-click to start the installation.

Microsoft Visual C++ 2012 Redistributable

Click install to start the installation and close to coming out of the wizard.

Exchange Server 2016 to 2019 Migration
  • Microsoft Visual C++ 2013 Redistributable

Click on the link below to start the Microsoft Visual C++ 2012 Redistributable 2012 and double-click to start the installation.

Microsoft Visual C++ 2013 Redistributable

Click install to start the installation and close to coming out of the wizard.

Exchange Server 2016 to 2019 Migration
  • Microsoft Unified Communications Managed API 4.0

The following link will take you to the Microsoft site where you can download the installer.

Microsoft Unified Communications Managed API 4.0

When you launch the install, the install wizard will show up, and click next to start the installation.

Exchange Server 2016 to 2019 Migration

After install complete close out the wizard by clicking Finish.

Exchange Server 2016 to 2019 Migration

The URL rewrite is a mandatory prerequisite starting from Exchange Server 2019 Cumulative Update 11, so, navigate to the link below and install URL rewrite.

Install URL Rewrite extension

Click install this extension to start the URL rewrite installation.

Click install to start the installation.

Exchange Server 2016 to 2019 Migration

When the installation is complete, click Finish to close out the install wizard.

Exchange Server 2016 to 2019 Migration

Install the following Windows Feature and once the installation of the feature is complete restart the Server.

Install-windowsfeature Server-Media-Foundation

Install-windowsfeature Server-Media-Foundation, NET-Framework-45-Features, RPC-over-HTTP-proxy, RSAT-Clustering, RSAT-Clustering-CmdInterface, RSAT-Clustering-Mgmt, RSAT-Clustering-PowerShell, WAS-Process-Model, Web-Asp-Net45, Web-Basic-Auth, Web-Client-Auth, Web-Digest-Auth, Web-Dir-Browsing, Web-Dyn-Compression, Web-Http-Errors, Web-Http-Logging, Web-Http-Redirect, Web-Http-Tracing, Web-ISAPI-Ext, Web-ISAPI-Filter, Web-Lgcy-Mgmt-Console, Web-Metabase, Web-Mgmt-Console, Web-Mgmt-Service, Web-Net-Ext45, Web-Request-Monitor, Web-Server, Web-Stat-Compression, Web-Static-Content, Web-Windows-Auth, Web-WMI, Windows-Identity-Foundation, RSAT-ADDS

Once all Exchange Server 2019 Prerequisites are installed and the server is rebooted, download the latest Exchange Server 2019 Build from the link below.

 The downloaded ISO file needs to be mounted and note down on the drive later. Launch a PowerShell window change the Drive to the drive letter where you mounted the ISO file and run the following commands.

Set-ExecutionPolicy Unrestricted

.\Setup.exe /Mode:Install /Roles:Mailbox / IAcceptExchangeServerLicenseTerms_DiagnosticDataON

Exchange Server 2016 to 2019 Migration

Summary:

In this article, we had gone through some Exchange server 2019 migration plans and system requirements. Afterward, we had gone through the Exchange Server 2019 prerequisites installation steps and then we installed some windows features required to install Exchange Server 2019. In the end, we deployed Exchange Server 2019 on the same organization where Exchange Server 2016 is running. We are going to configure Exchange Server 2019 in the next part, click the link below to go to Part 2 of this article series.

Migrate Exchange Server 2016 to 2019 | Part 1
Migrate Exchange Server 2016 to 2019 | Part 2
Migrate Exchange Server 2016 to 2019 | Part 3