How to Quickly Setup Azure Point to Site (P2S) VPN
Preface
The Azure Point to Site VPN Setup, also called Azure P2S VPN Setup, is most widely used where the number of clients connecting to Azure Virtual Network is less. The Point to Site VPN allows you to connect to the Azure Virtual network using a secure connection over the internet. The client computers running Windows, MAC X OS, Linux can connect to Azure Virtual Network securely from a remote location, such as home or conference, useful for telecommuters. There are multiple client protocols available to connect using Point to Site VPN, such as OpenVPN, SSTP, and Ikev2. In this article, we are going to use SSTP and IKEv2. Where windows client uses SSTP and MAC X OS, and Linux client uses iKEv2.
We are using the Azure certificate authentication, and here we demonstrate how to create a self-signed certificate on Windows 10 computer and upload a root certificate to Azure. The client those are using the VPN connection client needs to be installed with a client certificate created. We are going to see how to export root and client certificates and how to upload the root certificate to Azure VPN gateway. In the end, we are going to install the Azure VPN client downloaded from Azure Virtual private gateway on the Windows 10 client and establish the VPN connection using the client certificate already installed.
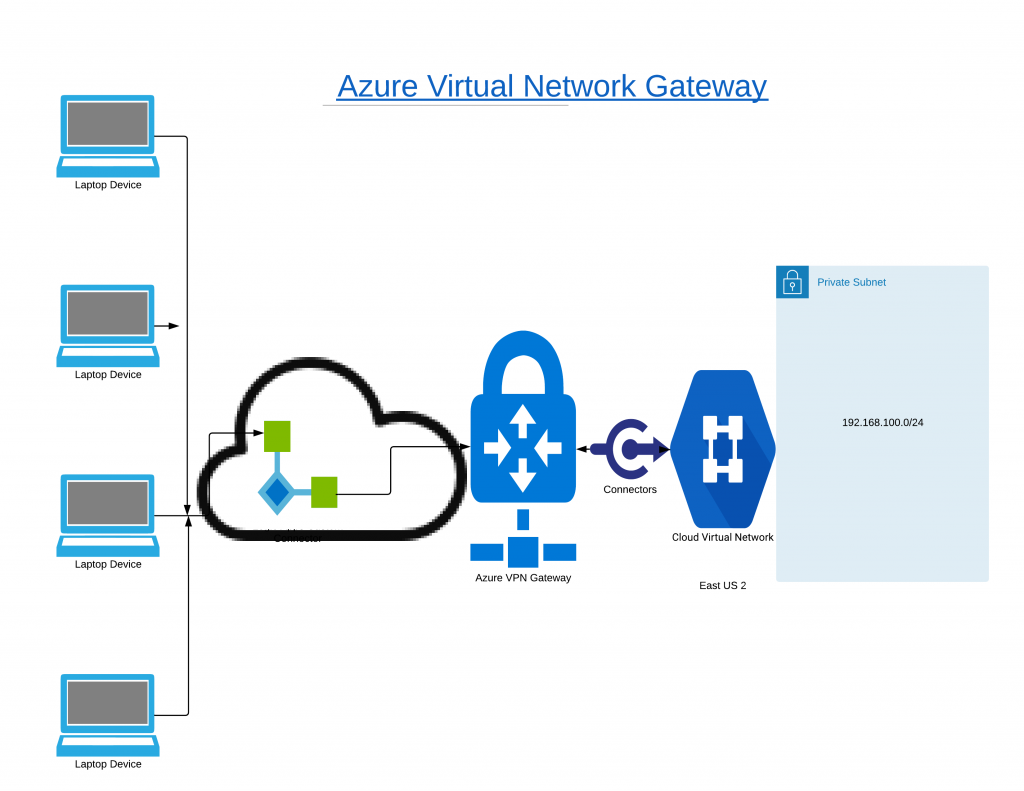
The following steps are involved in setting up Azure Virtual Network Gateway. We see the steps one by one and create complete Virtual Network Gateway setup and connect the VPN gateway from a Windows 10 client computer.
- Create Azure Virtual Network
- Create Gateway Subnet
- Deploy Virtual Network Gateway
- Generate self-signed Certificate
- Export the Root and Client Certificates using certificates MMC
- Connect Azure Virtual Network using VPN client on Windows 10 PC.
Create Azure Virtual Network
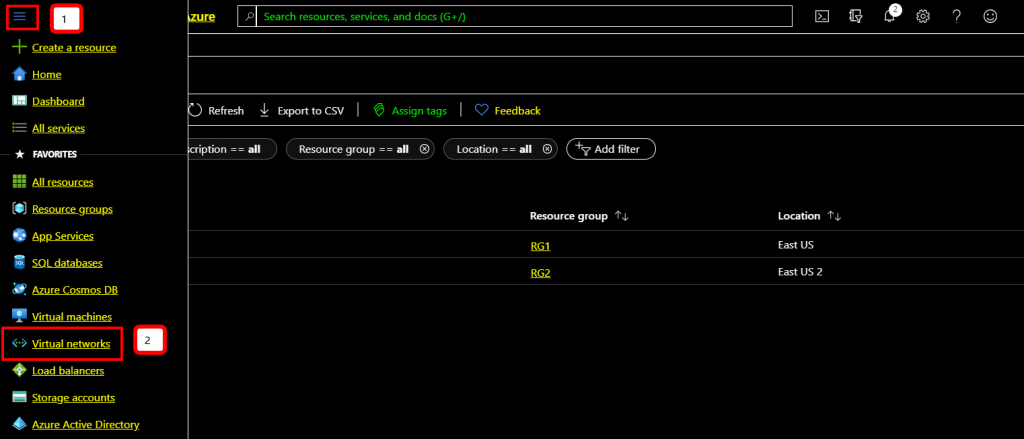
Open Azure Portal using Azure Portal client or Web browser.
Click Menu Icon and Virtual Network
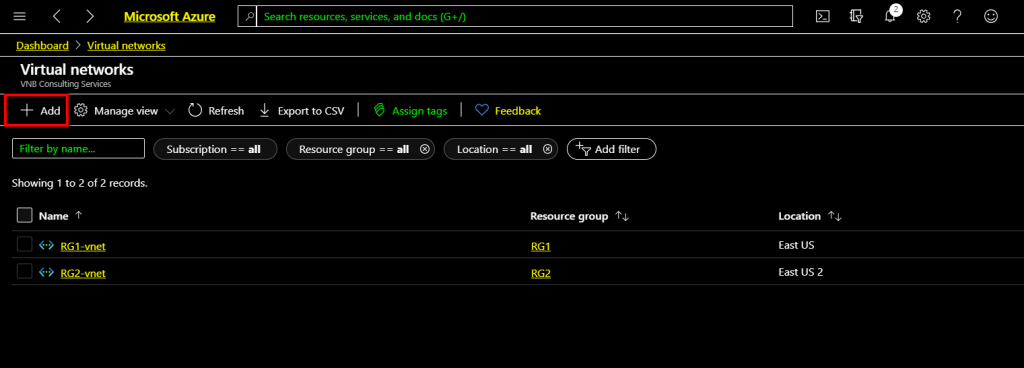
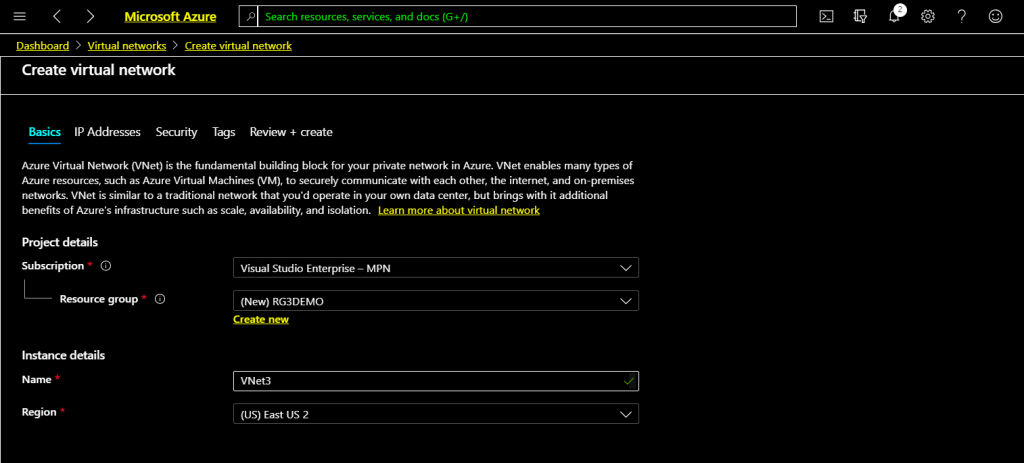
In this demonstration, we are creating a new Virtual Network named VNet3. On the Azure portal, click add on the Virtual Network screen opened in the previous step. Clicking Add on the Virtual Network tab will add a Net Virtual Network.
A new Resource Group for this demo created with the name RGDEMO. Type a name for this Virtual Network. I have given Vnet3 as a Virtual Network name for this demonstration.
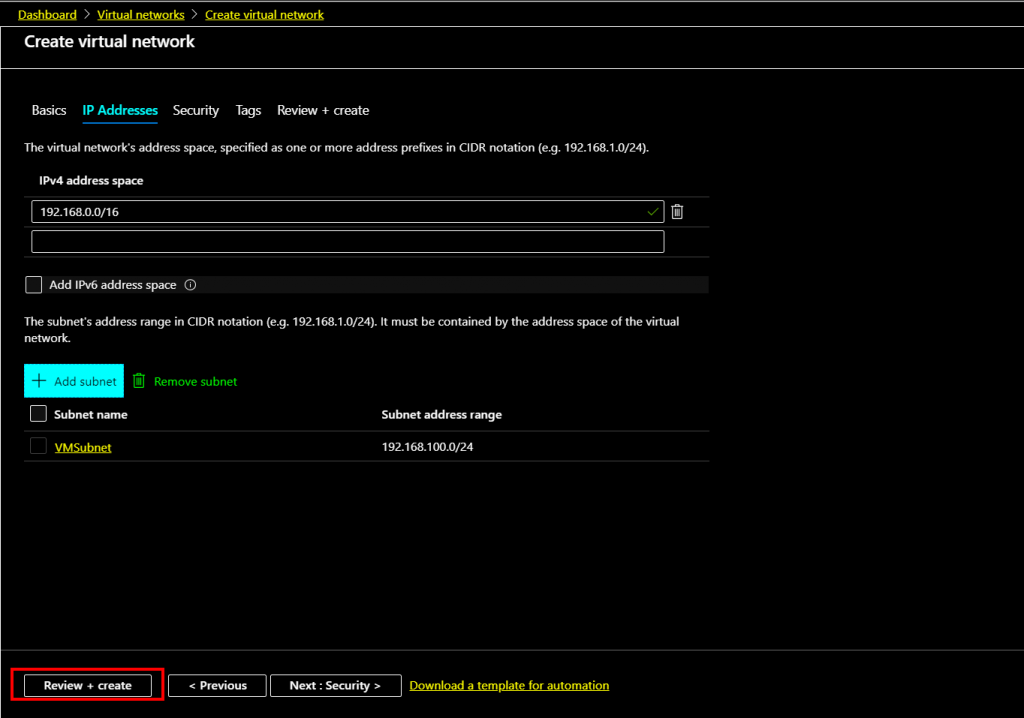
The address space with the IP address 192.168.0.0/16 set on the IP Address Tab on the create virtual network window with subnet range 192.168.100.0/24 added.
Azure Point to Site VPN Setup

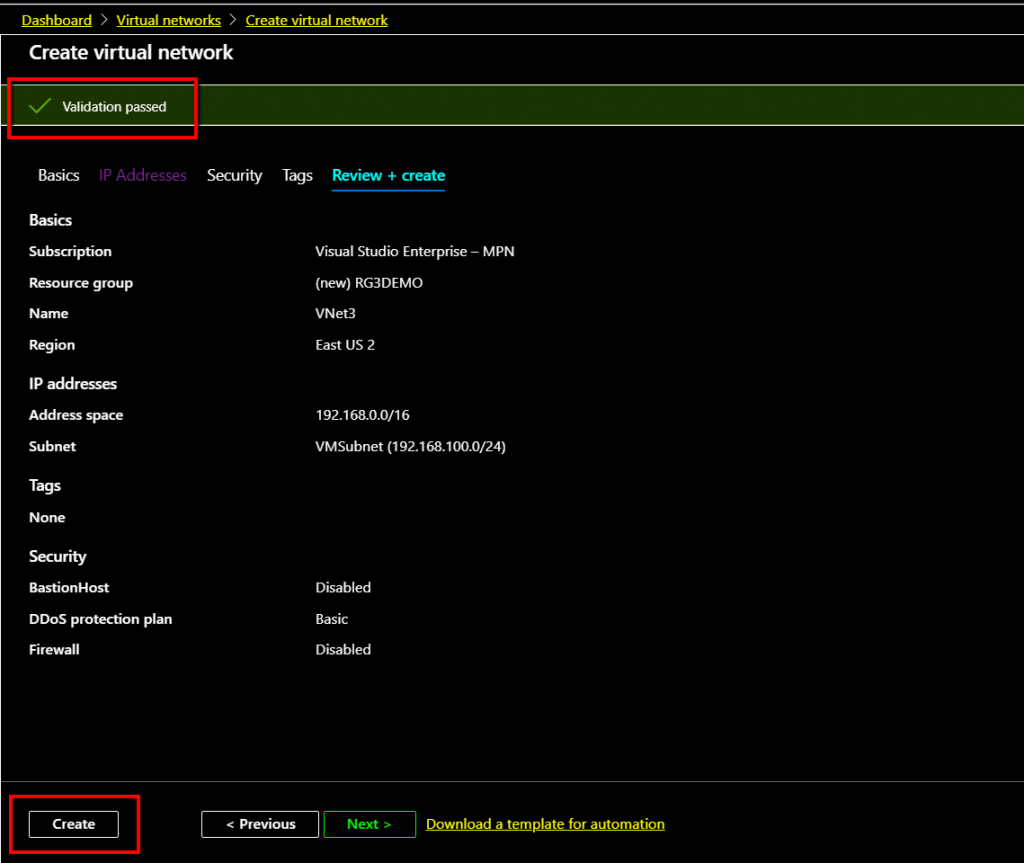
Once the subnet range added within the address space, click Review+create to validate the settings.
As the validation passed, click Create to start the Virtual Network deployment.
Click Go to Resource to open the Virtual networks list to continue with setting up Gateway subnet.
Azure Point to Site VPN Setup
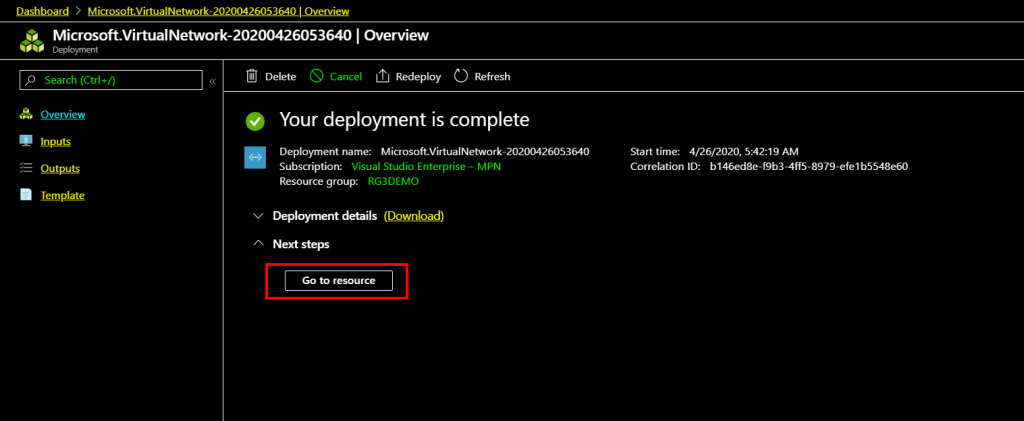
Click Go to Resource to open the Virtual networks list to continue with setting up Gateway subenet.
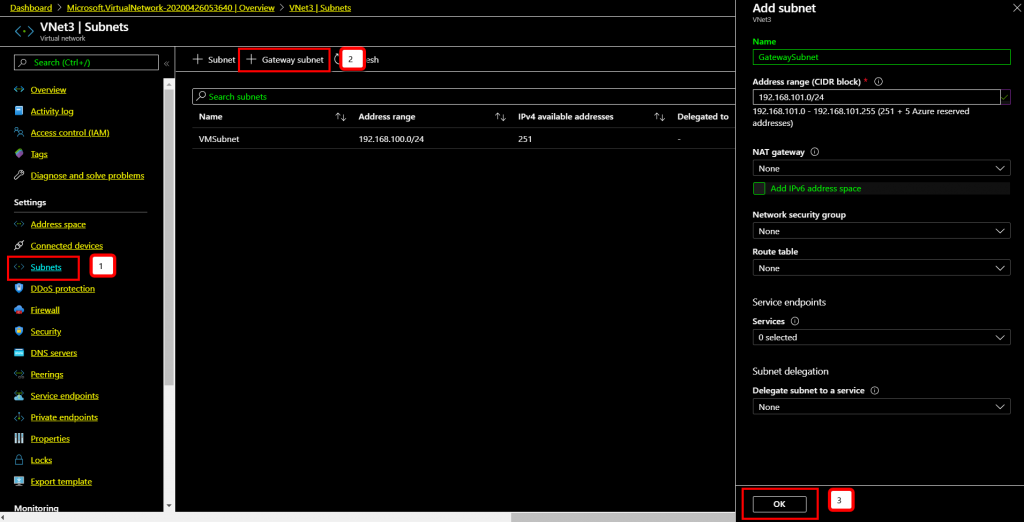
On the newly created Virtual Network, click +Gateway Subnet to add a Gateway subnet to configure this Virtual network deploy Virtual Network Gateway. A new subnet range 192.168.101.0/24 assigned for gateway subnet. Type the subnet range and leave other settings default and click OK.
The newly created Gateway subnet will be listed on the subnet list with the name GatewaySubnet.
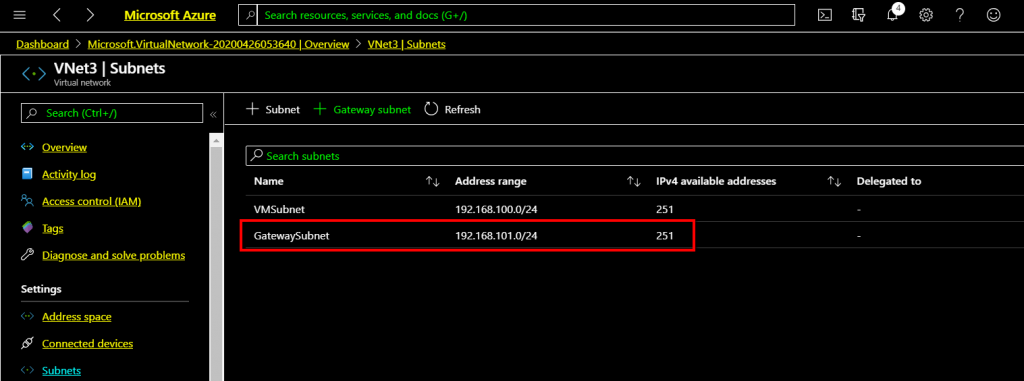
We have completed adding Gateway Subnet. Next, we are deploying Virtual Network Gateway.
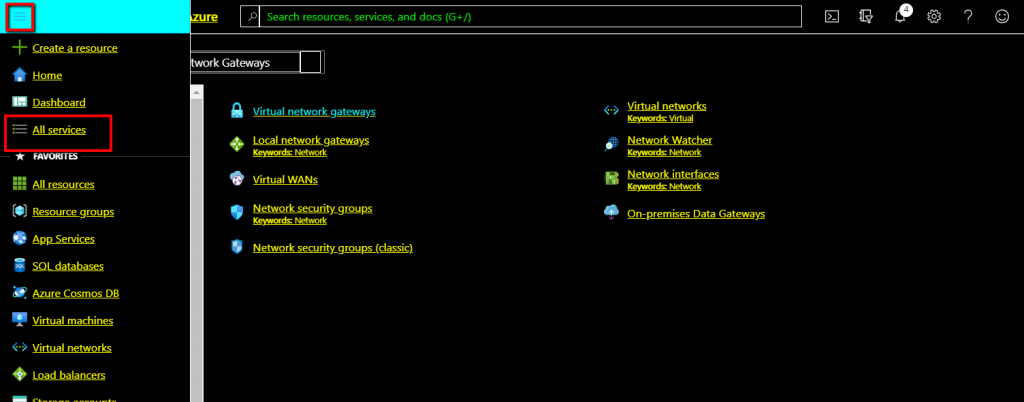
Go to Menu ico on the top left corner and select All Services and Networking category on the menu.

Azure Point to Site VPN Setup
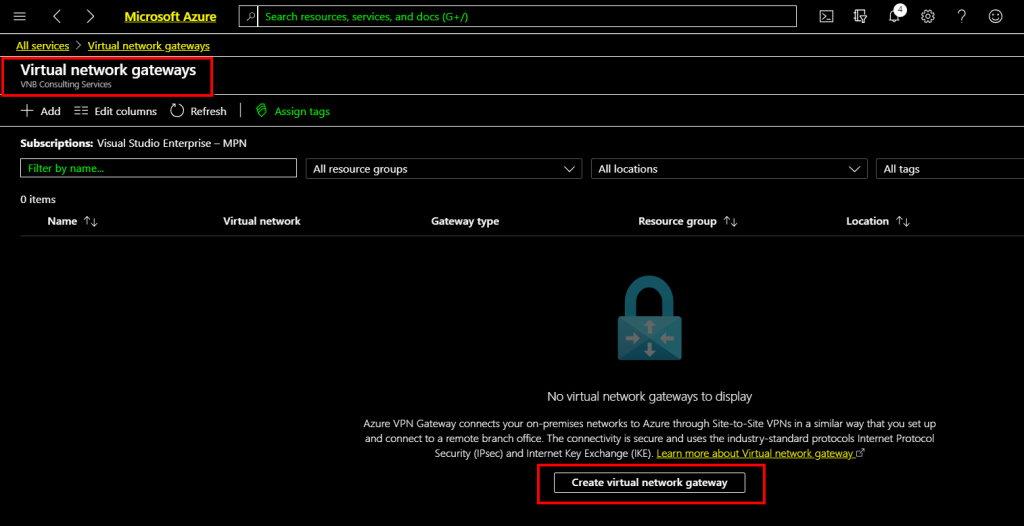
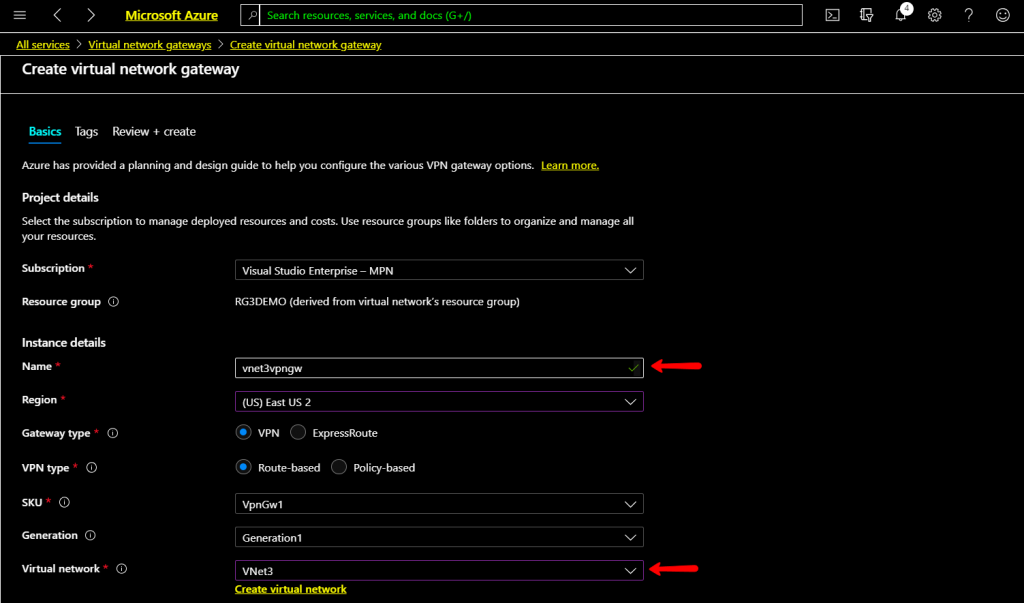
On the Virtual Network Gateway tab click Create virtual network gateway on the middle of the window.
The create virtual network gateway window open and type a name for this gateway and select Region. Select Virtual network name, in this case, the newly created Virtual Net Vnet3 selected.
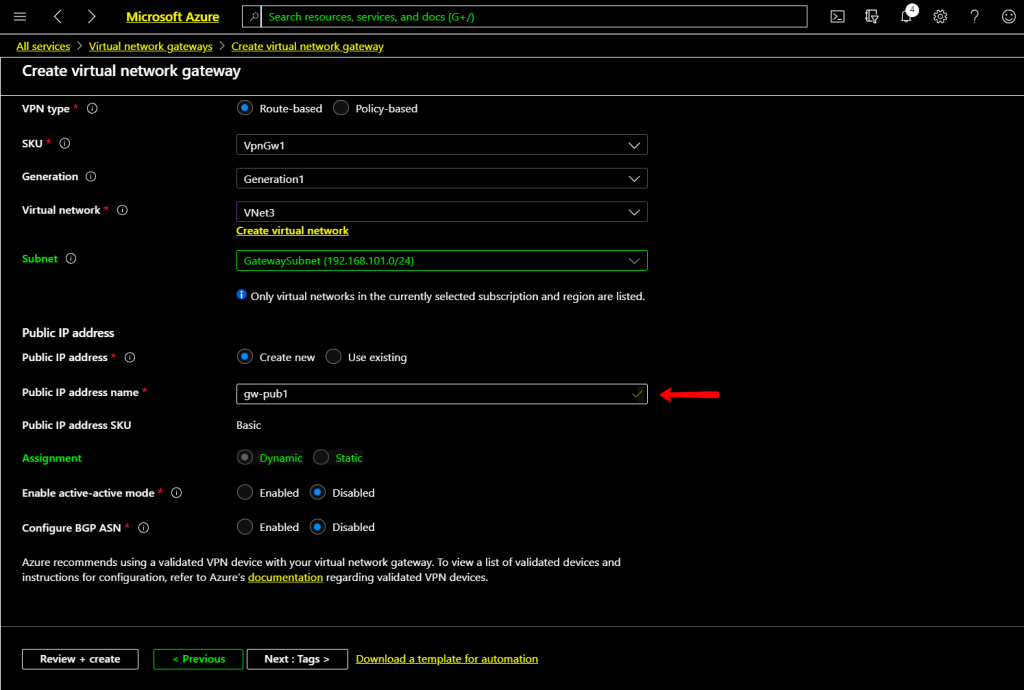
Scroll down and type a name for public IP address, leave all the other settings to deailt and click Review+Create.
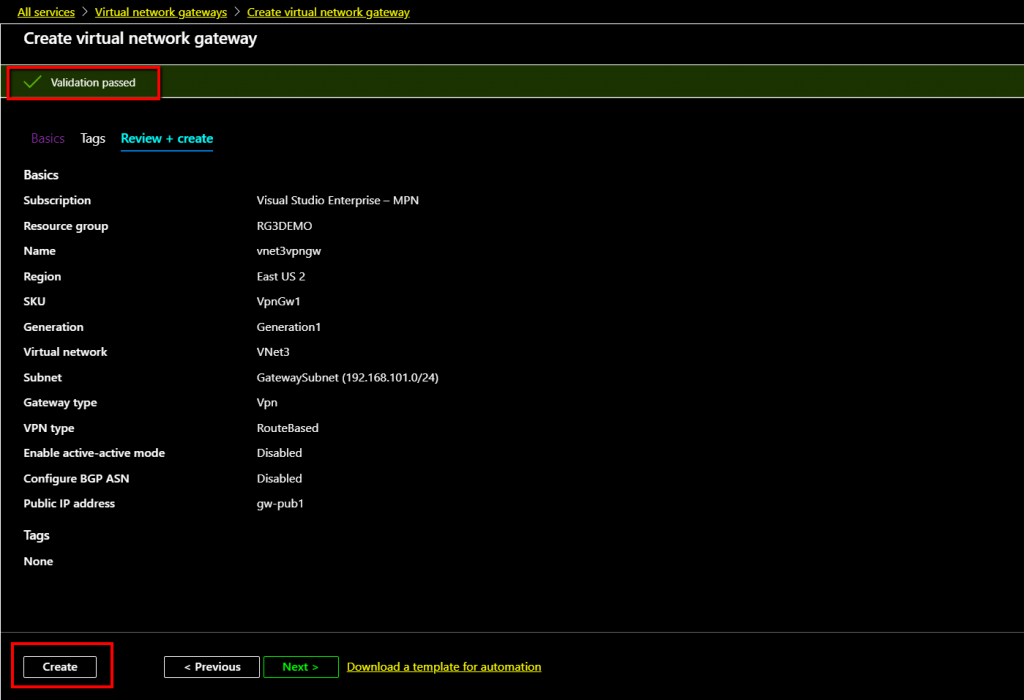
The Virtual network gateway parameters are correct, so we get validation passed. Click Create to start the deployment of Virtual Network Gateway. This deployment process will take more than 15 mins, so wait for the deployment to complete.
Azure Point to Site VPN Setup
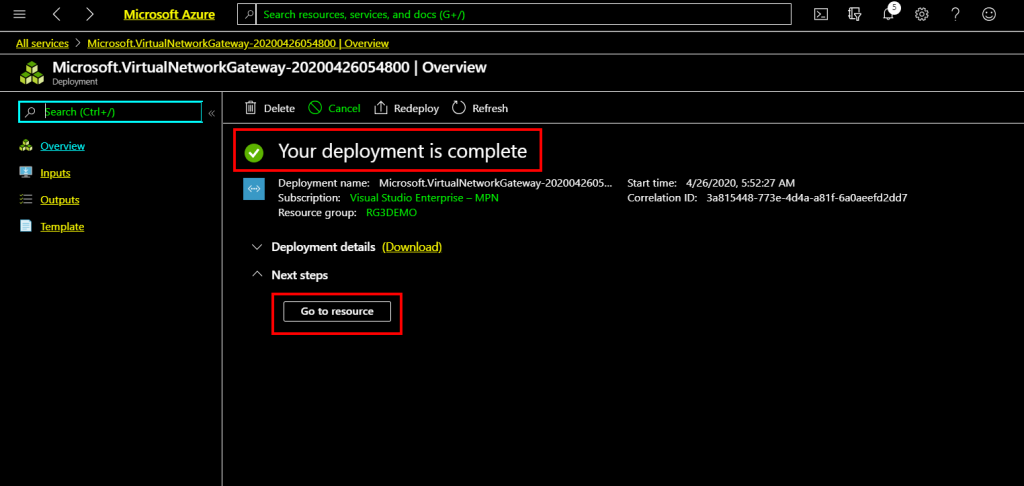
The Virtual Network Gateway deployment is complere. Click Go to resource to configure it.
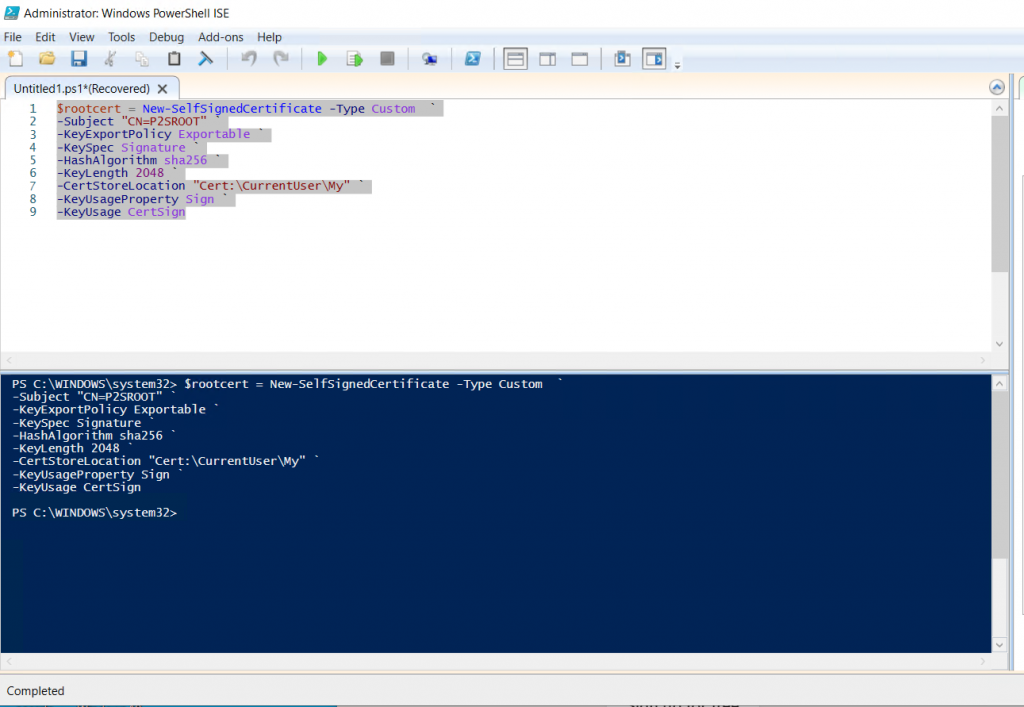
Open PowerShell ISE as an administrator in a Windows 10 Client computer and copy and paste Powheshell ISE script editor window (you can customize the subject name as you want).
$rootcert = New-SelfSignedCertificate -Type Custom  `
-Subject "CN=P2SROOT" `
-KeyExportPolicy Exportable `
-KeySpec Signature `
-HashAlgorithm sha256 `
-KeyLength 2048 `
-CertStoreLocation "Cert:\CurrentUser\My" `
-KeyUsageProperty Sign `
-KeyUsage CertSign
The above command will create a variable with the root certificate for the Client certificate that we are generating in the next step. Select the command as in the picture below and run it.
Azure Point to Site VPN Setup
With the root certificate that we created in the previous step, we are using the root certicate variable that we have created and us the code below to generate a client certificate with the name P2SClient on the PowerShell ISE.`
New-SelfSignedCertificate -Type Custom `
-DnsName P2SCLIENT `
-KeySpec Signature `
-Subject "CN=P2SCLIENT" `
-KeyExportPolicy Exportable `
-HashAlgorithm sha256 `
-KeyLength 2048 `
-CertStoreLocation "Cert:\CurrentUser\My" `
-Signer $rootcert `
-TextExtension @("2.5.29.37={text}1.3.6.1.5.5.7.3.2")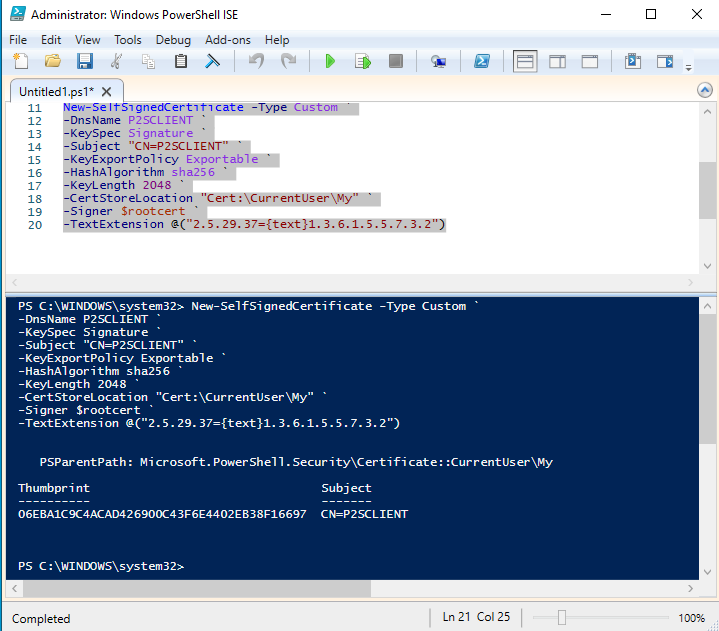
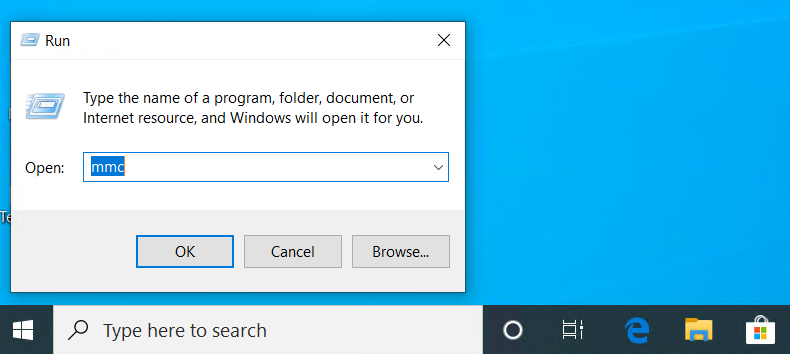
In the previous two steps, we have created a root certificate and client certificate using that root certificate. We are going to export the root certificate and the client certificate using the Microsoft Management Console (MMC) with the certificate snap-in.
Press Windows+R and type mmc and click OK.
On the Microsoft Management Console, click File and Add/Remove Snap-In

Azure Point to Site VPN Setup
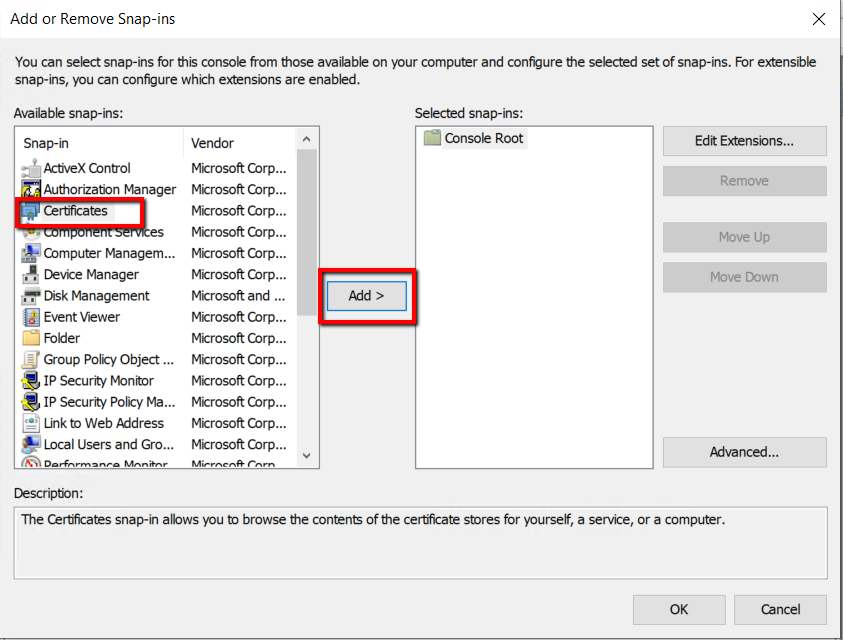
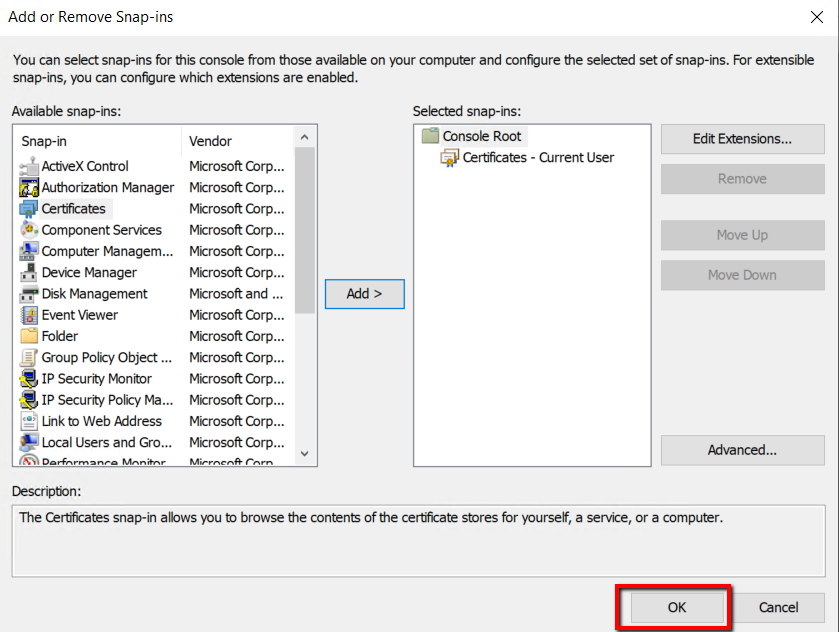
Select Certificates from available snap-in and click Add.
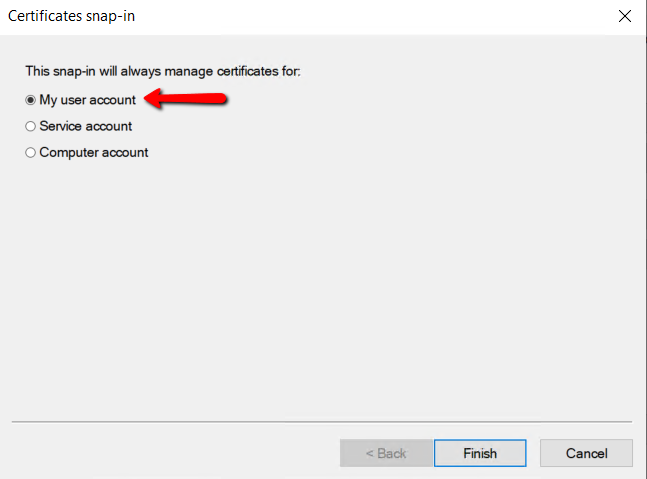
Select My user account on the available certificate snap-ins and click Finish.
As Certificates snap-in selected, click OK.
Azure Point to Site VPN Setup
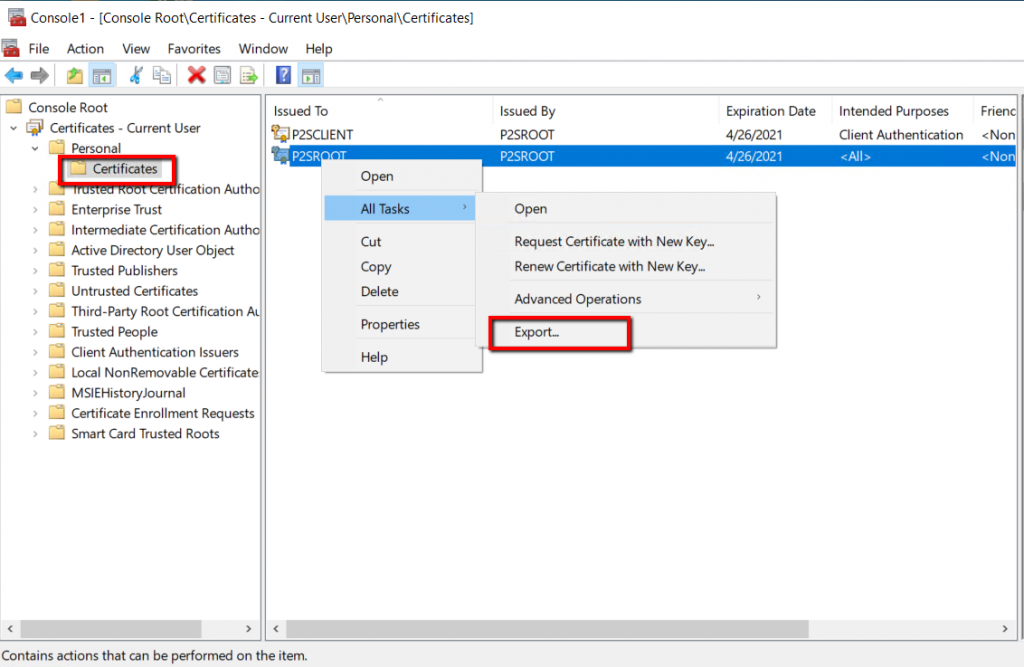
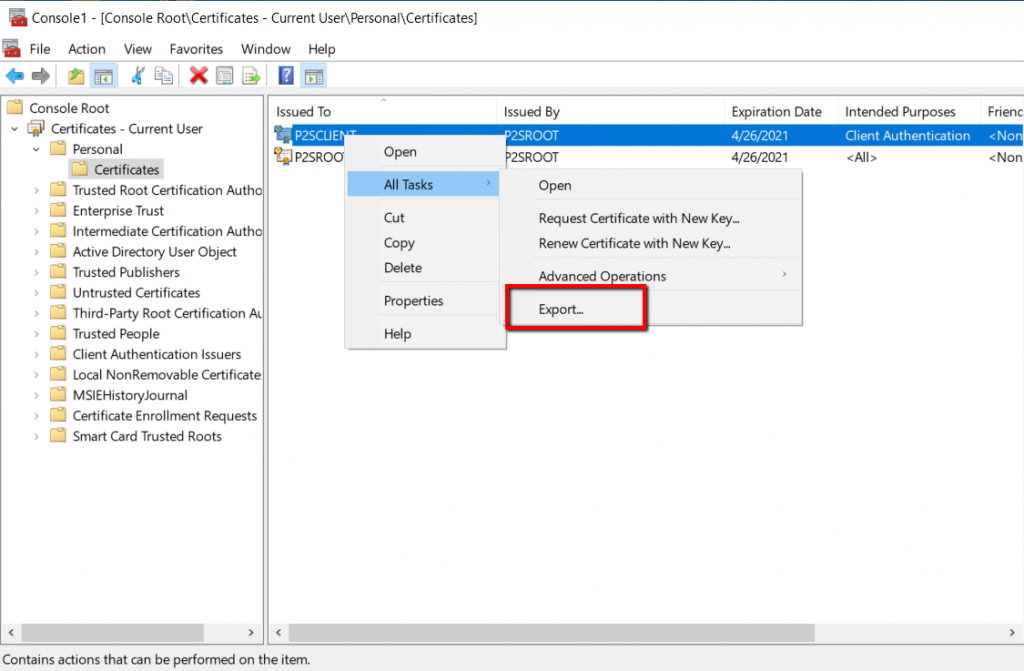
We are exporting Root certificate first and then client certificate subsequently. Right click the P2SRoot and click Export under All Tasks.
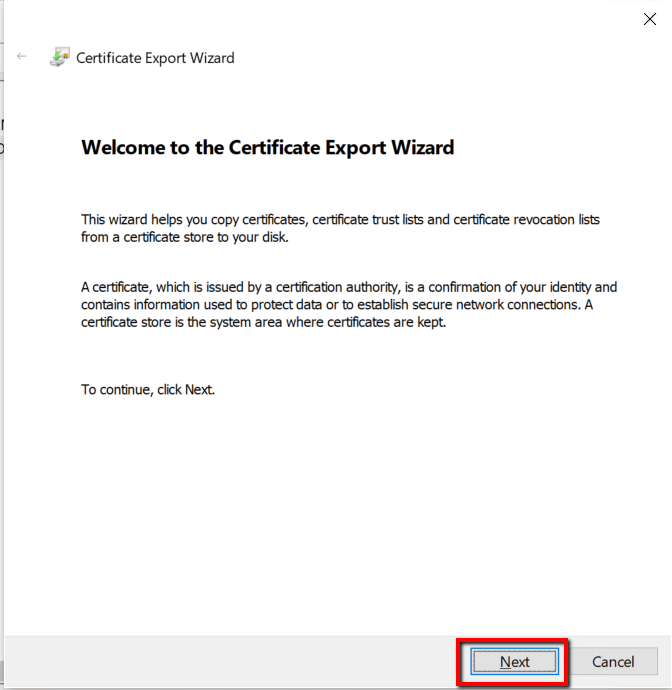
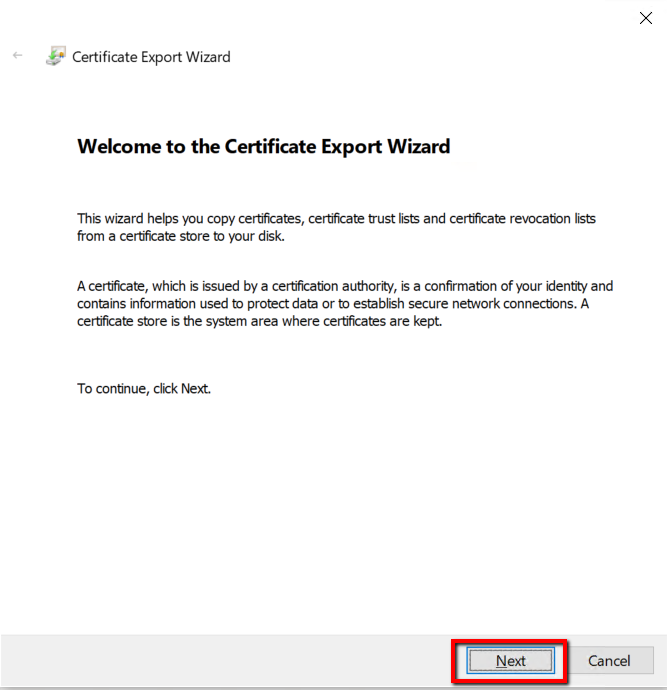
A Certificate export wizard will open with a Welcome page, click Next to continue.
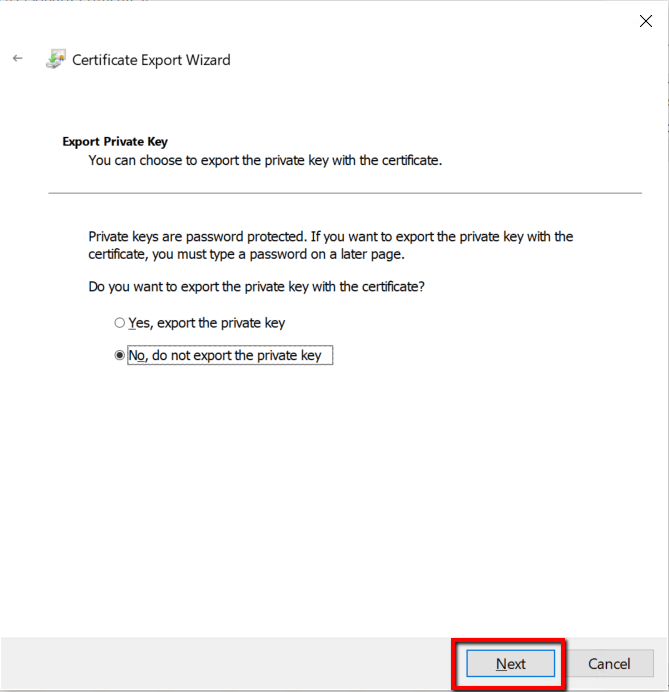
On the Root certificate export, we are not exporting a private key, select No, do not export the private key, and click Next.
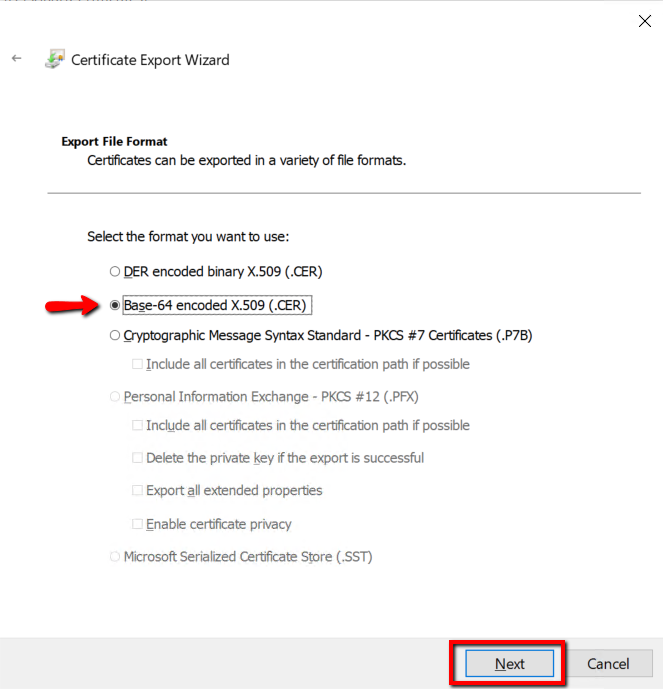
On Export file format page, select “Base-64 Encoded X.509 (.CER)” and click Next.
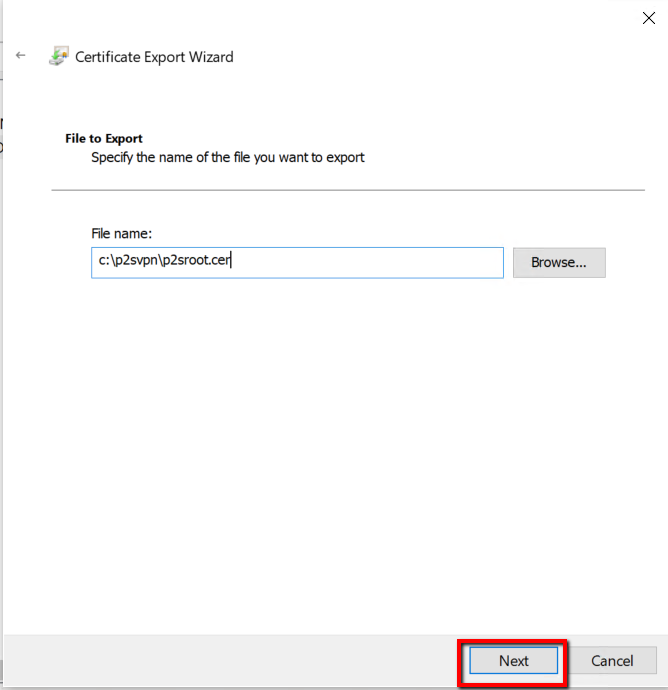
Type the file path and file name with .cer extension and store the certificate in a secure page and click Next.
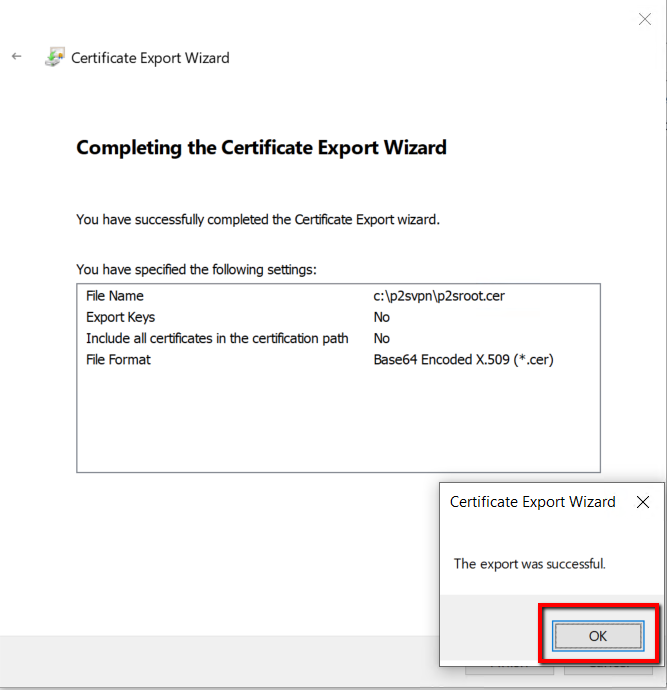
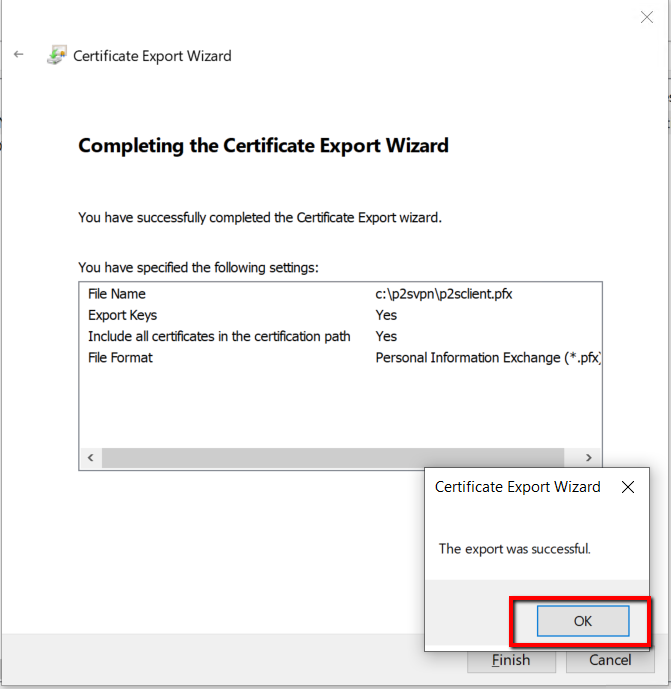
On the certificate export complete page of the Wizard, click Finish closing the Wizard.
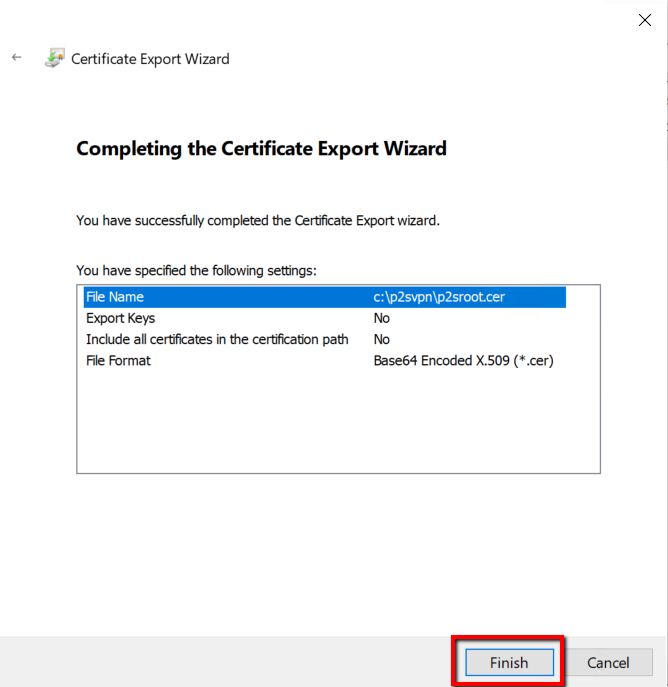
Click OK on Certificate export wizard, “The export was successful” message popup.
The next step is to export the client certificate with the private key.
Right-click the client certificate P2SCLIENT and click export under All Tasks.
The certificate export wizard will start with a welcome page, click Next to continue.
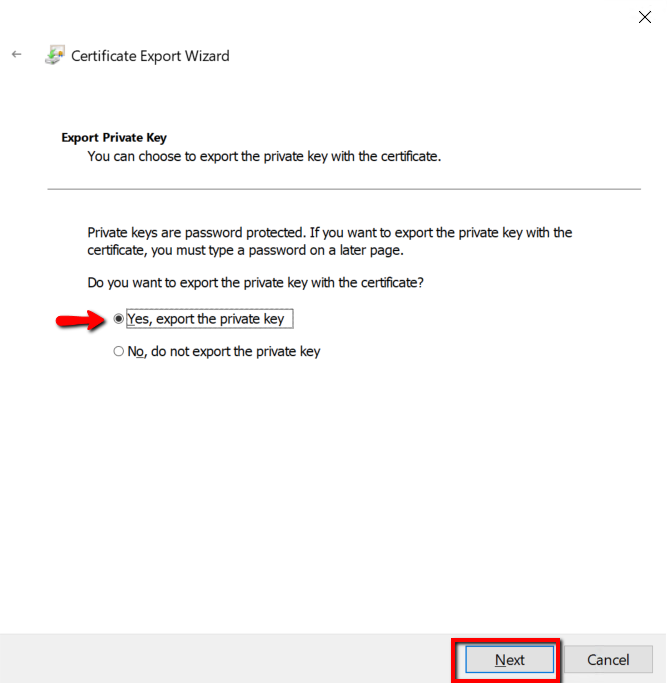
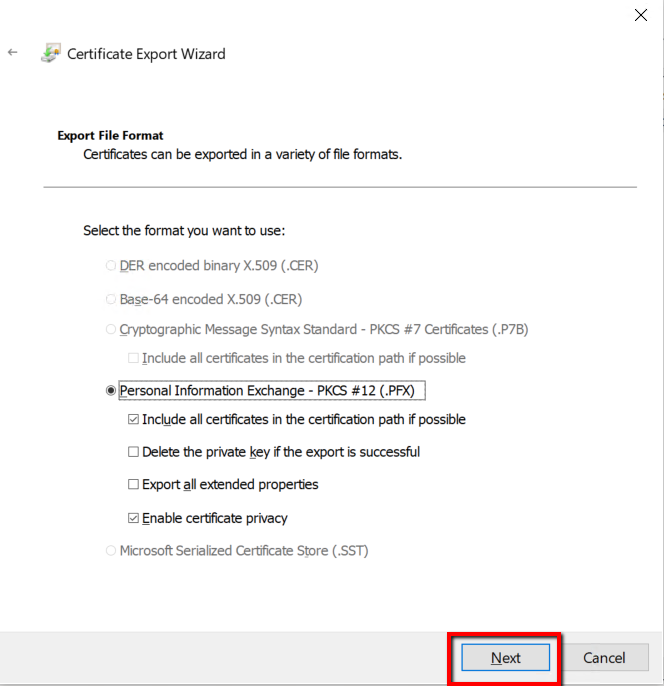
This time we are selecting “Export private key.” This certificate is going to be installed on the client computer that needs Azure Point to Site VPN access for authentication. Select ”Yes, Export Private key” and click Next.
Leave the default selections and click Next.
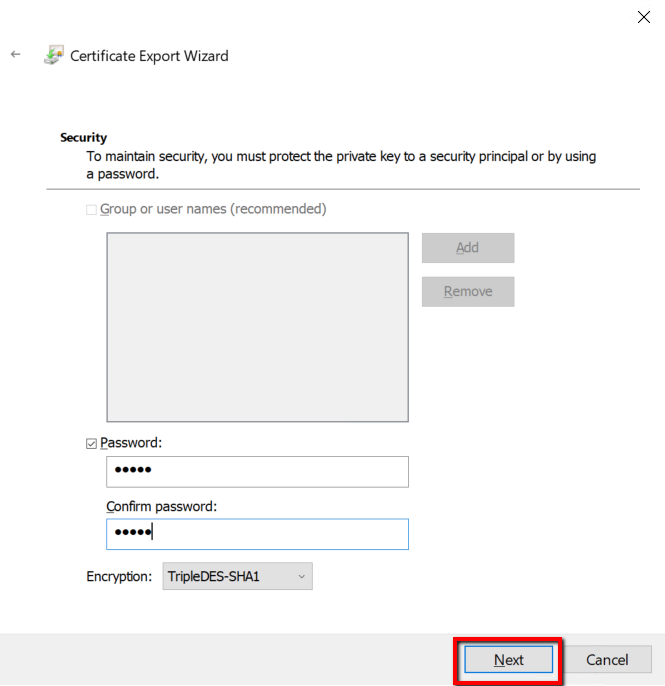
Type a password for the certificate file and click Next.
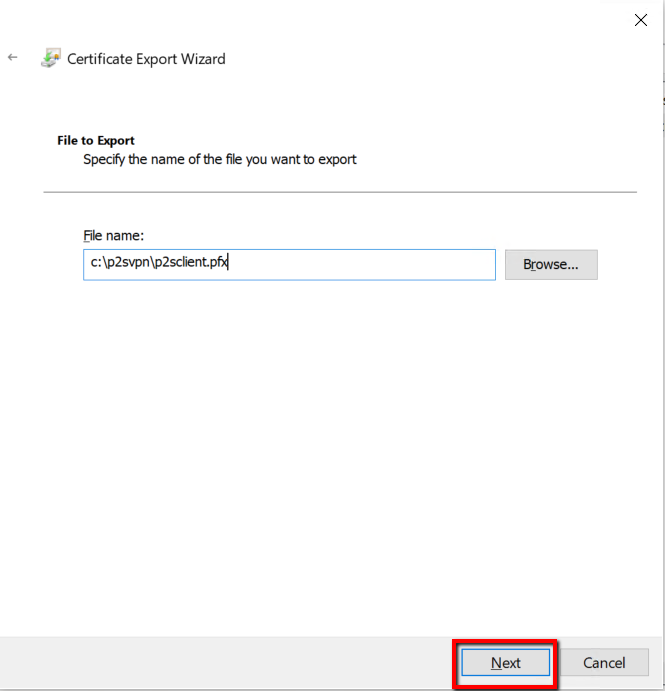
Type a file path and file name with extension and click Next.
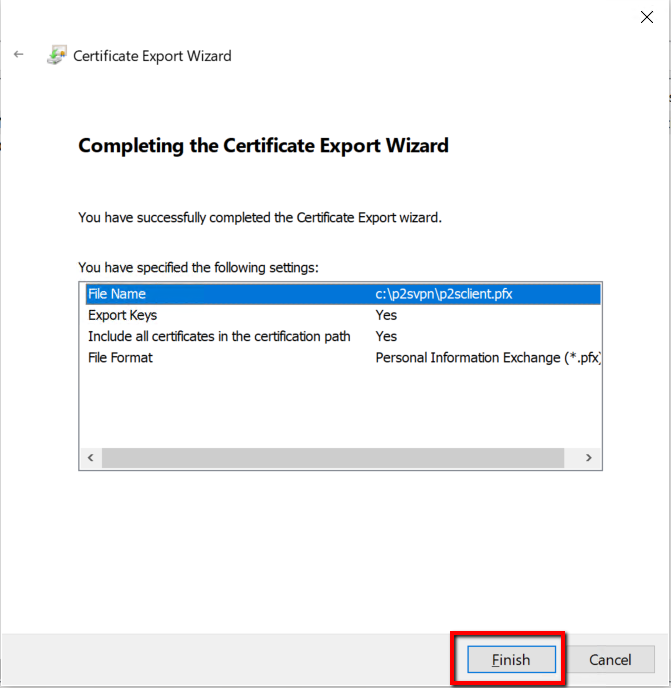
On the completing export wizard, click Finish.
Click OK on the confirmation message popup.
Go to file path that we exported and right-click the root certificate, and select the Notepad in the open with apps selection.
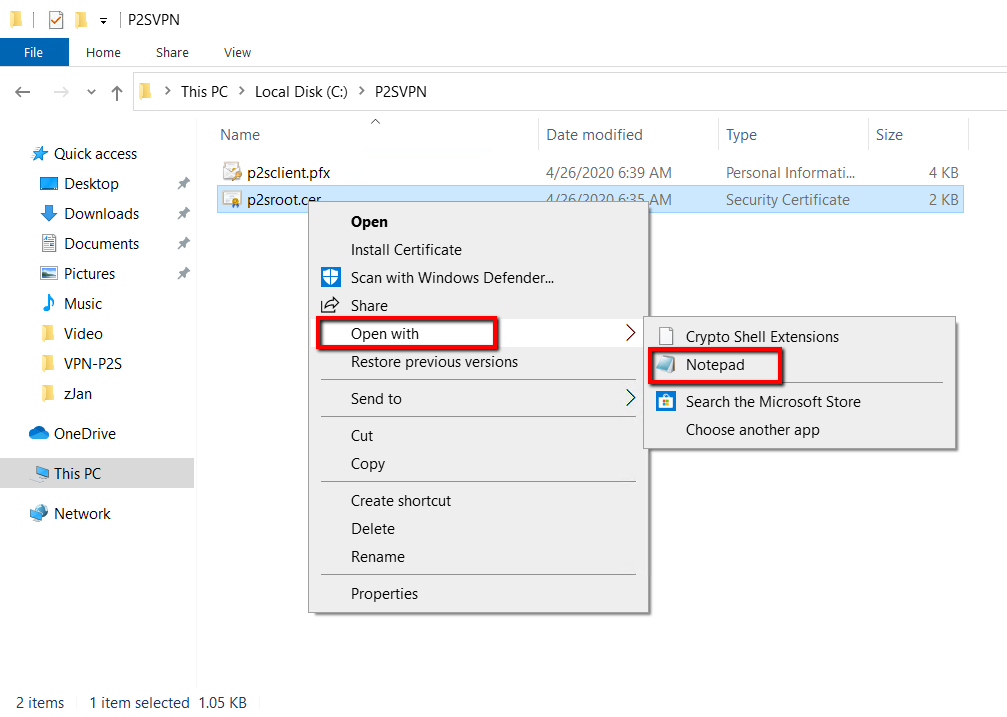
Copy the certificate content as selected in the image below.
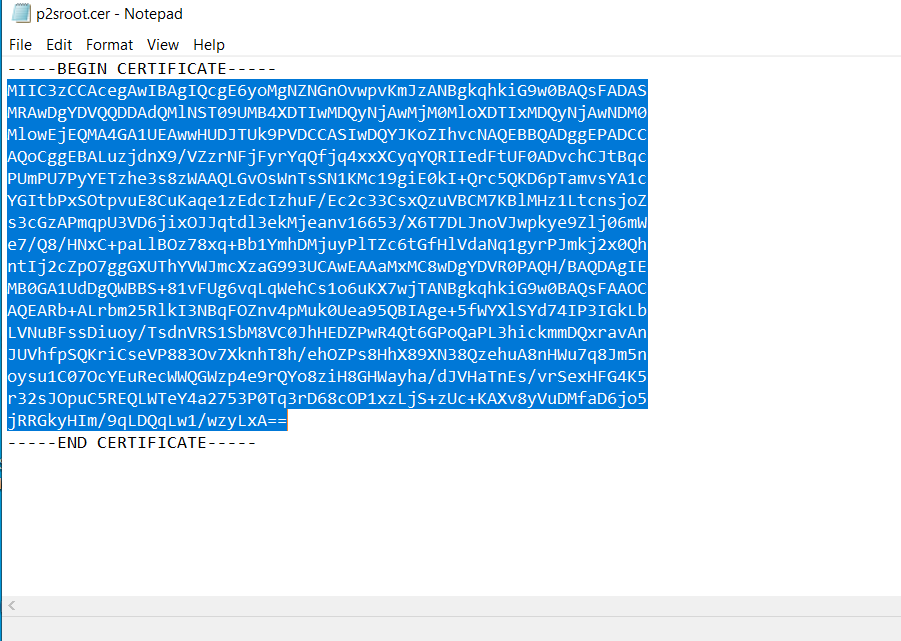
As the certificate content copied on the clipboard, open Azure Network gateway on the Azure portal and click configure now.
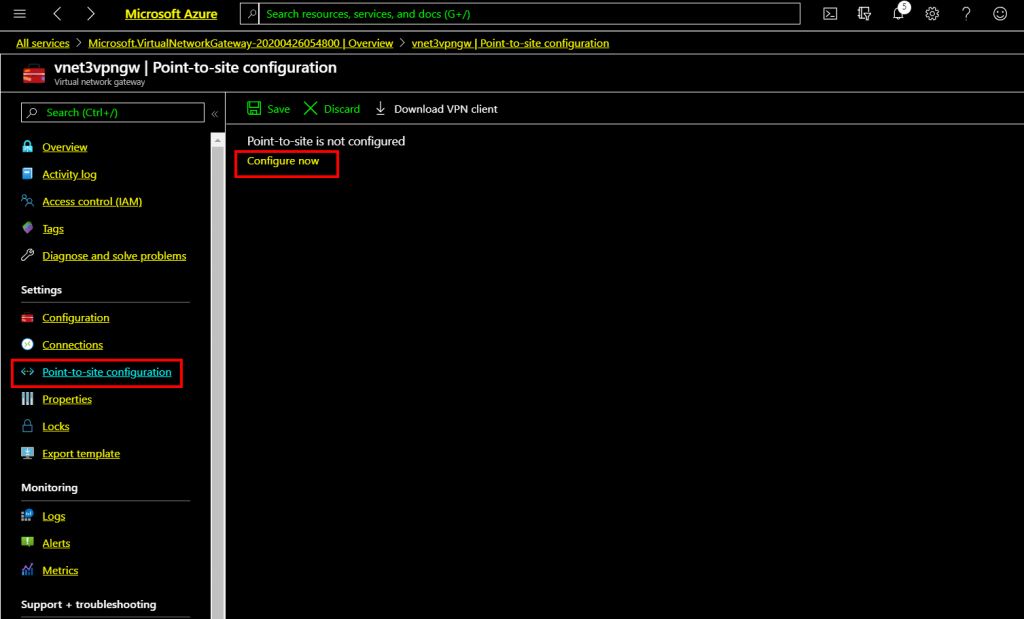
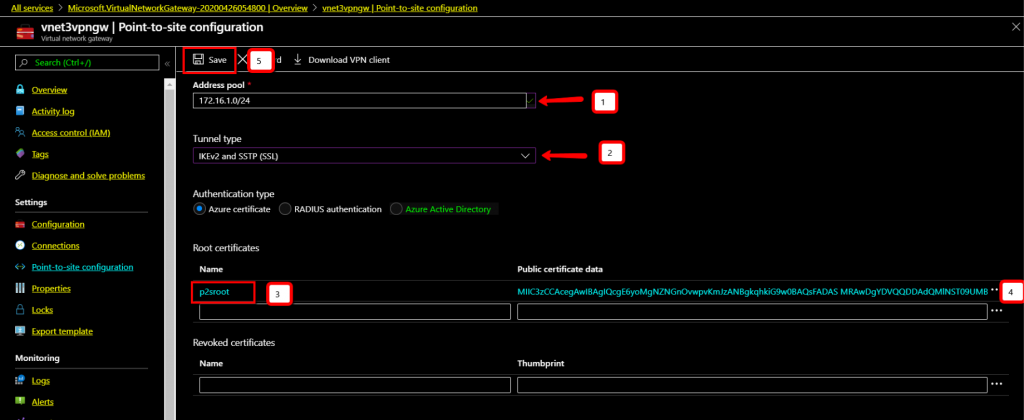
Type an Address pool range, IKEv2, and SSTP as tunnel type, Azure as authentication type and type a name for root certificate name and paste the certificate content, which is there in the clipboard on the public certificate data box.
Click Save and exit from the screen.
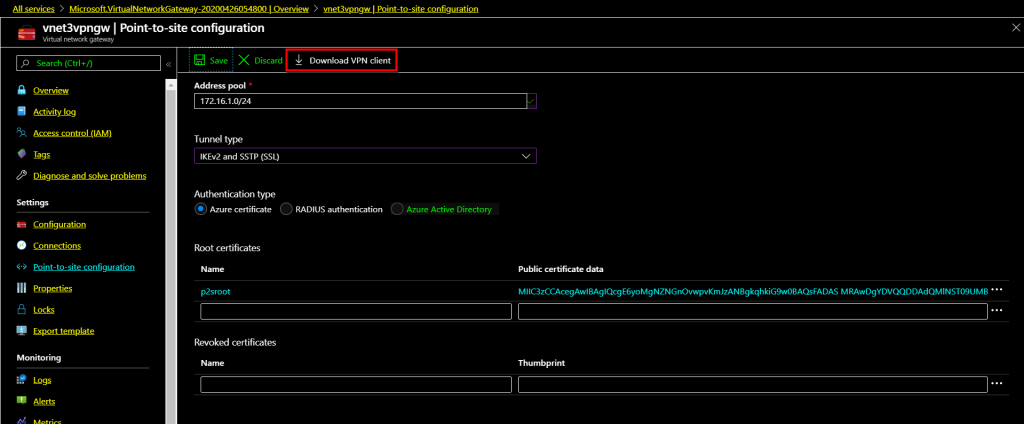
As the last step, click download VPN client to download he VPN client.
AZURE VPN Client Configuration
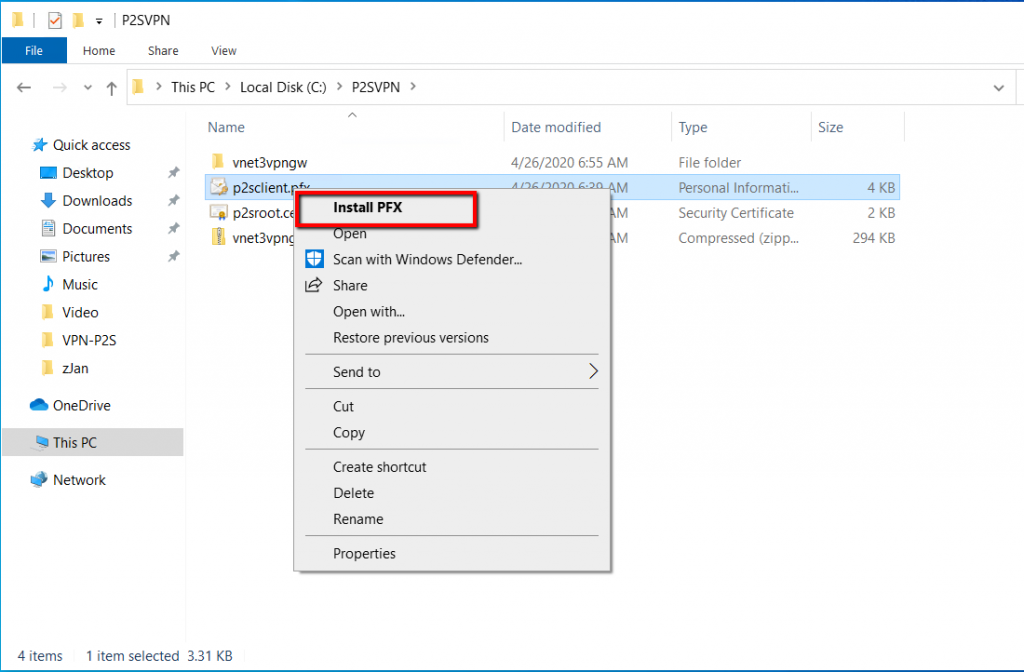
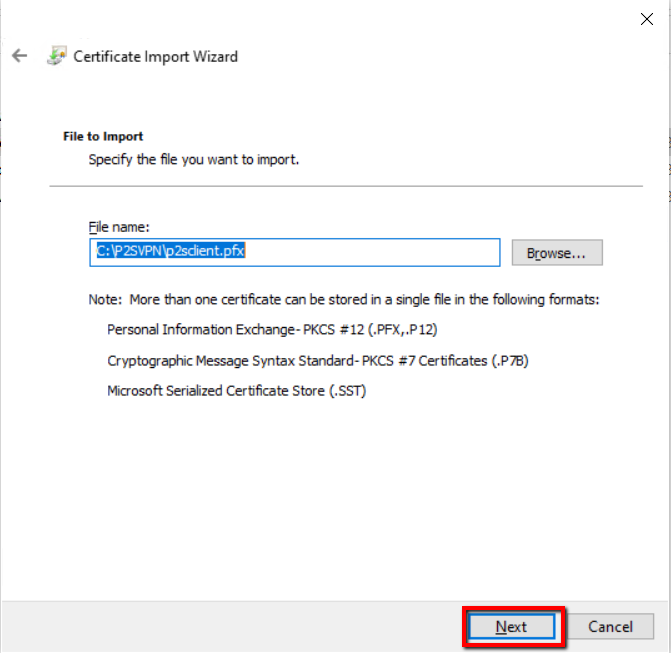
Right click eenergycleint.pfx certificate and select Install PFX
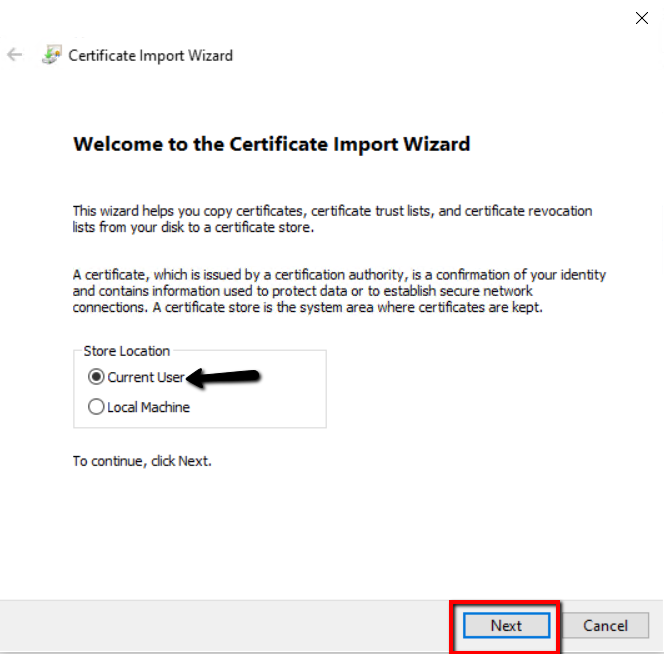
Select Current User and click Next,
On the File to import page, leave the default and click Next.
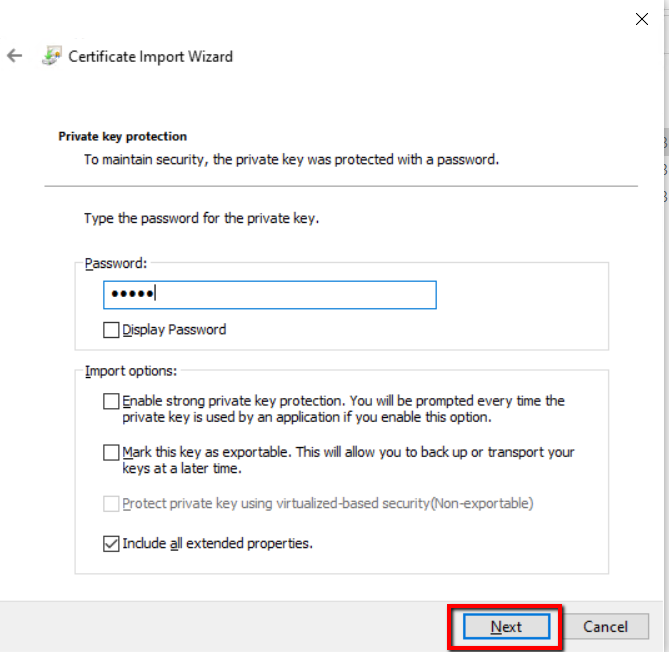
Type the password and click Next.
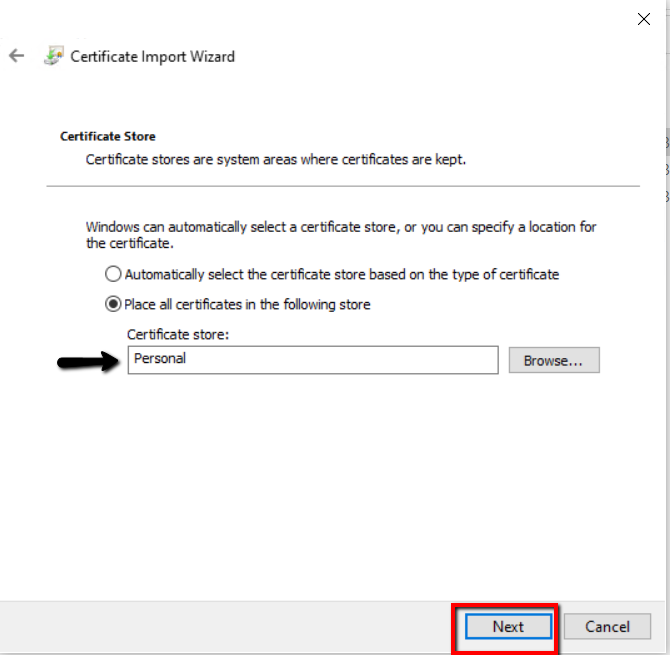
Please the certificate in the following store select the personal store and click Next.
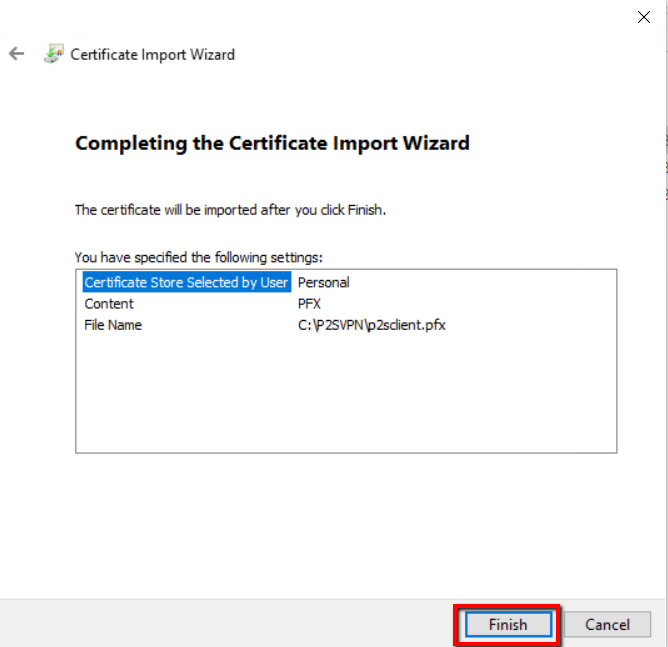
On the completing wizard page click Finish
Click OK to confirmation popup.
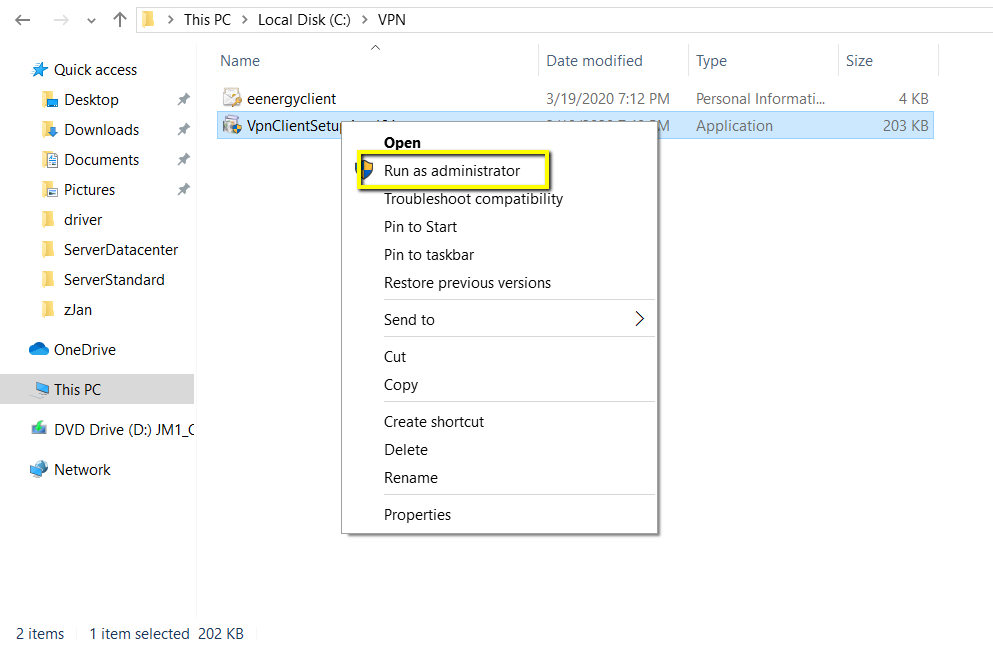
Next we are going to install the VPN client binary, right click the install file and select Run as administrator.
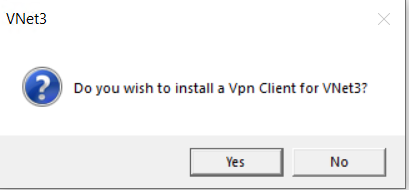
Click yes to install confirmation dialog box.
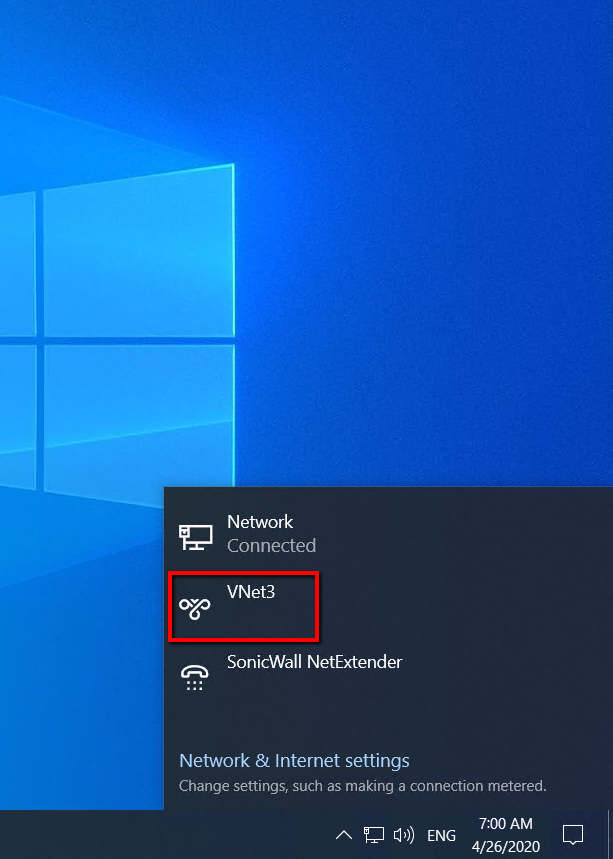
On the Task bar click the network icon and click VNET3.
The Network & Internet settings page will open, select the VNET3, and click connect.

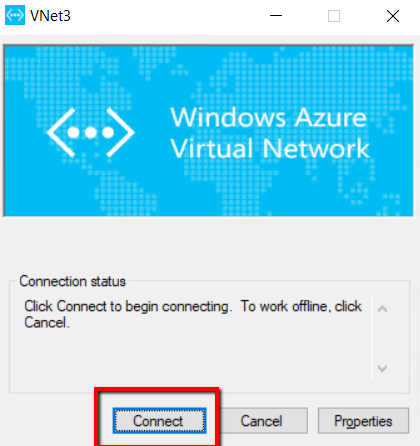
Click connect to Azure point to client VPN.
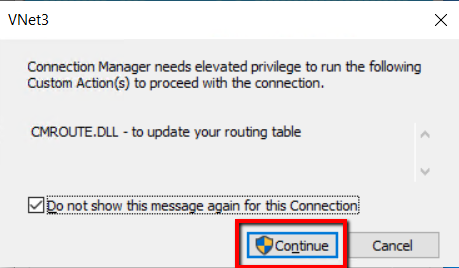
Check “Do not show this message again for this connection” and click Continue.
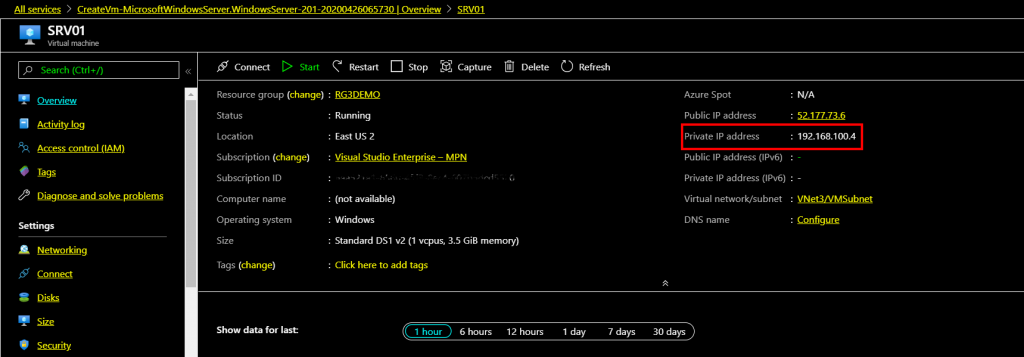
Once connected, use the private IP address of the VM to RDP access.
Goto Virtual Machine overview on Azure Portal and copy the private IP of the VM.
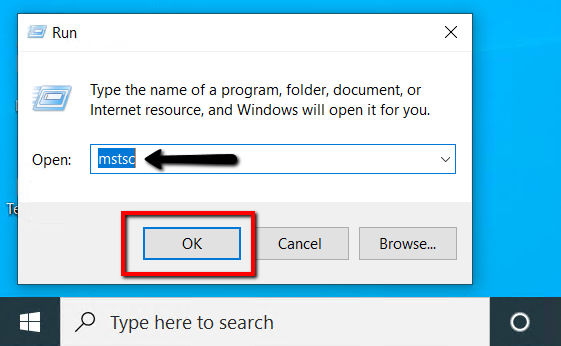
Go to StartàRun and type “mstsc” and click OK.
Paste the private IP address copied on the clipboard from Azure Portal and click Connect.
The remote desktop connection will prompt for credentials, type credentials and click OK.
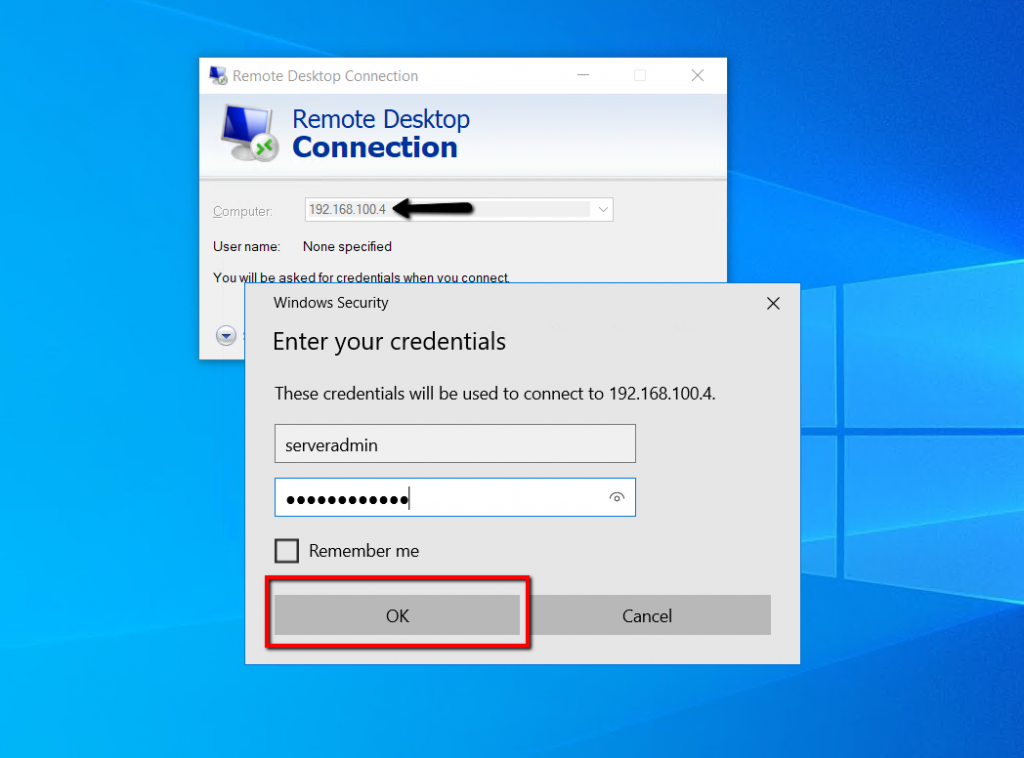
The ipconfig command on the picture shows you have logged in using the private IP with VPN Connectivity.

Conclusion
In this article we have gone through the Azure VPN client setup for Point to Site setup. We have created subnet gateway, deployed VPN gateway and connected windows 10 client and accessed the resource inside the Azure network with the private IP address of the device.
If you have any questions or feed back, please post it in the comment column below. I’m happy to help you resolve the issues or answer to the questions if any at the earliest possible.