
How to Import Outlook Quick Steps in just 10 mins
Preface
Quick Steps on Outlook is a time saver to make the multiple steps of action to make it quick and easy with a single click of the mouse. In this article, we are going to look at the steps to Import Outlook Quick Steps from an old PC to a new PC or from one profile to another. Quick steps are integrated with the mailbox, so the import is necessary when the new mailbox is created or for a new mailbox account. This can be used either office 365 mailbox, live account mailbox, or Exchange server mailbox. The steps are the same. You do not have to connect outlook when the import is being done.
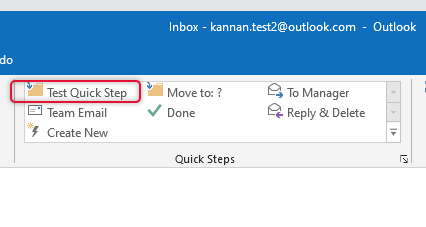
As we see on the Quick Steps list on the image below taken from the old outlook profile, the Test Quick-Step is the one we need to bring to New profile, you can use the same steps to bring it to the new PC.
To import the quick steps, we need to use a tool called MFCMAPI which can be downloaded from the link here
https://github.com/stephenegriffin/mfcmapi/releases/tag/20.0.20307.01
based on your Outlook architecture you can use either 32- or 64-bit version of the executable and run it on the computer where the Quick steps need to be exported from.
The 64-bit builds will only work on a machine with 64-bit Outlook installed. All other machines should use the 32-bit builds, regardless of the operating system.
RECOMMENDED:

How to Import Outlook Categories in just 10 steps
How can we get the categories from an old profile to a new profile or an old computer to a new computer? I had recently intervened in a difficult situation for our CEO categories missing on his Exchange Server mailbox…
Steps to Import Outlook Quick Steps:
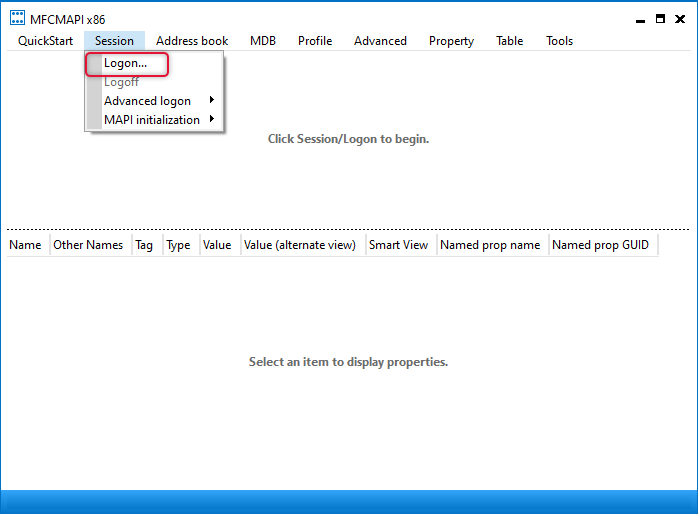
Launch the tool and click Session => Logon and select the outlook profile you want to get the quick steps from.
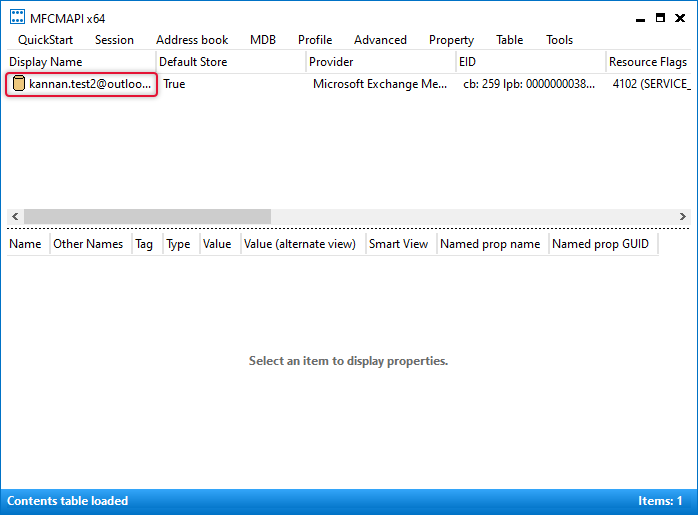
You would see the email account that is on the profile, double click the name of the email account which will bring the new window to MAPI properties.
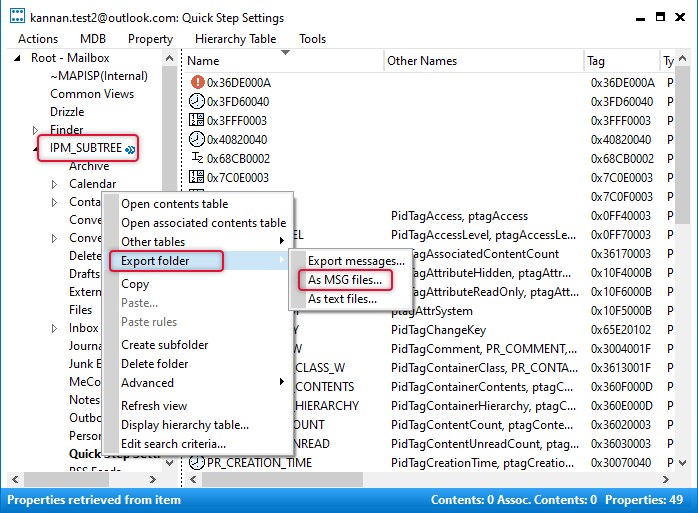
Expand the Root-Mailbox tree and the subtree called IPM_SUBTREE. Right-click Quick Step Settings on the IPM_SUBTREE and point to Export folder => As MSG files.
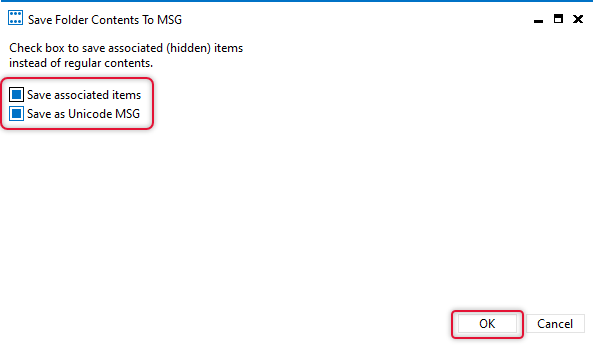
On Save Folder Contents to MSG, dialog box select both save associated items and Save as Unicode MSG and click OK.
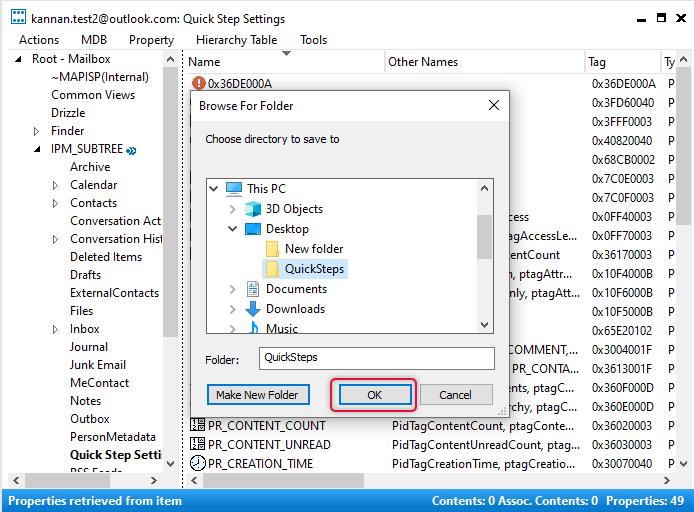
Select a folder to save as an MSG file and click OK.
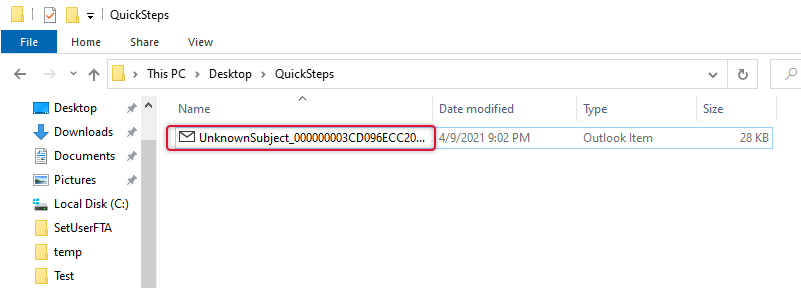
The MSG file is saved on the path given in the previous step, copy this file to a flash drive or network location that can be accessible by the PC you want to import.
On the New PC or the profile launch the MFSMAPI tool and log on to the profile that you want to Import Outlook Quick Steps it to.

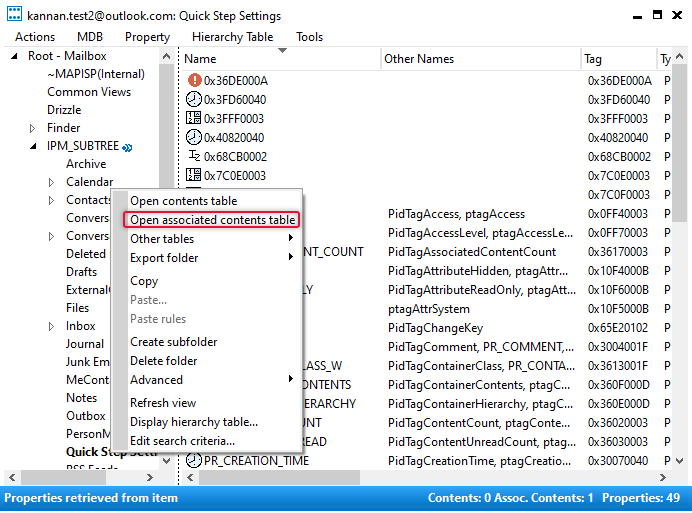
As we exported expand the tree Roo-Mailbox/IPM-SUBTREE/Quick-Step Settings and right-click Quick Step Settings and click “open Associated contents table”.
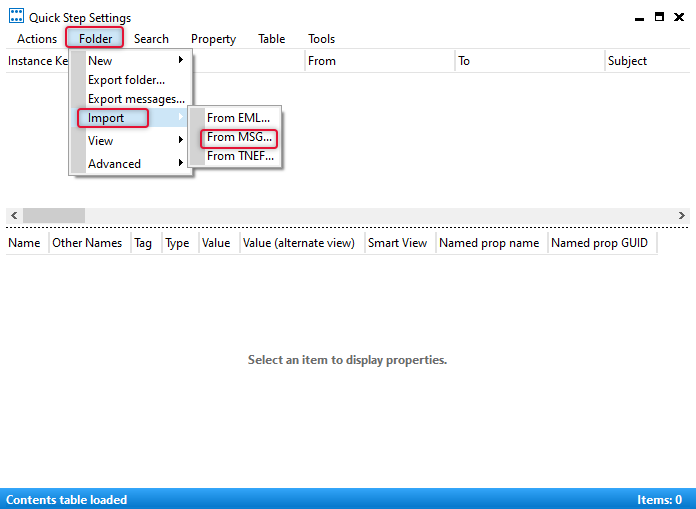
On the Quick-Step Settings window select Folder ⮞ Import ⮞ From MSG… to import from the MSG file that we stored previously.
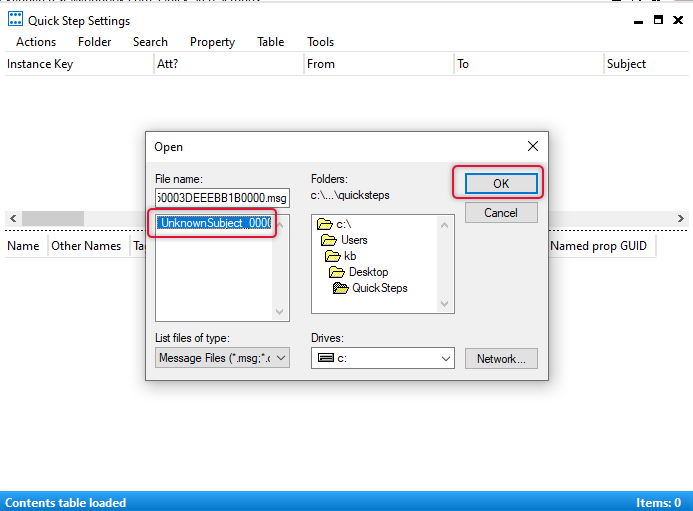
Point to the folder where the MSG file is available and select the file and click OK.
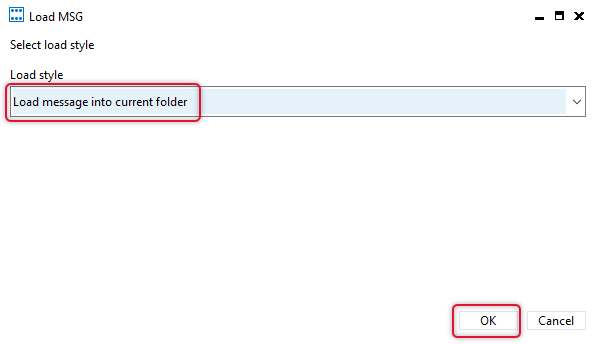
Select Load message into the current folder and click OK.
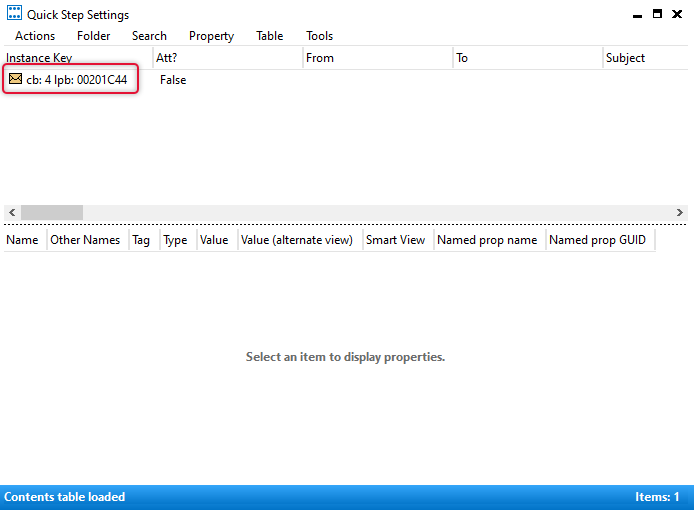
The Quick Steps Settings Folder content will list the quickstep message that we have import. If there are multiple files import them one by one.
The Quick-Step is imported, and it would be listed on the New email account profile as below.

Conclusion:
In this article, we have gone through the steps required to import Quick-Step that is on the email account in one profile to another or import to a new computer using the MFCMAPI tool.
It is immense pleasure for me to receive feedback from you all and I reply to it as soon as possible. I recommend you to take a look at a similar Article How to Import Outlook Categories. Thank you and see you on a different article.
1 Comment on "How to Import Outlook Quick Steps in just 10 mins"
This doesnt work as the Quick Step Settings (Only this computer) folder is empty. And there is no other Quick Step Settings folder. Please tell me where the QuickSteps are stored instead?