How to Properly Install and Configure Exchange Server 2019
Preface
In this article, we are going to immerse the installation of Exchange Server 2019 and configure some of the exchange components such as Virtual Directories, Outlook anywhere, etc. This article will cover how to Install and Configure Exchange Server 2019 using GUI.
I have already created a three-part article for the Migrating Exchange server 2013 to Exchange Server 2019 Installation and Configuration covered in that. It was installed using the command line interface, and most of the admins prefer the Graphical User Interface method to Install and Configure Exchange Server. Having that in mind, I have created this new article for the Exchange admins using GUI. Even though we have demonstrated the Exchange Server 2019 installation in those article series, configuring the Exchange server in the new Exchange Organization is somewhat different from configuring Exchange Server in an existing organization.
Also, this article will cover a complete configuration for a necessary Exchange Server deployment. This article will assume you have a Domain Controller up and running on your network, and you are going to install the Exchange Server 2019 on the active directory environment. If you are doing this installation on no Domain controller installed on the network or Test network, I would recommend installing a domain controller using my other article before installing the Exchange Server 2019. I also recommend going through this Microsoft link if you want to know all the Active Directory schema changes when you install Exchange Server 2019 on your Active Directory environment. You are advised to go through the complete document before starting the installation that way, and you will not get stuck on any step when you are trying to do Install and Configuring Exchange Server 2019. We are going to do the following tasks on Installing and Configuring Exchange Server 2019.
- Install Exchange Server Pre-requisite
- Install Exchange Server 2019 using GUI
- Create new outbound send connector to send emails to internet email
- Configure Virtual Directories
- Configure Outlook Anywhere
- Set Service Connection Point
- Rename default database and move database path
- Install Certificate
Pre-requisite to Install and Configure Exchange Server
The Windows Server 2019 has to be prepared and installed with Exchange Server 2019 Pre-requisites installing the Exchange Servers binaries.
The following Windows Server packages need to be installed before installing Exchange 2019 Server
.NET Framework 4.8
Visual C++ Redistributable Package for Visual Studio 2013
Unified Communications Managed API 4.0
Windows feature
Install .NET Framework 4.8
The .Net Framework 4.8 is required to install as a prerequisite software package. The package needs to be downloaded from the link below.
https://go.microsoft.com/fwlink/?linkid=2088631
Exchange Server 2019 Installation and Configuration
Once the offline installer has been downloaded, right-click the package and run it as an administrator to install it on the server.
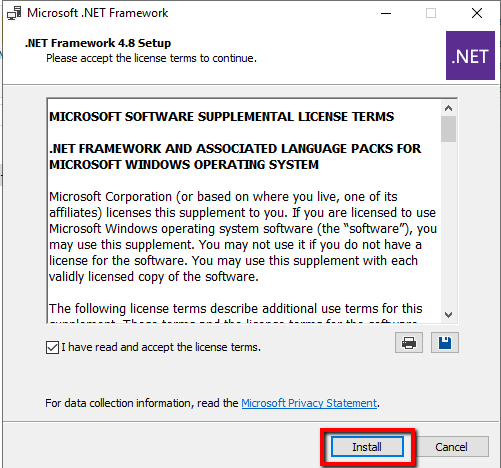
Check the license agreement checkbox and click install.
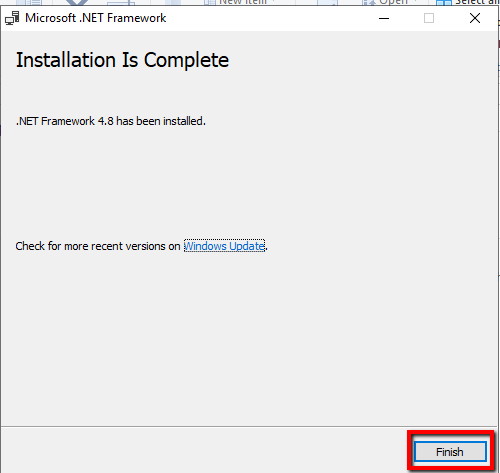
Click Finish to complete the installation.
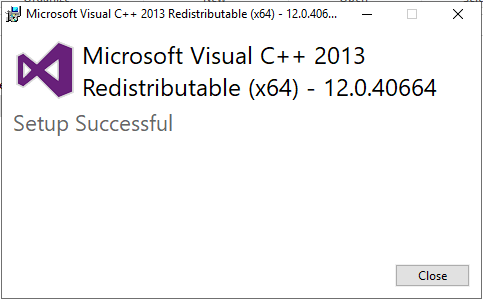
Install Visual C++ Redistributable Package for Visual Studio 2013
The next pre-requisite to install on the server is Visual C++ redistributable package for visual studio 2013. You can download this package from the link below, choose the language that you are planning to install on the server.
https://support.microsoft.com/en-in/help/4032938/update-for-visual-c-2013-redistributable-package
Once the package has been downloaded, right-click the downloaded file and run as administrator.
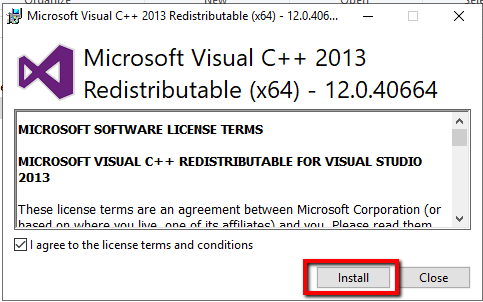
Accept the license and click Install to install the package.
Click close when the install completes.
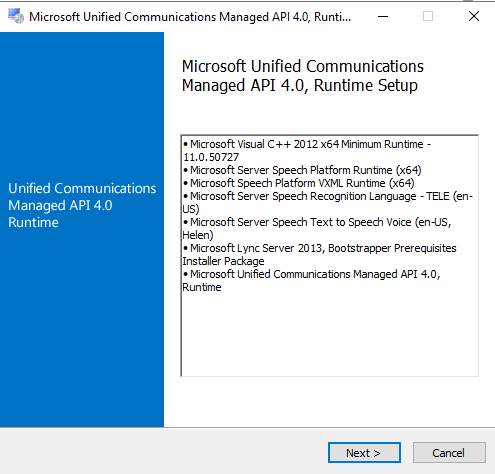
Install Unified Communications Managed API 4.0
The next pre-requisite package we are going to install on the server is Micrsft Unified Communications managed API 4.0 runtime setup. Download the package from the below link.
https://www.microsoft.com/en-us/download/details.aspx?id=34992
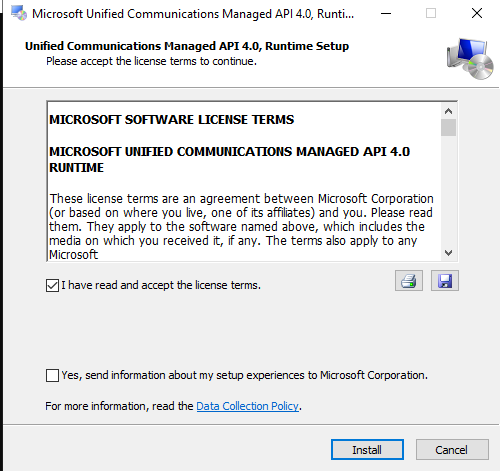
Once the package is downloaded, run it as an administrator to begin the installation. Click Next to continue.
Click Install to install the package and click Finish when the install is over.
Exchange Server 2019 Installation and Configuration
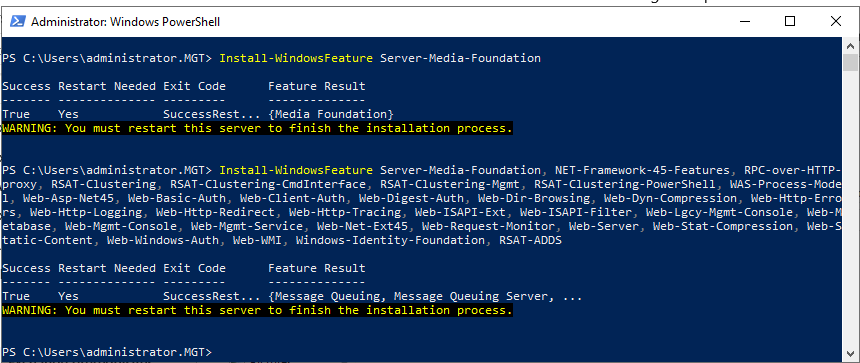
Install Windows Feature
The next pre-requisite is Windows Server features installation. Open a Powershell window as administrator and run the following commands once the installation of features is completed do a restart of the Windows Operating System.
Install-WindowsFeature Server-Media-Foundation, NET-Framework-45-Features, RPC-over-HTTP-proxy, RSAT-Clustering, RSAT-Clustering-CmdInterface, RSAT-Clustering-Mgmt, RSAT-Clustering-PowerShell, WAS-Process-Model, Web-Asp-Net45, Web-Basic-Auth, Web-Client-Auth, Web-Digest-Auth, Web-Dir-Browsing, Web-Dyn-Compression, Web-Http-Errors, Web-Http-Logging, Web-Http-Redirect, Web-Http-Tracing, Web-ISAPI-Ext, Web-ISAPI-Filter, Web-Lgcy-Mgmt-Console, Web-Metabase, Web-Mgmt-Console, Web-Mgmt-Service, Web-Net-Ext45, Web-Request-Monitor, Web-Server, Web-Stat-Compression, Web-Static-Content, Web-Windows-Auth, Web-WMI, Windows-Identity-Foundation, RSAT-ADDS
Install and Configure Exchange Server
Exchange Server 2019 Installation and Configuration
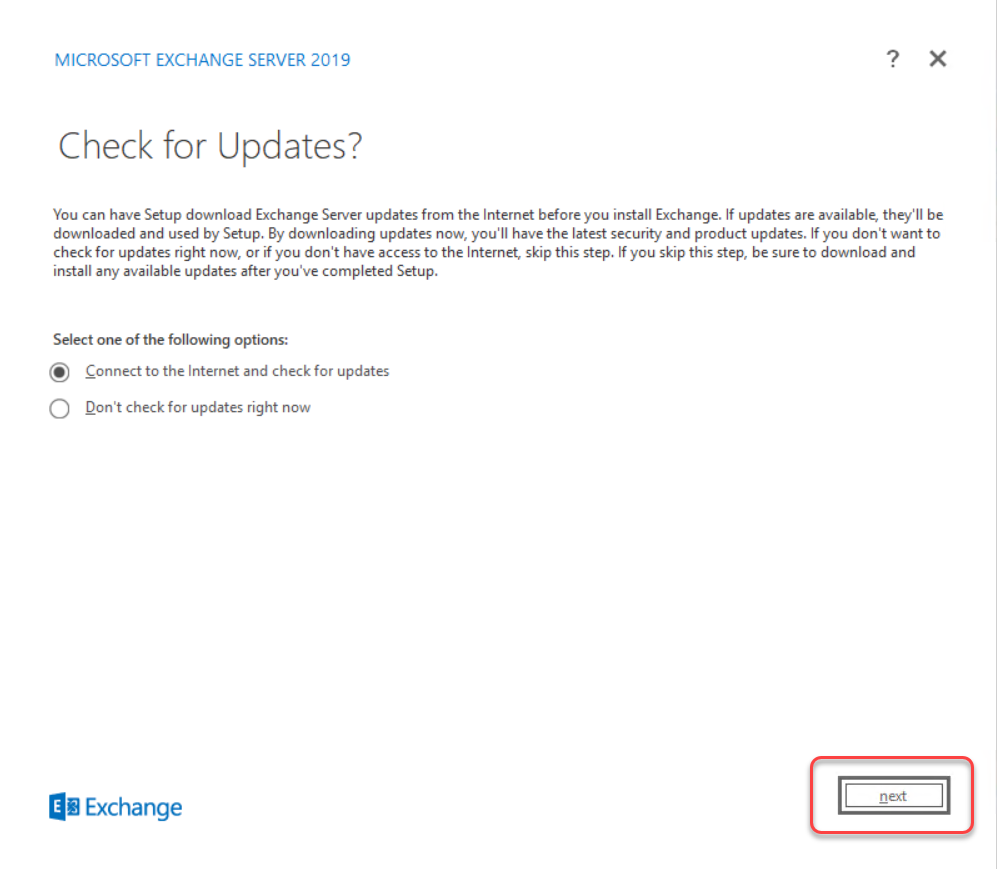
Open the Exchange server installation media and double click the setup.exe to start the installation. Select Connect to the Internet and check for update and click Next.
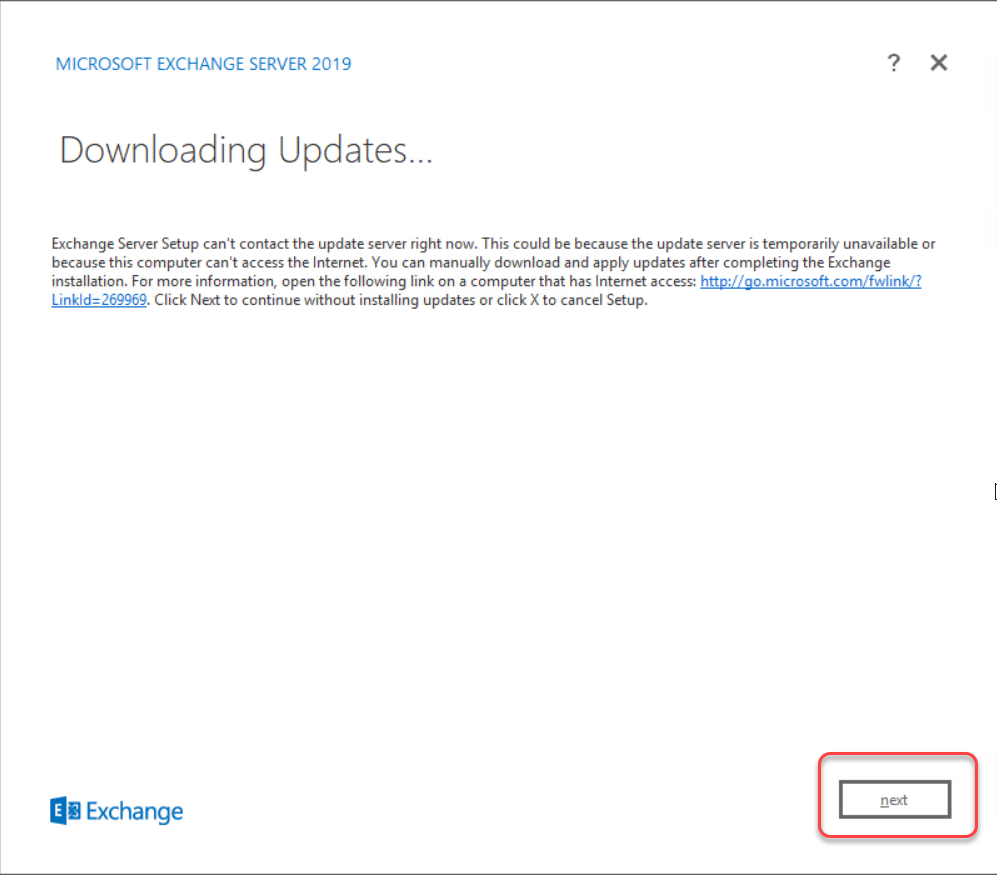
On the next screen, the installation wizard will try to download the updates If there is any from the Microsoft update server. Click Next to continue.
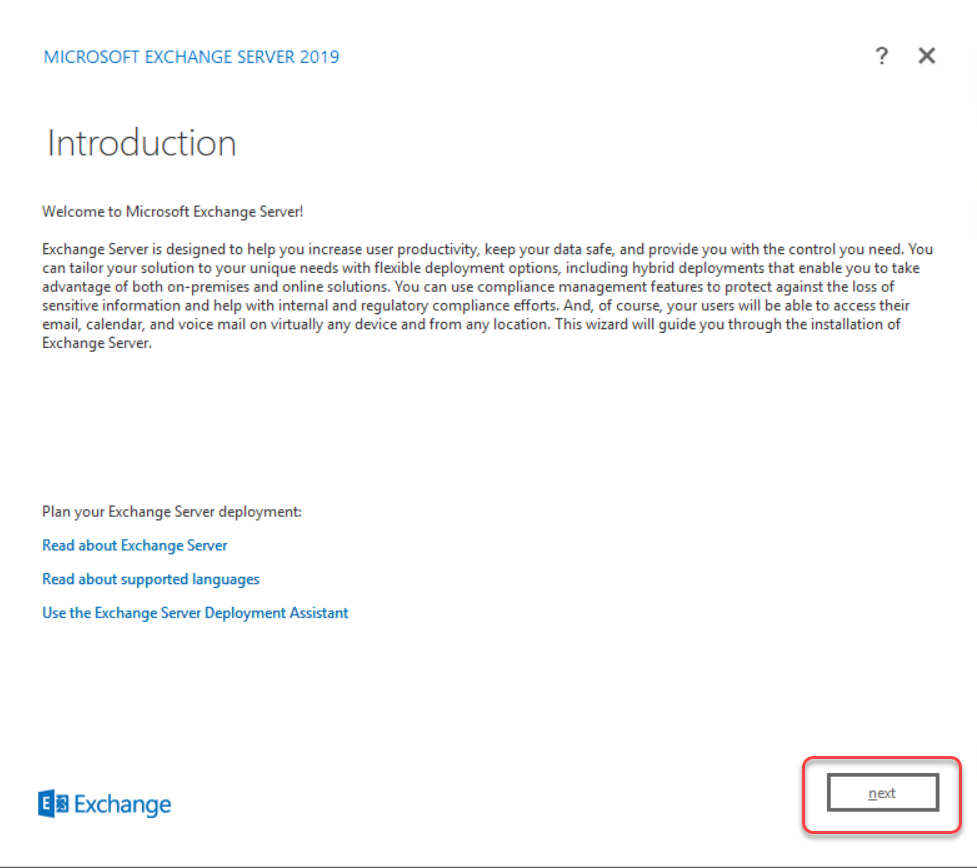
Go through the introduction and click next to continue the wizard.
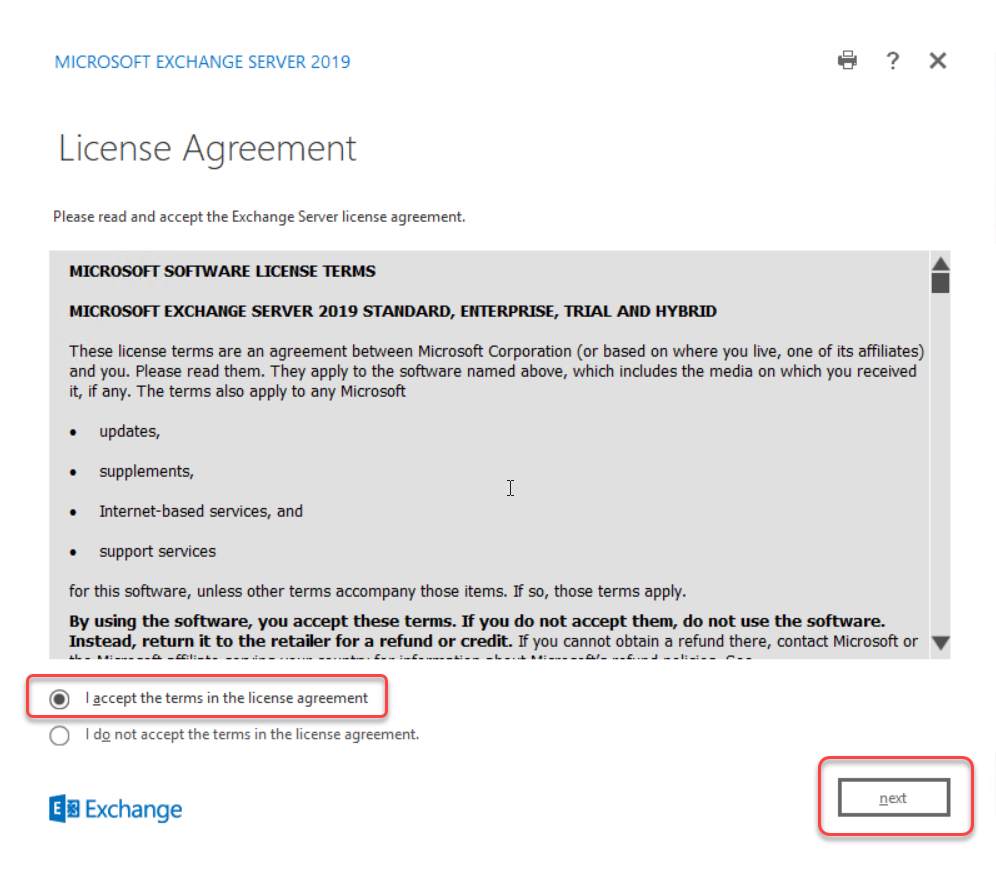
Accept the license agreement and click next to continue.
Select Use Recommended Settings and click Next.

Select the server role, this demonstration for Exchange server Mailbox role, select Mailbox role, and the management tools checkbox will be automatically selected. Also, check Automatically install roles and features and click Next.

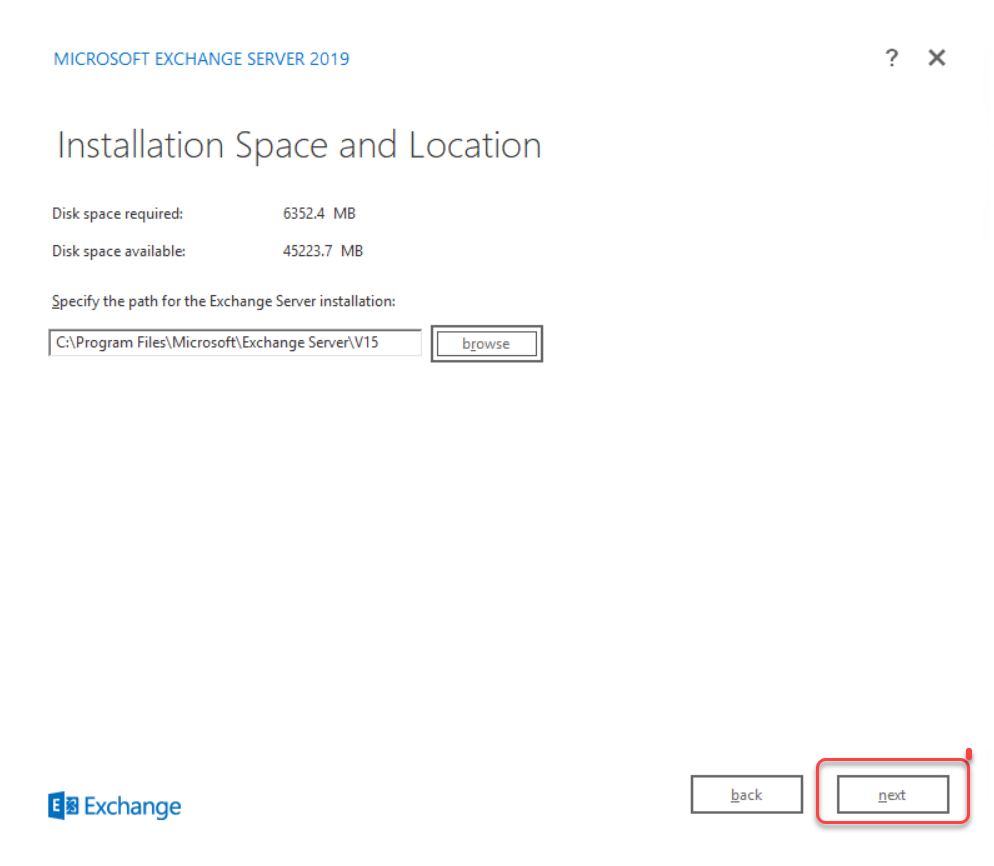
Select the Drive where the exchange server to be installed. In most cases, it would be on the Drive other than System Drive. I have left the installation path as-is for this demonstration. But you can choose a drive and path as you want.
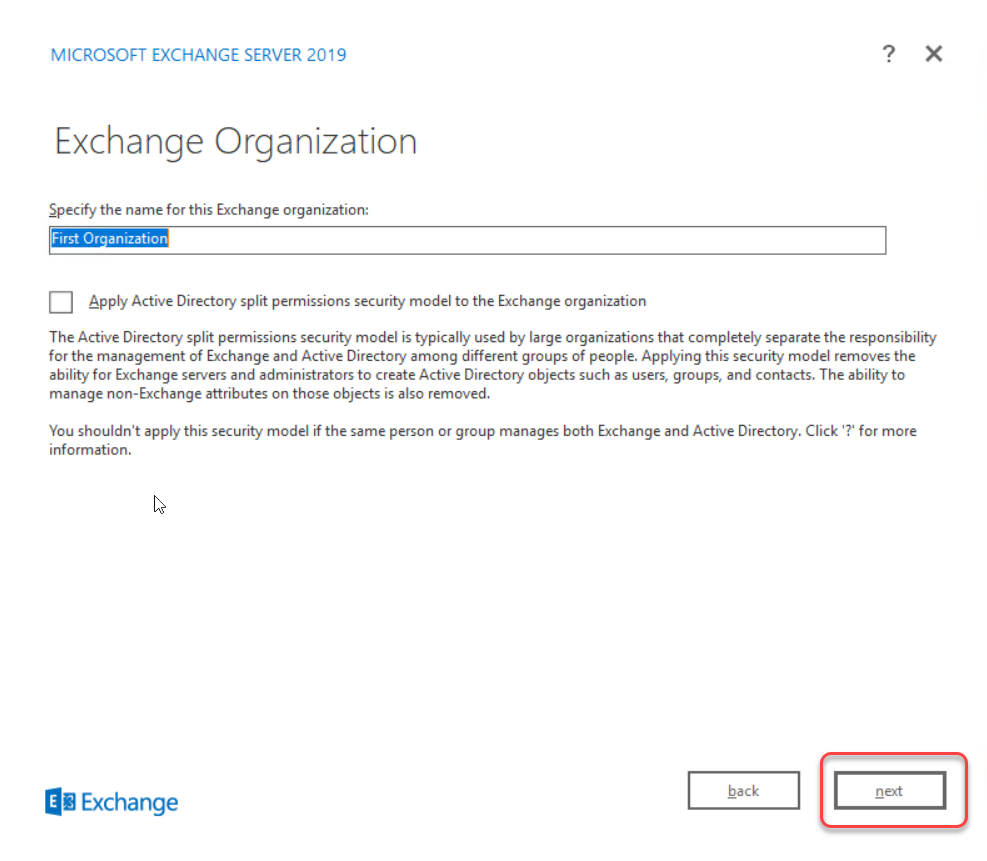
Specify an Organization name. In this case, I leave it to default. Click Next.
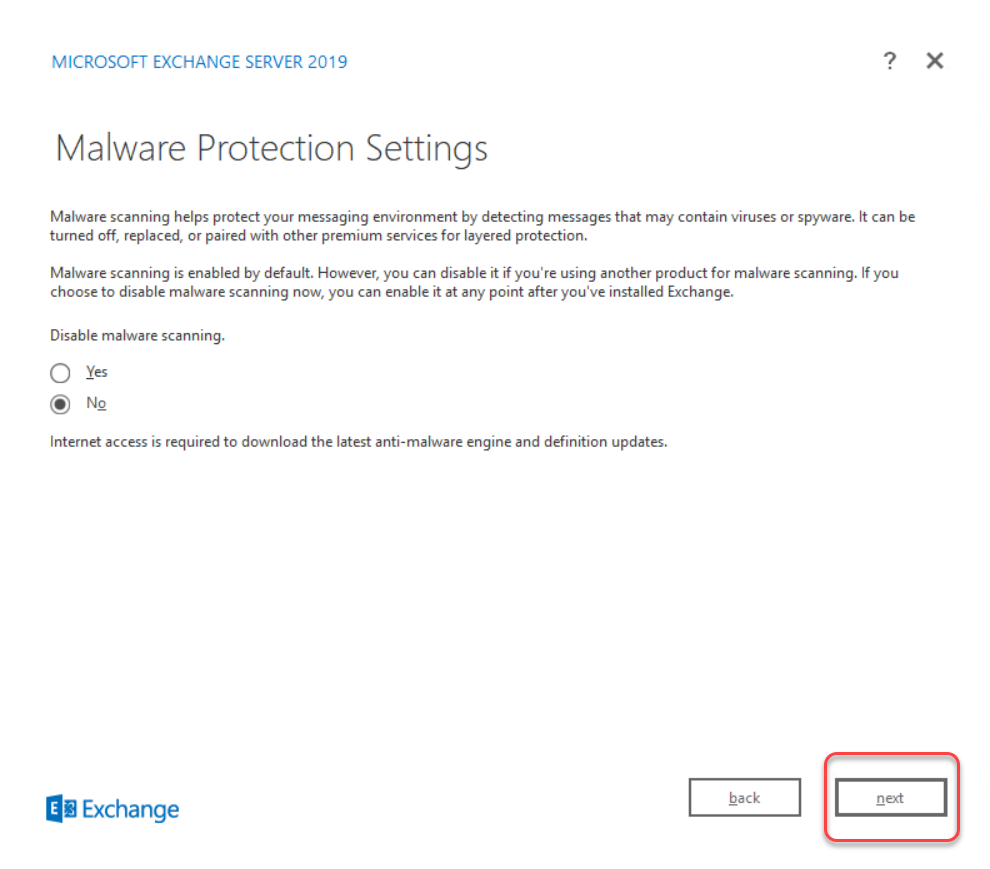
If you are planning to use some third party Malware Protection, you can select to disable Malware Protection. If you want to use the Exchange server inbuilt one, select Disable malware protection to No and click Next.
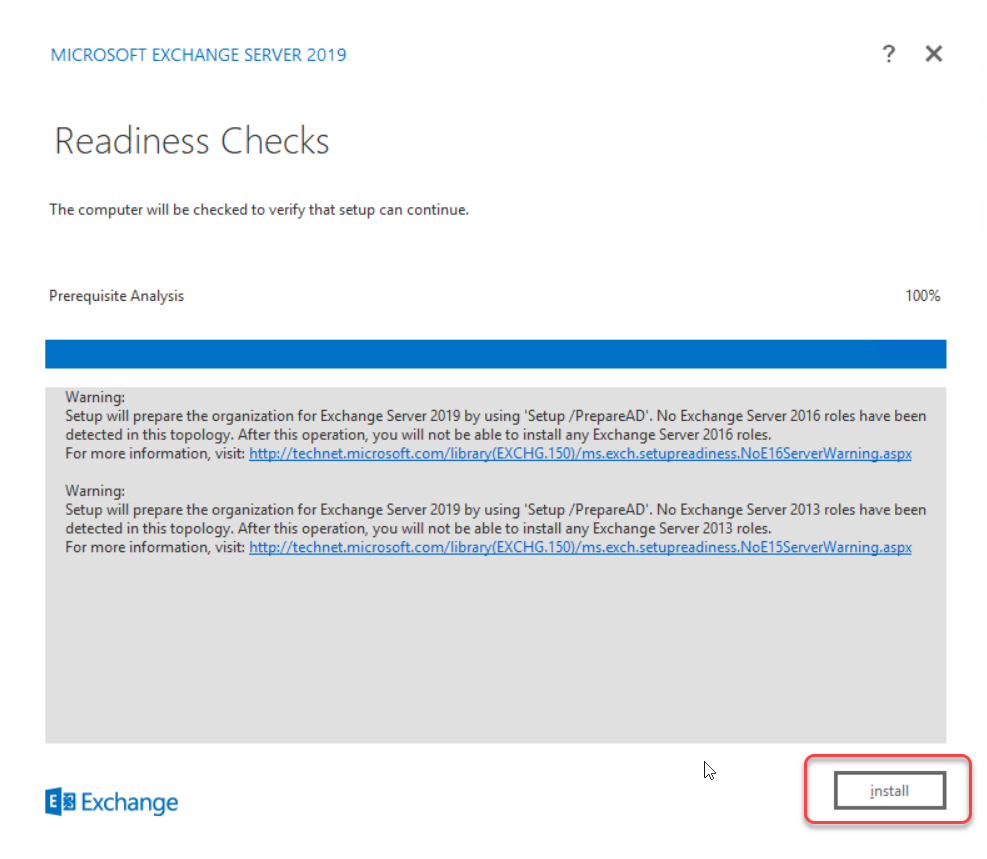
The install wizard will start Readiness Check, wait for that to complete and check if you have received an error message.
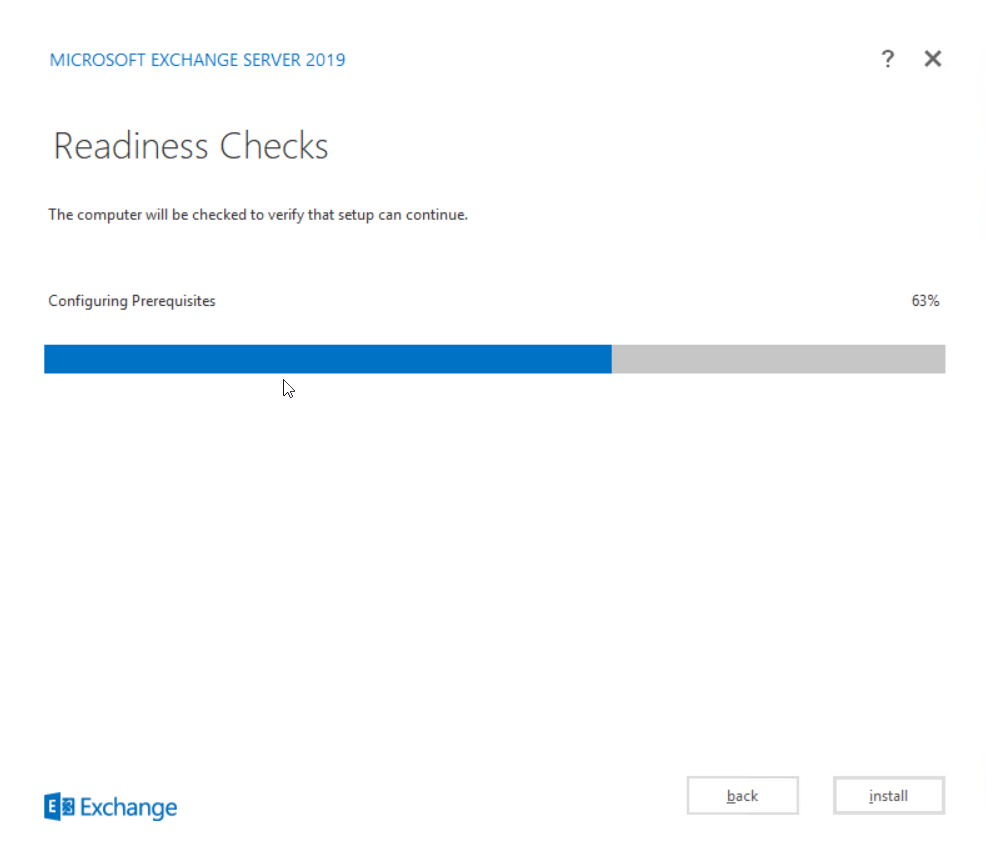
If there is any error, act on that error and rectify that and then restart the Exchange Server Installation. If you have followed these installation steps, most probably, you won’t have any error. Click Install to start the installation.
Exchange Server 2019 Installation and Configuration
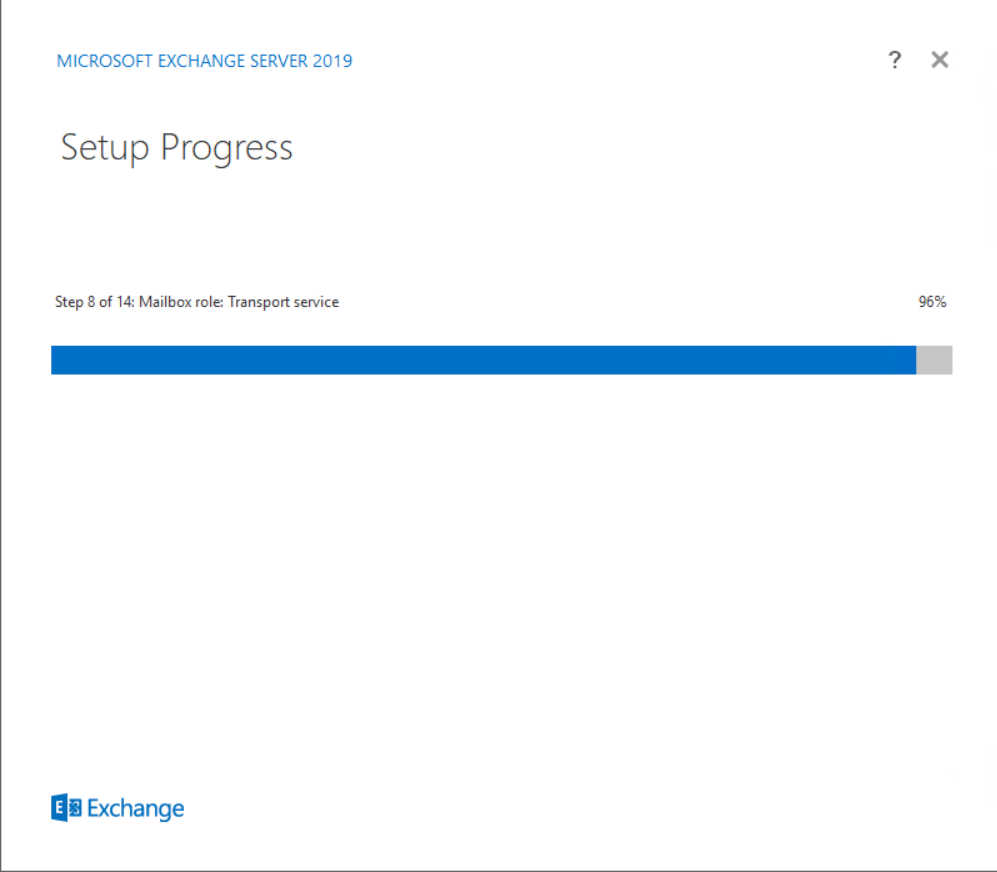
The Setup will start, and you can monitor the progress along the way, it would take some time to complete. Be patient and wait for the setup to complete.
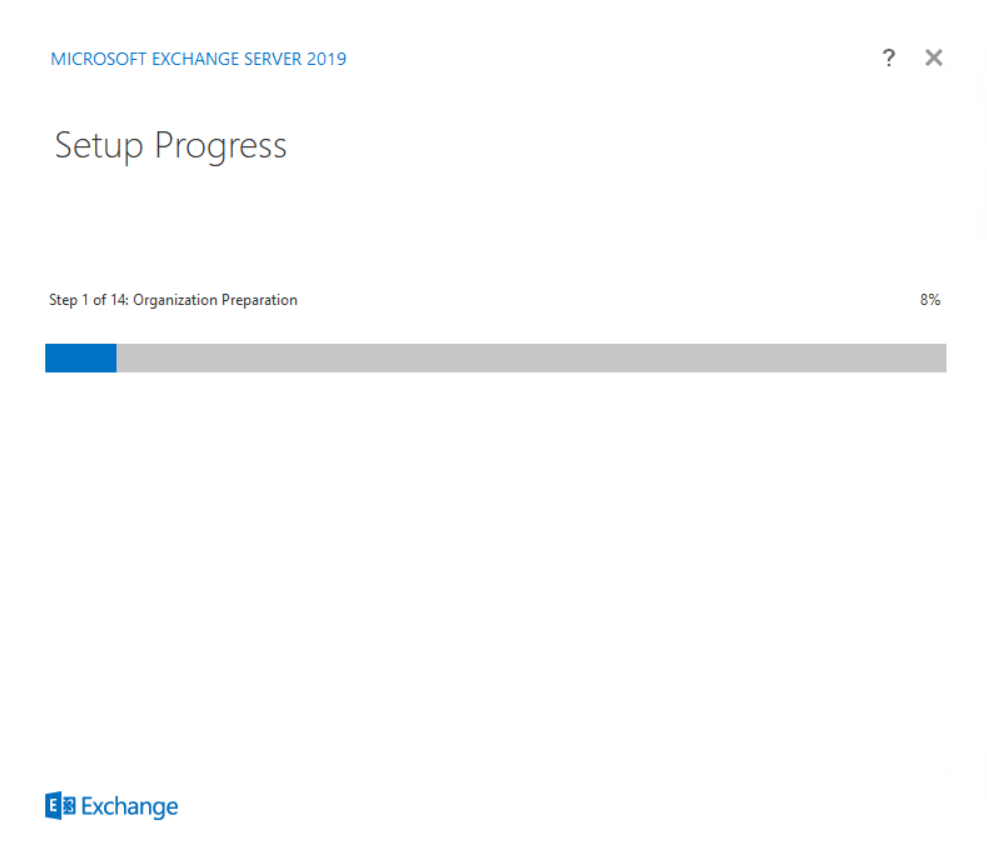
The Setup is in progress and may take some more time to complete.
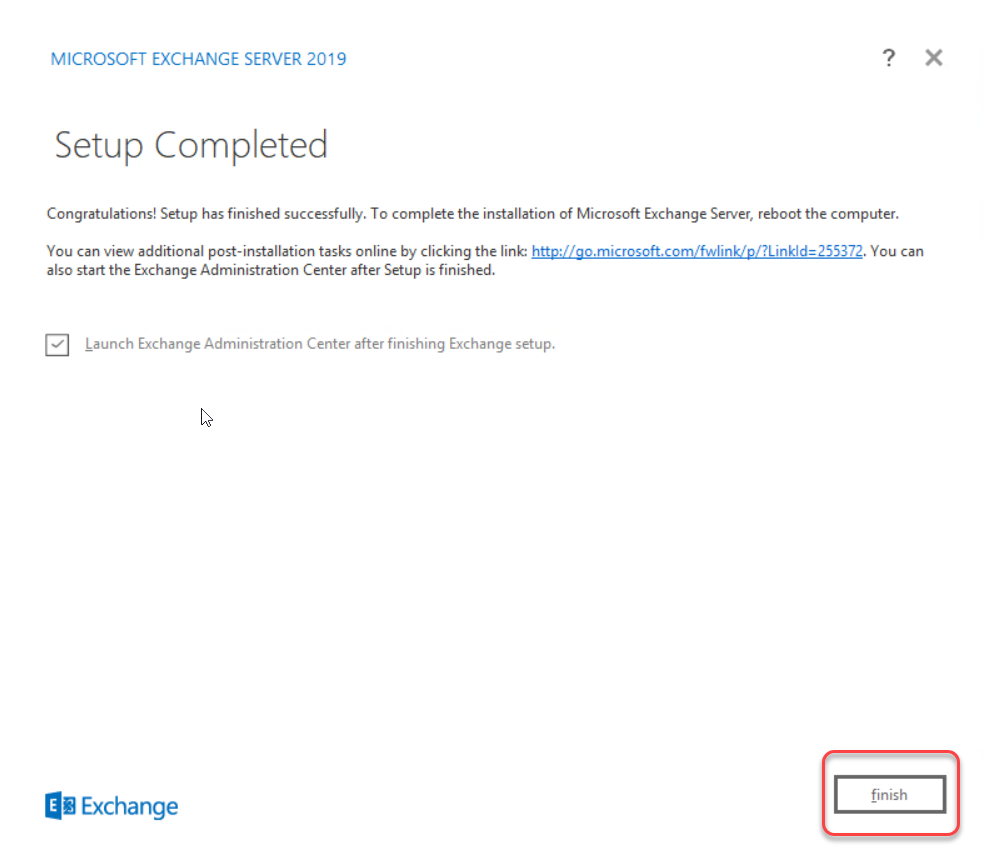
Exchange Server Setup is complete, select launch Exchange Administration Center, and click Finish.
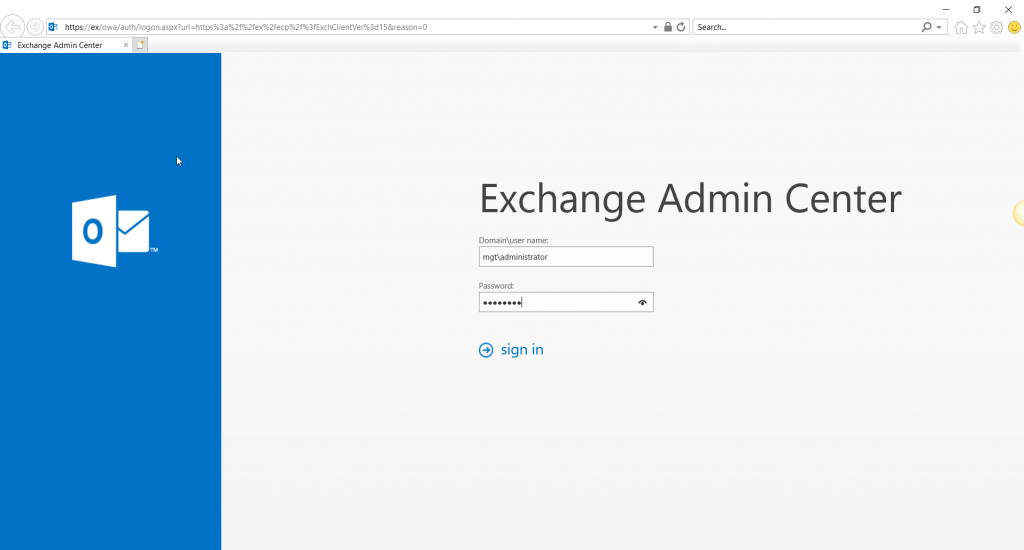
Exchange Admin Center or Exchange Control panel is the web console where is Exchange Server is configured or managed. This console can be accessed initially with the web URL https://localhost/ecp
The login screen is shown in the image below, where the administrator can log in to get the full admin access console with username as domain\username and password.
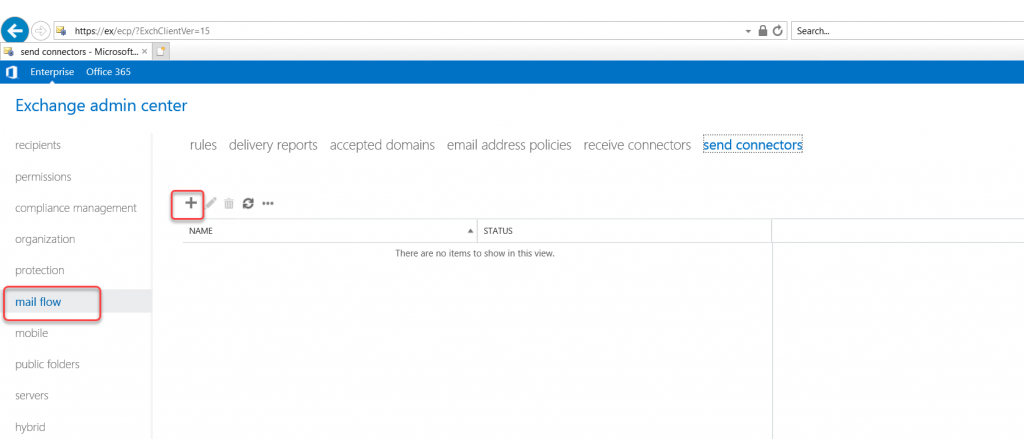
Create A Send Connector
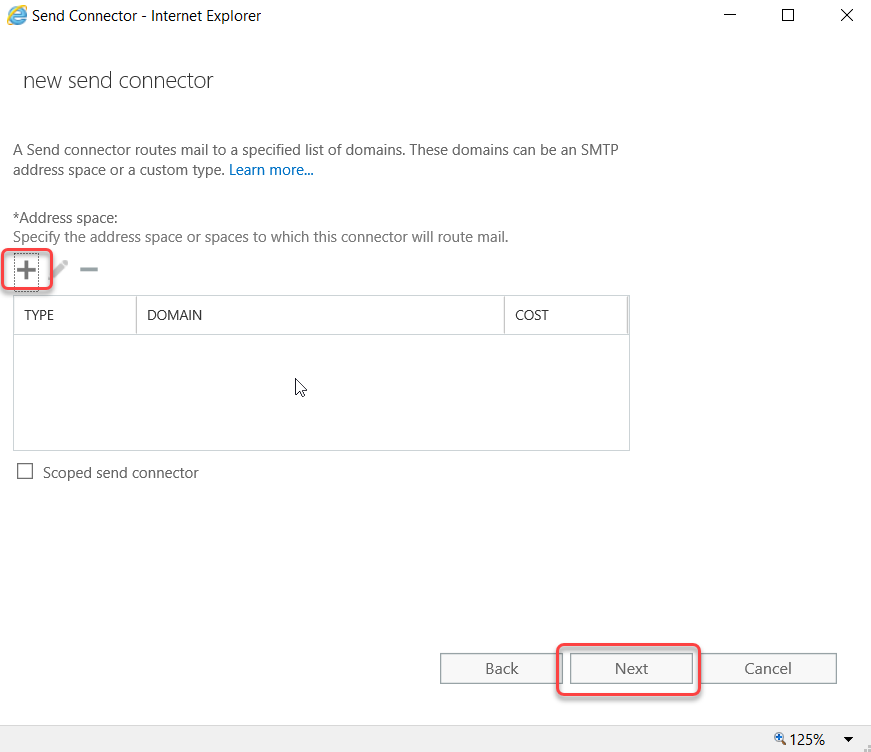
The fresh exchange server installation will not have a connector send email to an internet email address. We need to create one to do so. Here are the how-to steps to create a send connector using the Exchange admin center. Login to Exchange Admin Center and goto MailflowàSend Connector. Click Add or + sign on top of the icons.
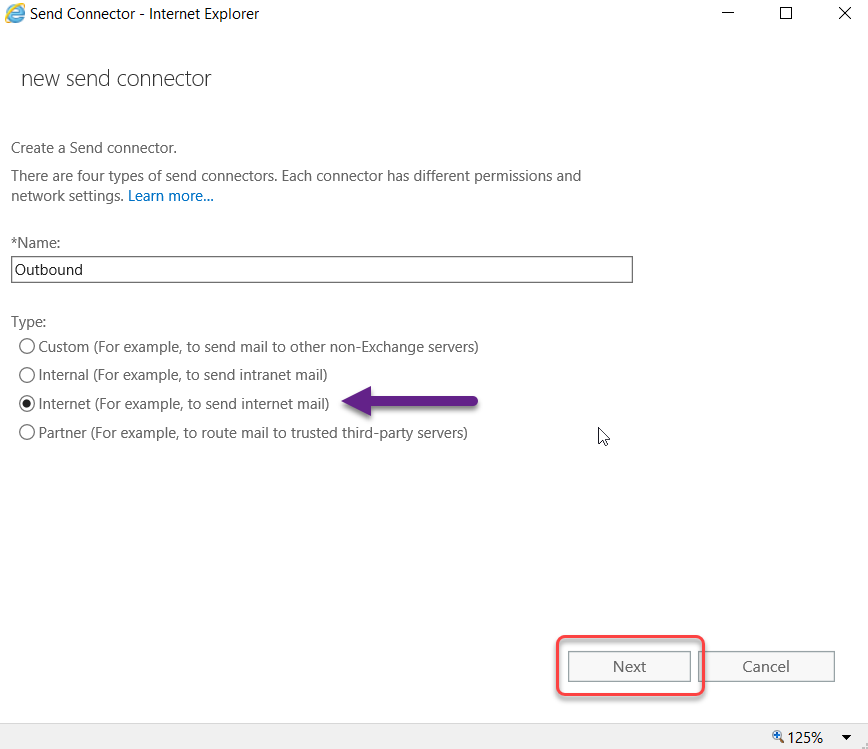
The New Send Connector wizard will open. Type a descriptive name and select Internet as type.
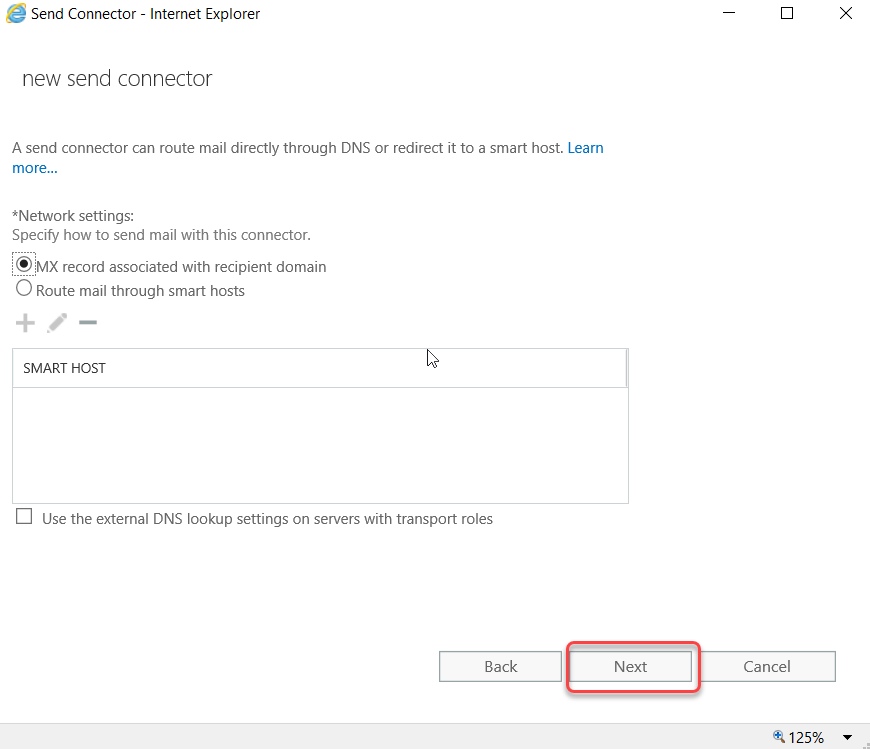
As we are going to send emails to internet users straight from the exchange server, we are going to select an MX record associated with the recipient domain and click Next.
Add address space, click + sign on the address space commands.
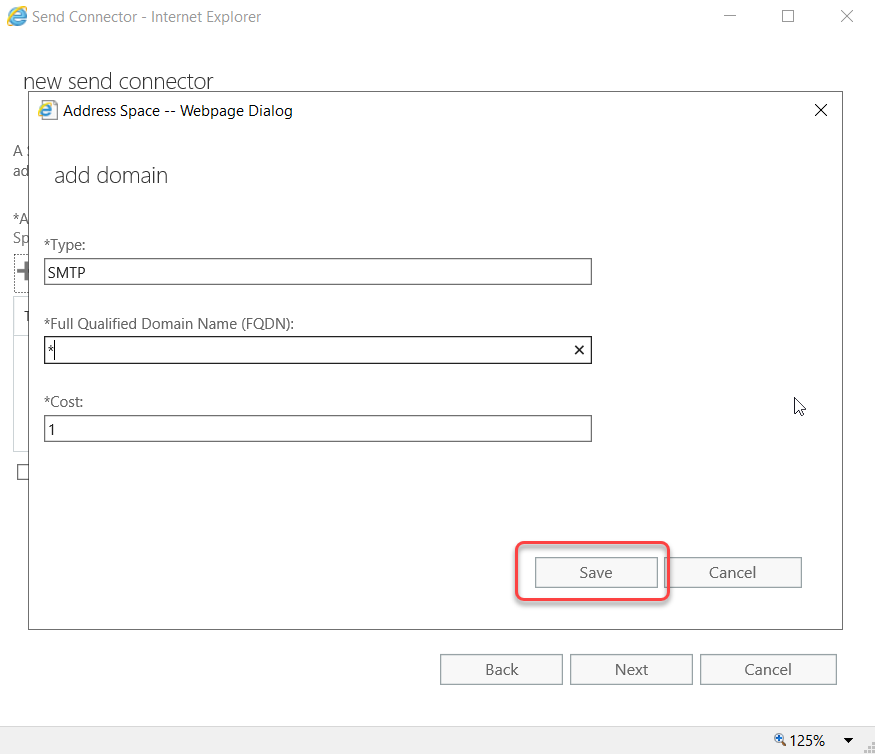
Type * in the FQDN column and click save.
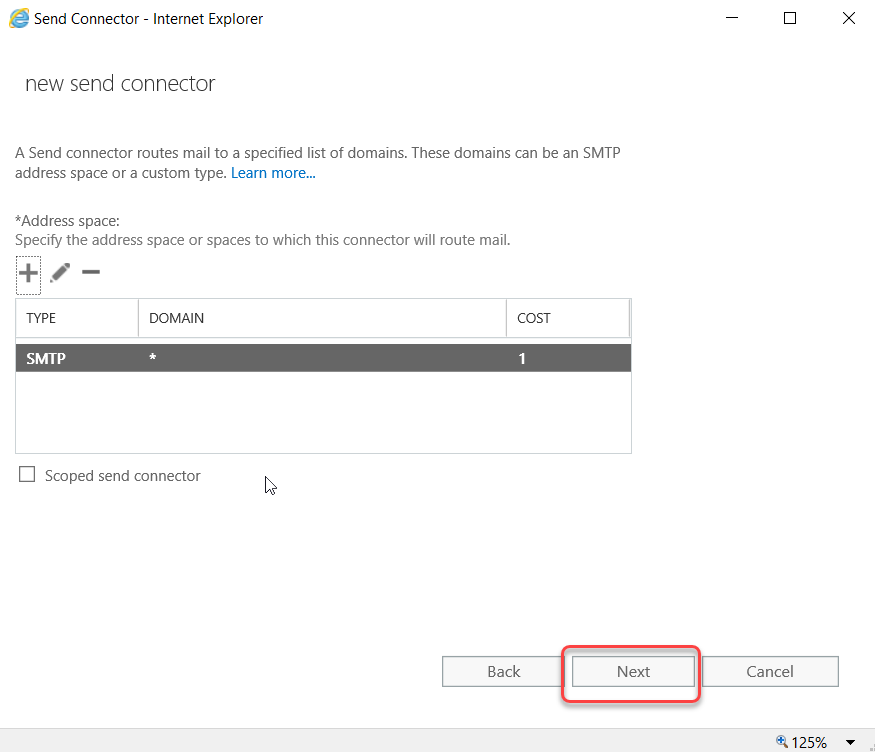
Once the address space has been saved, click next.
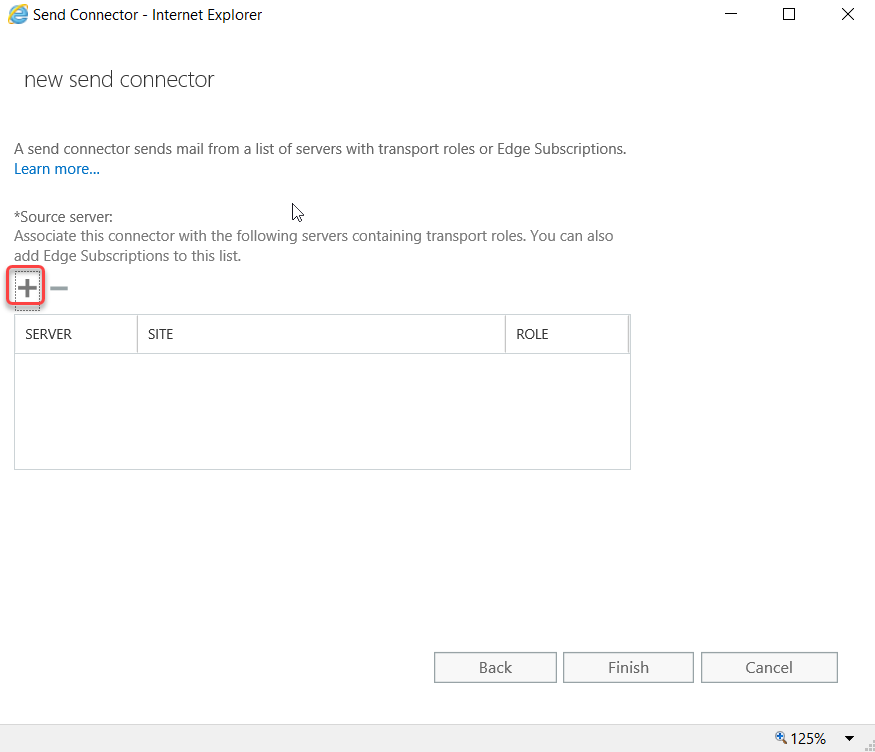
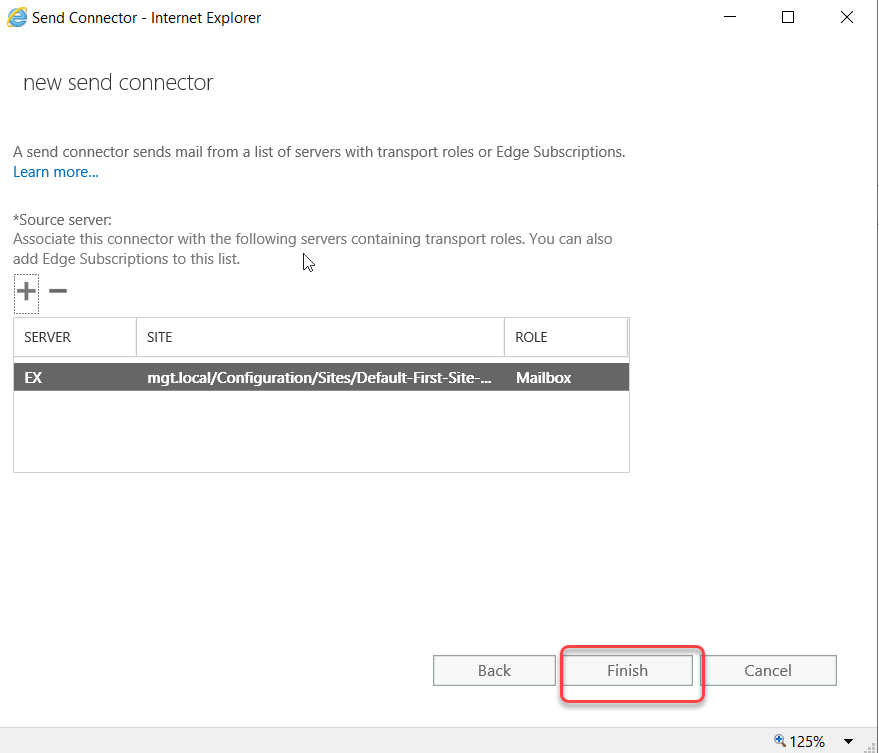
On the Source Server, click + sign to add the only server we just installed.
Add the Exchange Server and click OK
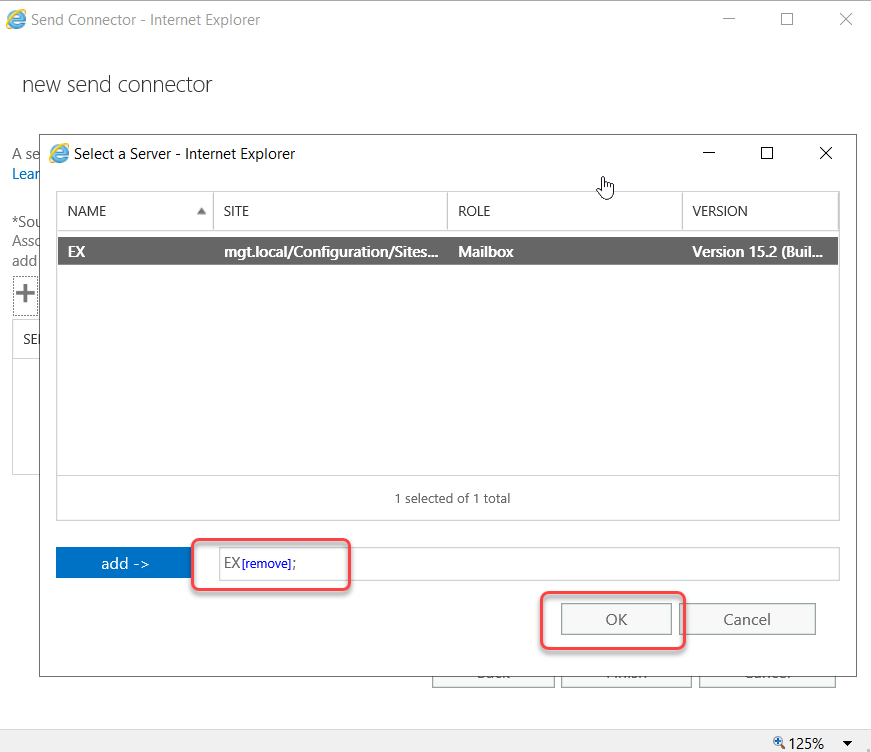
We have completed Creating Send connector, click Finish to close the wizard.
Configure Virtual Directories
Exchange Server 2019 Installation and Configuration
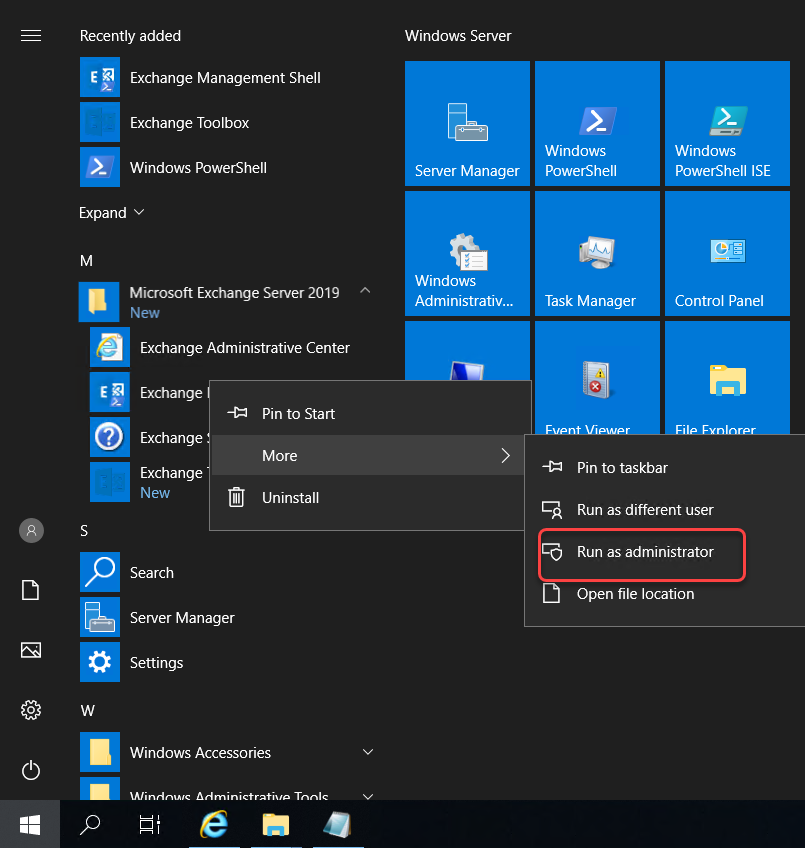
We are going to configure virtual directories such as OWA, ActiveSync, and so on with the internal and external URLs using Exchange Management Shel. You can navigate to StartàMicrosoft Exchange Server from the Menu and right-click the Exchange Management shell and choose to run as Administrator to open elevated Shell to configure Virtual Directories.
The following script will set the virtual directories of each feature. We need to specify the Server_Name and FQDN variables relevant to our Exchange Server name and external domain name.
 $Server_name = "ex"
 $FQDN = "mail.mrigotechno.club"
 Get-OWAVirtualDirectory -Server $Server_name | Set-OWAVirtualDirectory -InternalURL "https://$($FQDN)/owa" -ExternalURL "https://$($FQDN)/owa"
 Get-ECPVirtualDirectory -Server $Server_name | Set-ECPVirtualDirectory -InternalURL "https://$($FQDN)/ecp" -ExternalURL   "https://$($FQDN)/ecp"
 Get-OABVirtualDirectory -Server $Server_name | Set-OABVirtualDirectory -InternalURL "https://$($FQDN)/oab" -ExternalURL   "https://$($FQDN)/oab"
 Get-ActiveSyncVirtualDirectory -Server $Server_name | Set-ActiveSyncVirtualDirectory -InternalURL "https://$($FQDN)/Microsoft-Server-ActiveSync" -ExternalURL "https://$($FQDN)/Microsoft-Server-ActiveSync"
 Get-WebServicesVirtualDirectory -Server $Server_name | Set-WebServicesVirtualDirectory -InternalURL "https://$($FQDN)/EWS/Exchange.asmx" -ExternalURL "https://$($FQDN)/EWS/Exchange.asmx"
 Get-MapiVirtualDirectory -Server $Server_name | Set-MapiVirtualDirectory -InternalURL "https://$($FQDN)/mapi" -ExternalURL https://$($FQDN)/mapi
You would see the Exchange Management Shell as shown in the below out after you copy and paste the script to the EMS.

Configure Outlook Anywhere
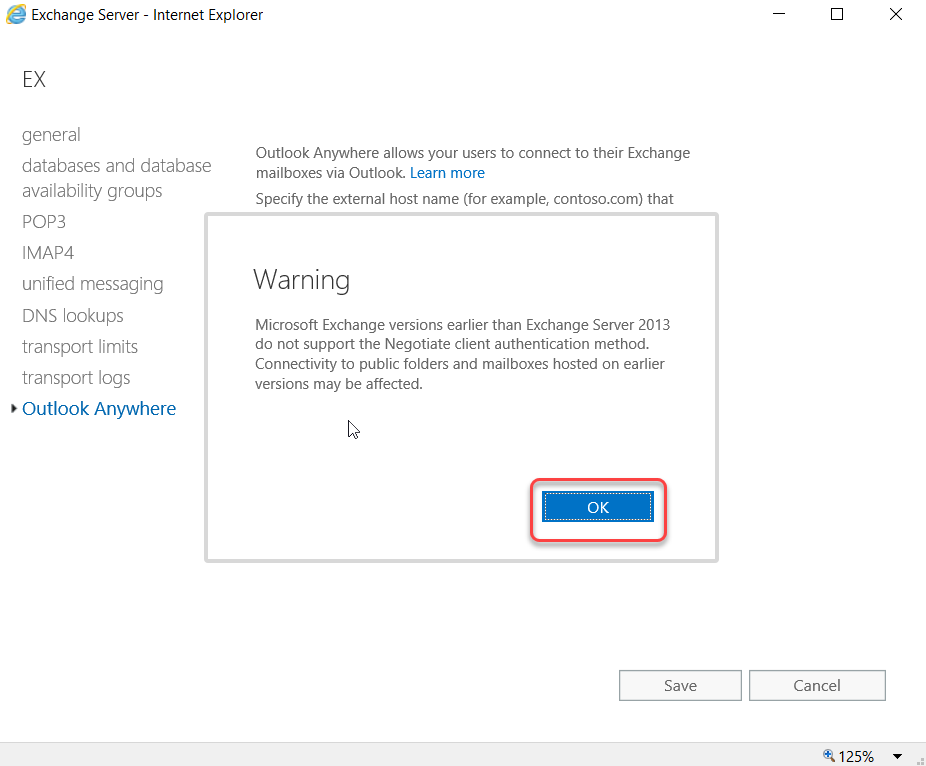
To Outlook Clients access from internal and external networks, we need to configure Outlook anywhere from the Servers/Outlook Anywhere settings with the exchange hostname(FQDN) such as mail.comain.com. You can navigate to Outlook Anywhere settings, as shown in the steps on the image.
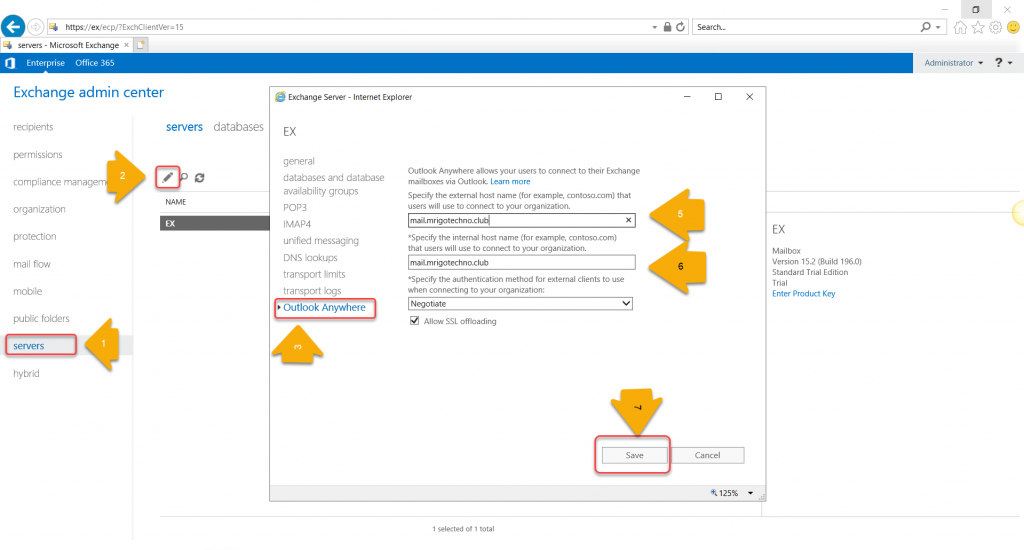
Click OK to the Warning to Negotiate client authentication.
Set Service Connection Point
Exchange Server 2019 Installation and Configuration
The next step is to set the Autodiscover internal URI for internal outlook clients to get the Autodiscover details from the active directory. The Autodiscover internal URI will set the Service Connection Point(SCP) on the Active Directory.
Set-ClientAccessService -Identity ex -AutodiscoverServiceInternalURI https://mail.mrigotechno.club/Autodiscover/Autodiscover.xml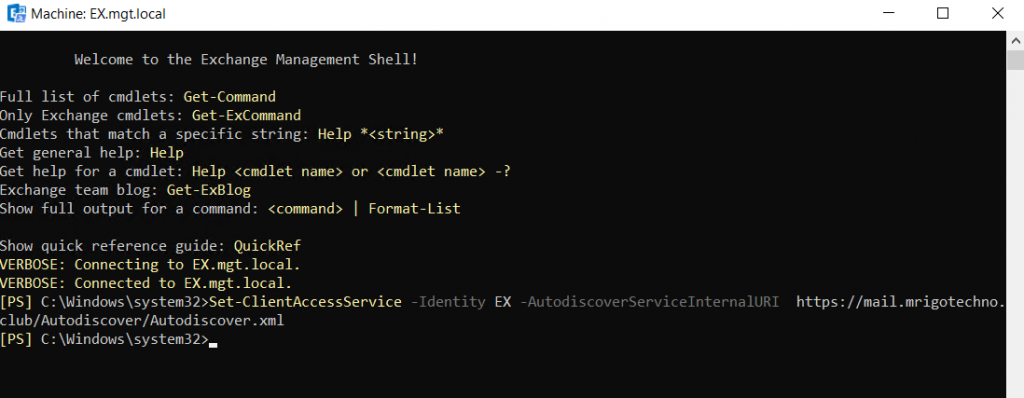
Rename default database and move database path
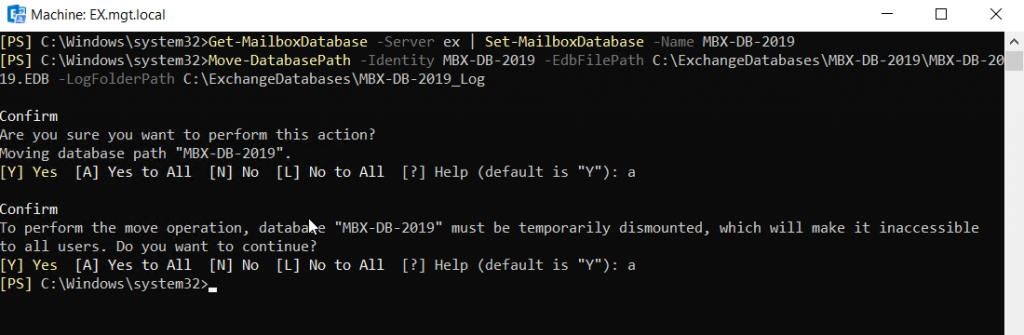
Move mailbox database path to separate disk for database and transactional log files to recover the database quickly in case of disk failure. I have mentioned C: drive where you can substitute with a relevant drive letter with the command below.
Get-MailboxDatabase -Server ex | Set-MailboxDatabase -Name MBX-DB-2019
Move-DatabasePath -Identity MBX-DB-2019 -EdbFilePath C:\ExchangeDatabases\MBX-DB-2019\MBX-DB-2019.EDB -LogFolderPath C:\ExchangeDatabases\MBX-DB-2019_Log
Install Certificate
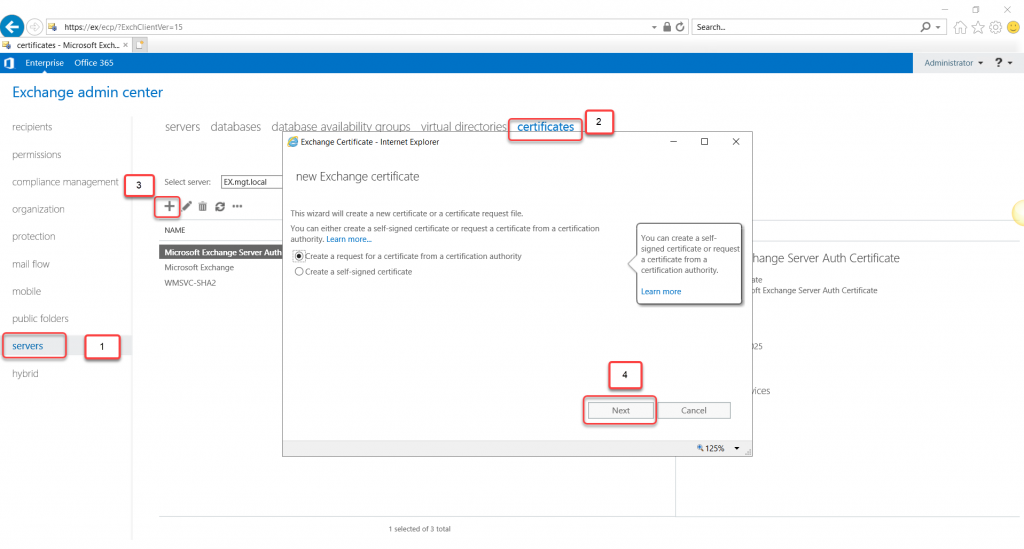
We are going to create a Certificate Signing Request(CSR) on the Exchange Admin Center and install the certificate for the services like IIS, SMTP, and so on. Login to Exchange Admin Center and go to ServersàCertificate to create certificate signing request (CSR) file to generate a certificate from third-party Certification Authority (CA) like Verisign or GoDaddy.
The Certificate Signing certificate must be created by clicking the + sign on the Certificate tab. Select “Create a request for a certificate from a Certification Authority” and click Next.
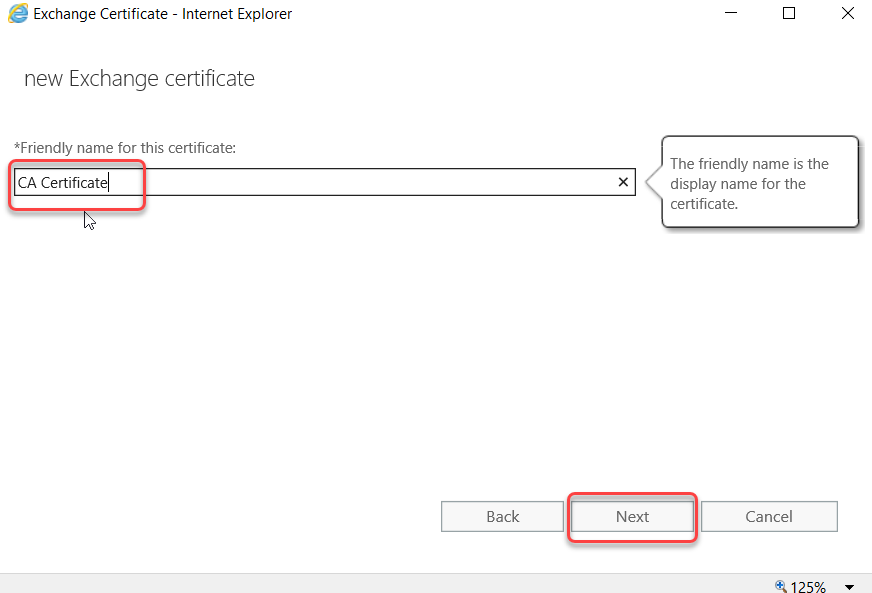
Type a friendly name of the certificate and click Next.
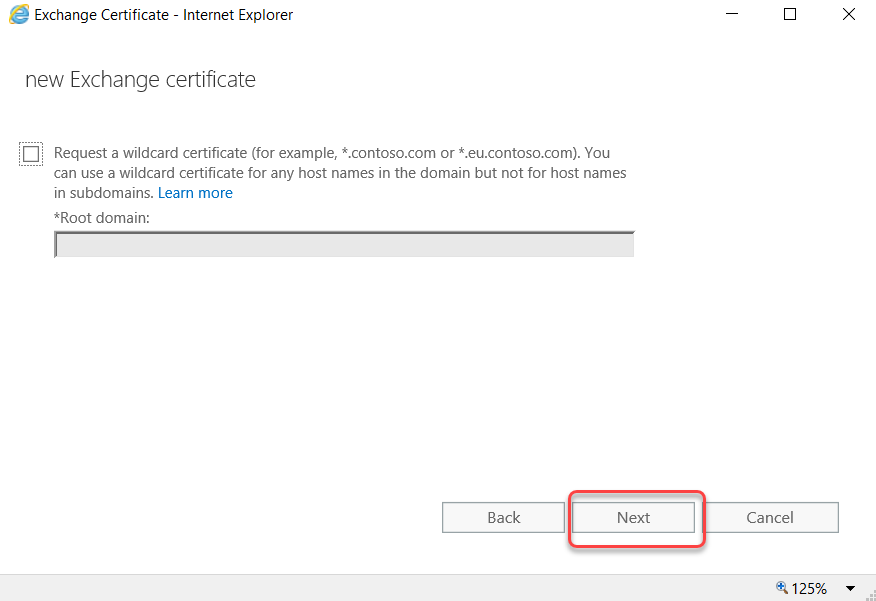
We are going to request a Subject Alternative Name (SAN) certificate, so leave the default and click Next.
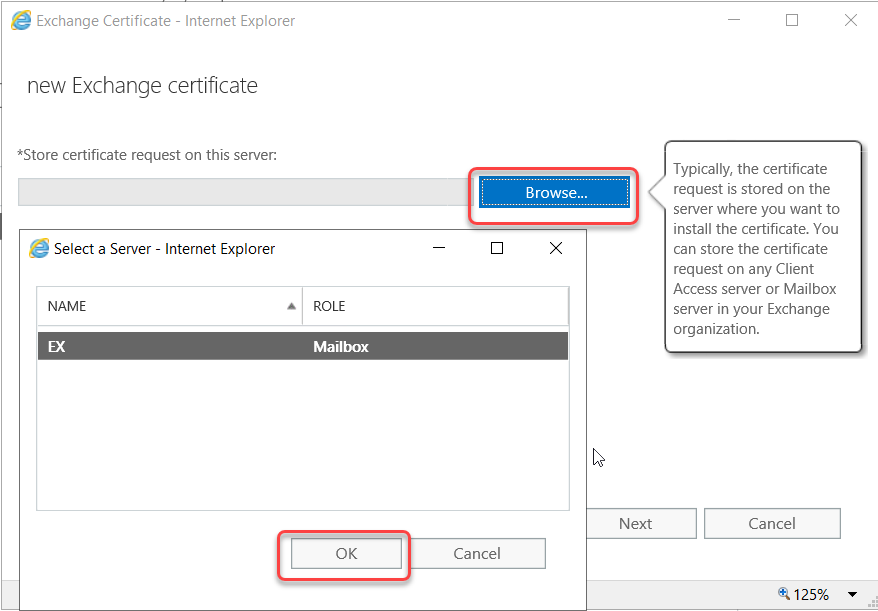
The request has to be saved on the Exchange server, click browse and select the only exchange server and click ok.
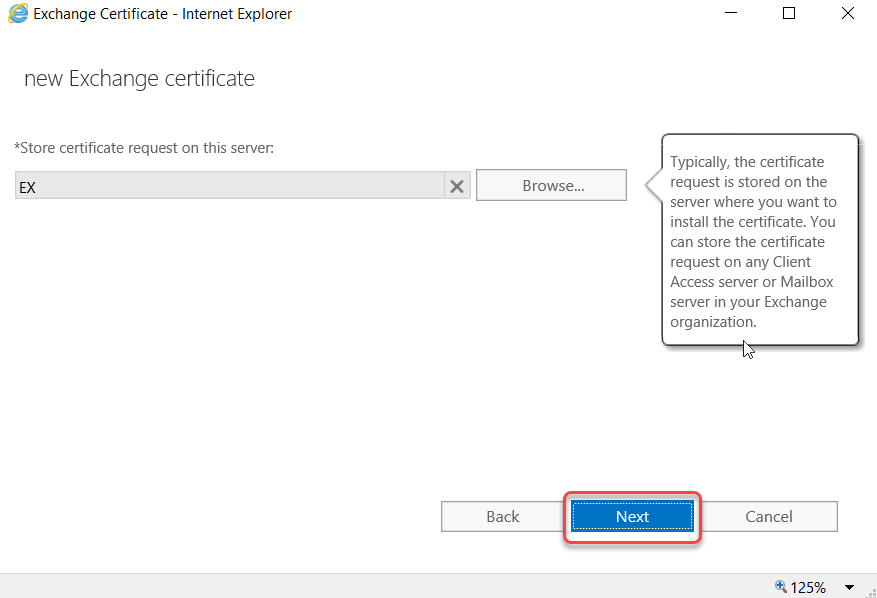
The exchange server has been selected click Next.
We skip this page, and we are going to create a request with some names where we can specify names on the list. Click Next.
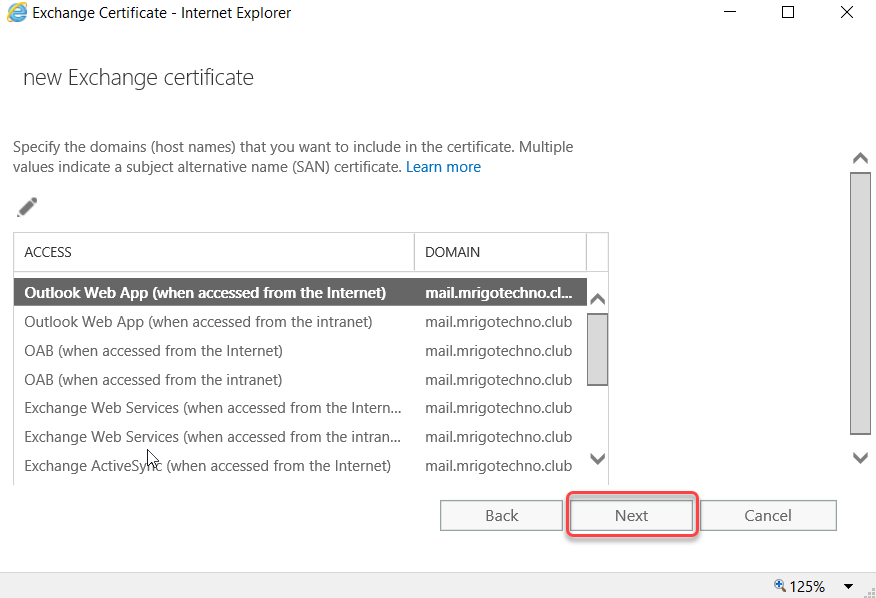
Select only the FQDN that we used on the virtual directories and Outlook Anywhere. As you know, we provided the name mail.mrigotechno.club, alongside we need to add the name for Autodiscover, the subject name will be Autodiscover.mrigotechno.club, remove other local hostnames.
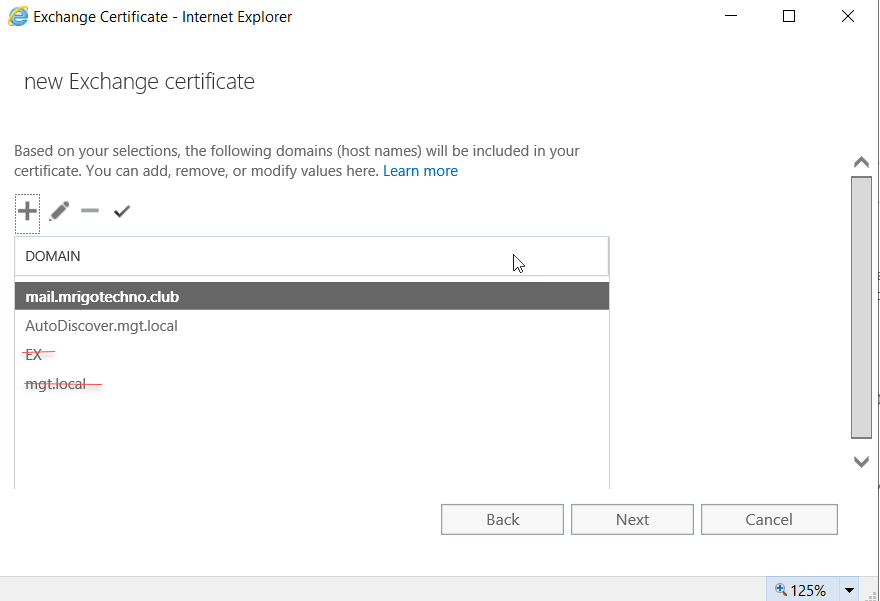
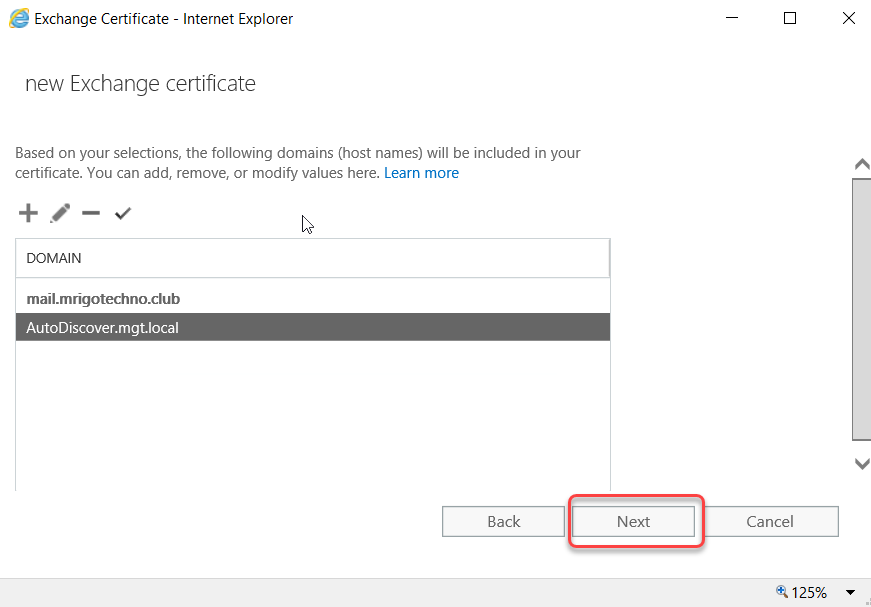
The local hostnames are removed and added only FQDN And autodiscover hostnames, click Next.
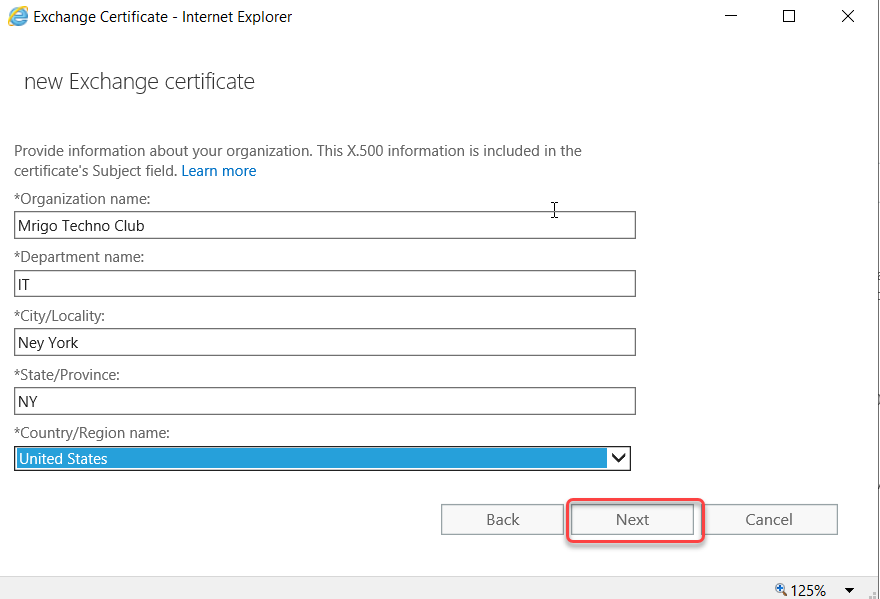
Type information about your organization and click Next.
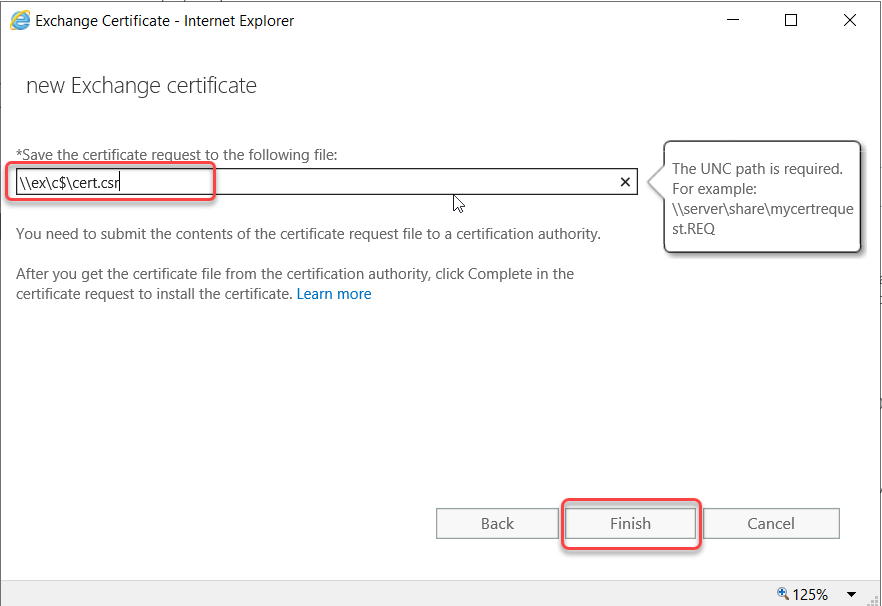
Save the request in a file, type the UNC path, and click Next.
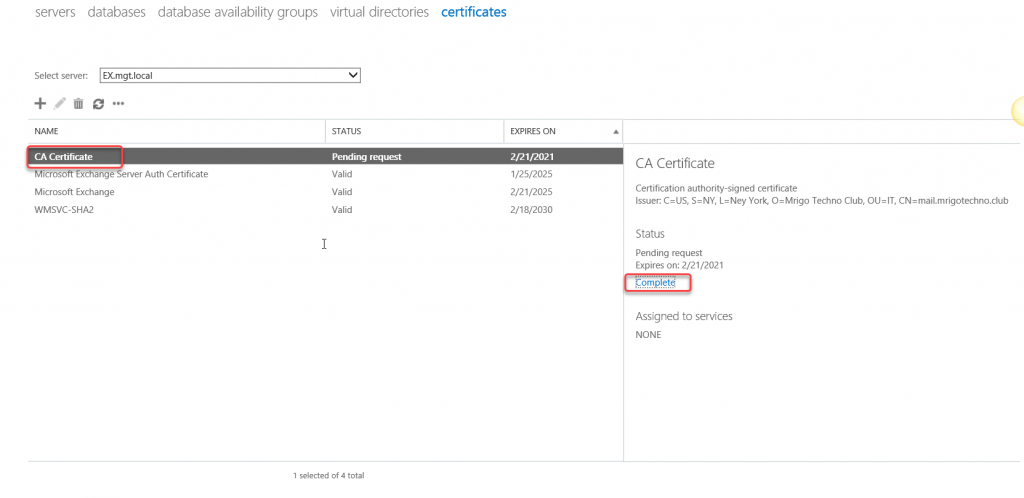
The Certificate Request has been created and using the CSR file, and we need to generate a Certificate from a third-party certification authority. Once certificates are received, come back to the Certificate tab on the Exchange Admin Center and select the request entry and click Complete to apply the Certificate.
Type the UNC path of the certificate received from the CA and click ok.

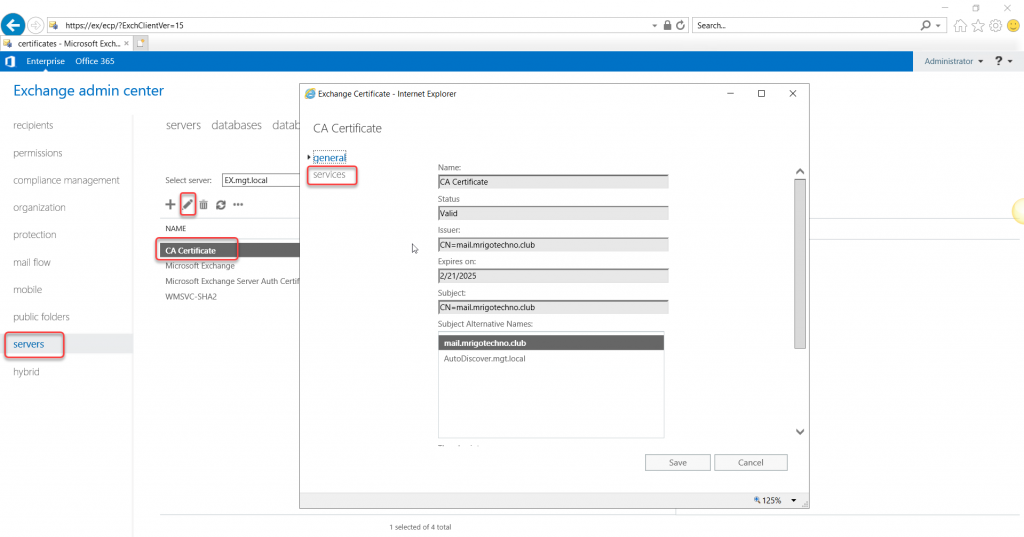
The next step is to assign services to the certificate, open the certificate entry on the EAC, and check the hostnames.
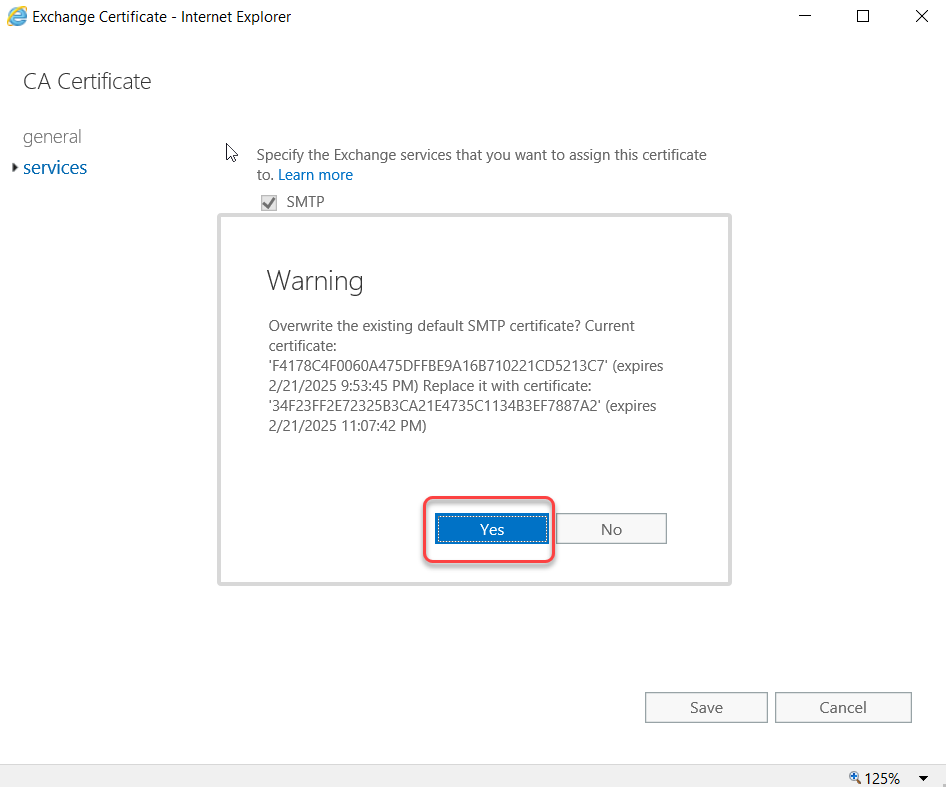
Go to Services on the same window select the services you want this certificate to use IIS and SMTP are selected generally, but if you wish to use IMAP and POP to use the certificate or these services are enabled, select them and click Save.
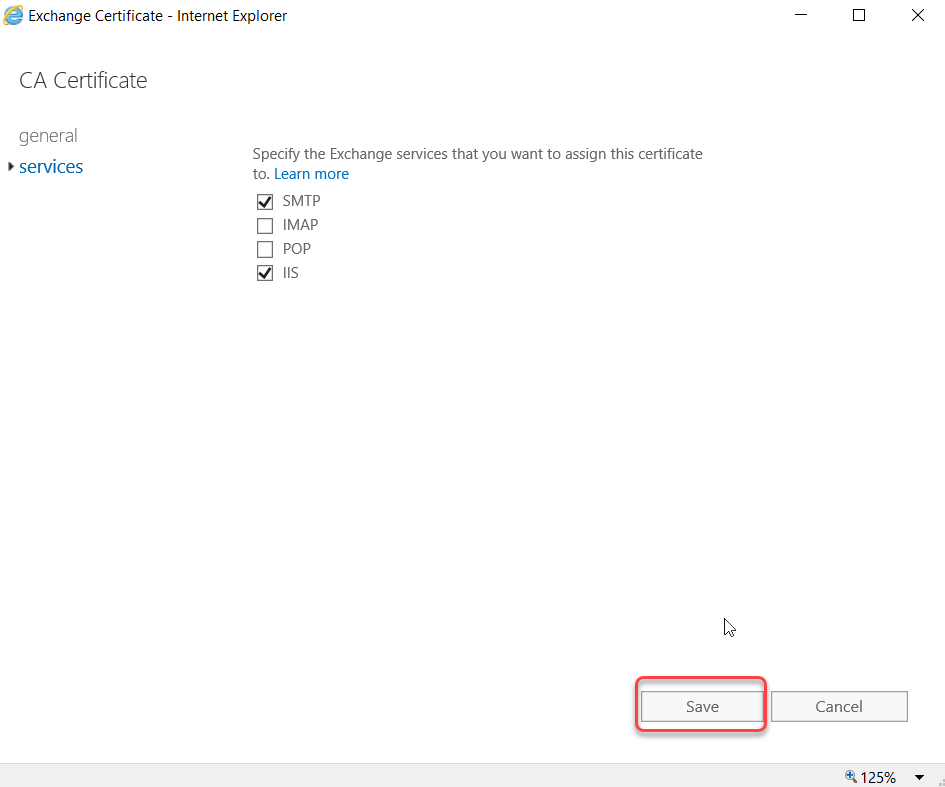
Click Yes to the confirmation message, and you would see valid in the Certificate Status.
Conclusion
In this article, we have discussed how to Install Exchange Server 2019 using Graphical User Interface and configured the server using the Exchange Admin Center and Exchange Management Shell. In my other three-part article, I have demonstrated how to migrate Exchange Server 2013 to Exchange Server 2019. I have added the link to those articles below. If you are interested in knowing how to install Exchange Server using the Command line, that article covers the installation process. You may have some questions or feedback to share with me, please click the comments below and share your thoughts. I’m so happy to answer your questions.
Migrating Exchange Server 2013 to 2019 Part 1
Migrating Exchange Server 2013 to 2019 Part 2
Migrating Exchange Server 2013 to 2019 Part 3