How to Guide Deploying Remote Desktop Services on Windows Server 2019
Preface:
Remote Desktop Services is a robust role in the windows role group. RDS is used to remote into the central RDS server or any member server or the user’s desktop computer through the RDS server using the Remote Desktop web services either on the internal network or through the internet.
This article discusses the access of the servers and desktops accessed over the internet using RD Gateway using the https port. The Servers and desktops on the on-premises can be accessed without the need RDP port 3389 opened on the firewall. Where the RDP port 3389 is the hacking target for hackers over the internet. As the https port used for the access of remote desktop, the port is usually used for most of the businesses to access the webserver hosted internally.
The Remote Desktop Services will be cost-effective when the number of users or devices accessing applications with an excessive amount of licenses needed. Also, this role is most useful where the client computers installed on the company network or home is not the latest, and the application demands such as hardware or operating systems.
We are going to delve deep into this installation and configuration on an active directory domain network with network policy server (NPS) security. We are using a public CA certificate in this demonstration and hostname assigned on the public DNS.
The following points discussed in this article. Following this article, one can install and configure Remote Desktop Services on a Windows Server 2019 and publish the RDP app to access a server or a desktop as per need on the remote desktop web app portal.
- Add Remote Desktop Services Role
- Add Server to RD Licenses and RD gateway
- Install public CA certificate to each role of RDS
- Configure RD Licenses
- Configure Remote App Collection
- Publish and Configure Remote App
- Access RD Web and Remote App
To begin with, the demonstration, let’s add the Remote desktop Roles group on the server manager and going forward to configure each component.
Add Remote Desktop Services Role
There are two Windows Server 2019 servers used on this demonstration where the first server is installed as a domain controller, and the RDS server has been joined to the domain of the domain controller, which we have added in the first place.
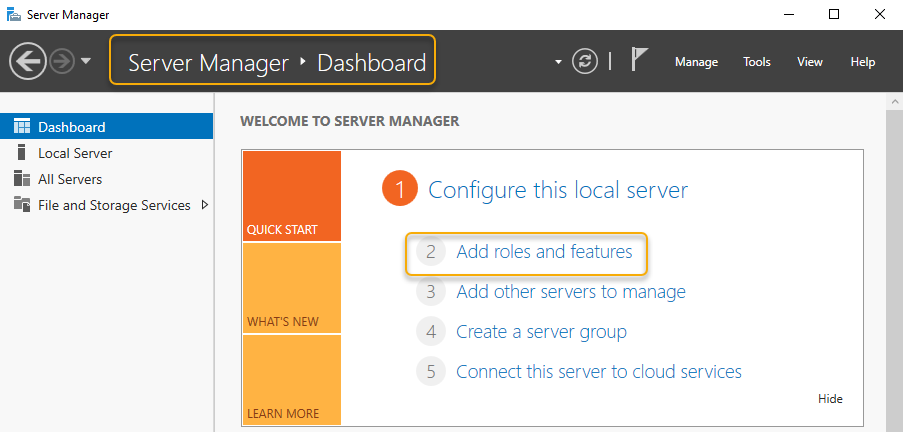
On the planned RDS installation server called remote, we are going to install the RDS role by launching the server manager dashboard and by clicking the “Add roles and features” link.
The instruction of wizard will show up on the screen, and if you don’t want to see this page on adding roles and features anymore, just check the skip this page checkbox and continue by clicking next.

The RDS Installation can be installed through Role-based or feature-based installation. Still, it requires a lot of effort as there are a number of components to be selected and configured after installation. To make life easier, Microsoft has consolidated all the component installation in one group. That installation method can be used by clicking the Remote Desktop Services installation option at the select installation type.

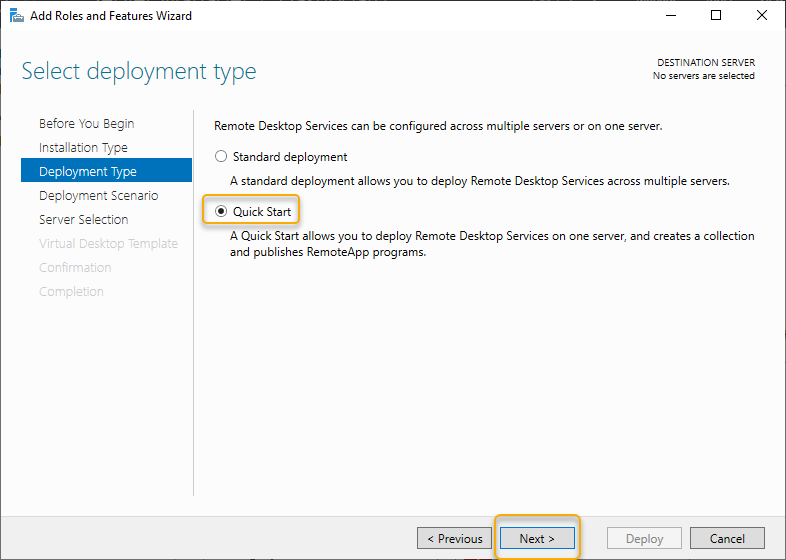
On the deployment type, select Quick Start so that all components will be installed by itself, and the Quick App Collection will be added to the Remote Desktop Services deployment. Select Quick Start and click Next.
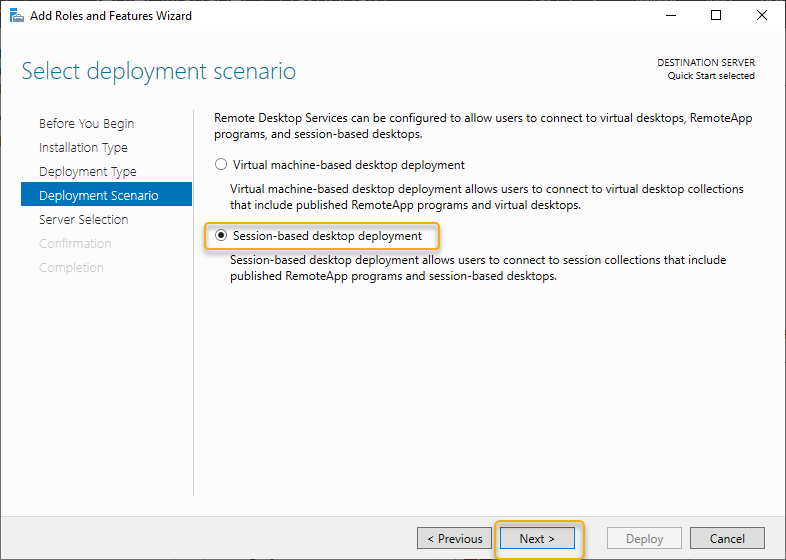
In this article, we are going to look into Session-based desktop deployment, so select session-based desktop deployment and click Next.
On the Server Selection page, select the local server where we have planned for RDS deployment and click next.

On the confirmation page, check the checkbox “Restart the destination server automatically if required” and click deploy to start the RDS deployment.
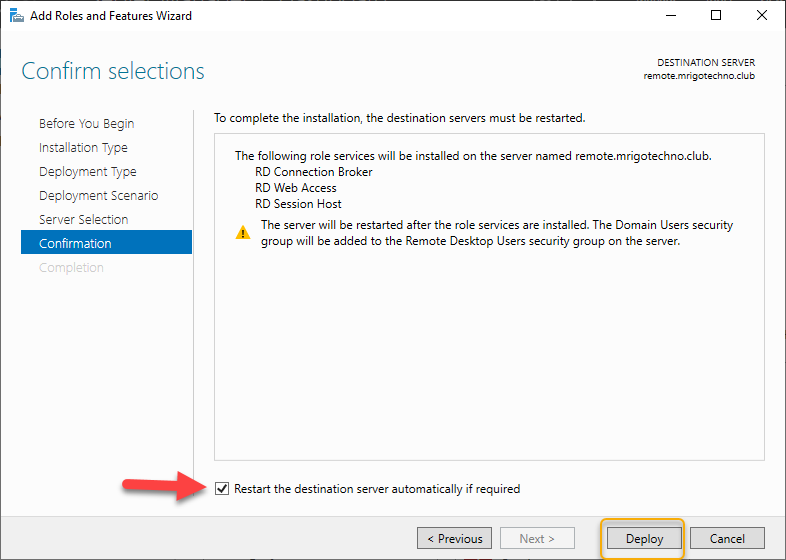
When the Deploy tab is clicked, the RDS Role installation will start installing roles, and the progress can be monitored on the popup.
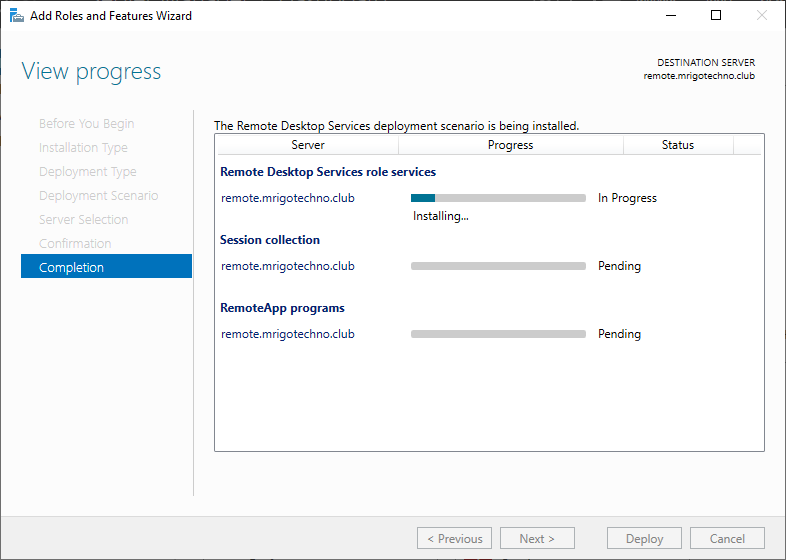
The server will be restarted in the middle of the installation. When the server restarted and logged in as the same administrator account, the installation will continue, and the progress will show succeeded on the RDS roles deployment completion.

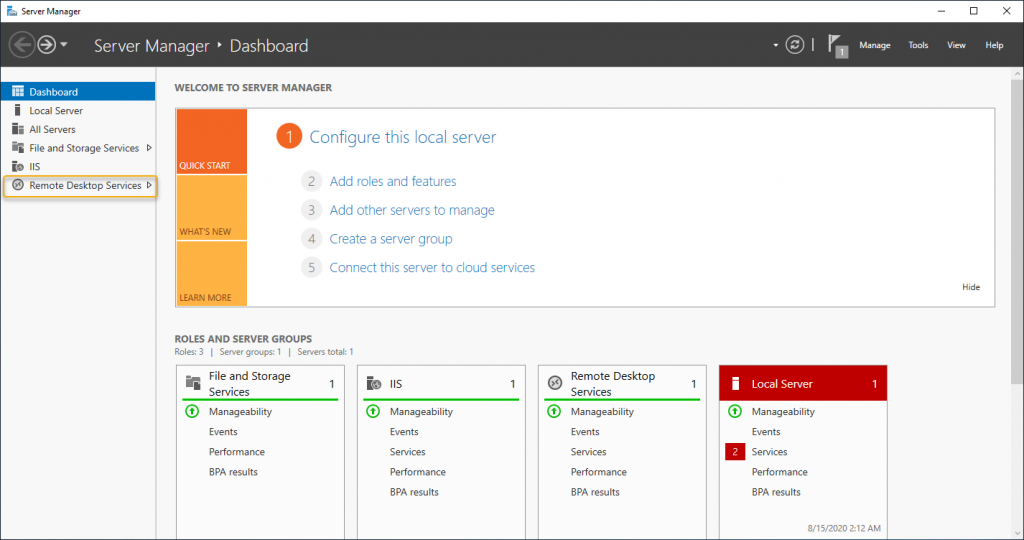
Once the Remote Desktop Services role has been added, the very next step is to configure it. On the server manager, you would find a Remote Desktop Service deployment setup on the left side navigator. Click on that, and additional configuration of this service will be available.
Add Server to RD Licenses and RD gateway
The icons in green or not configured with a deployment server, here the RD licensing and RD Gateway, are in green, and we are going to configure them in the coming up steps. Click RD Licensing, and the configuration window will show up.
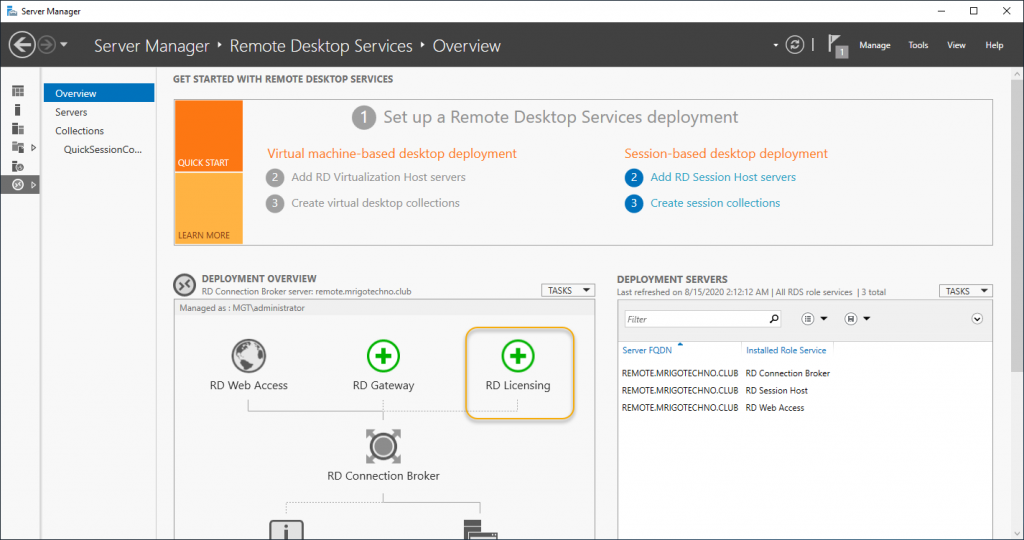
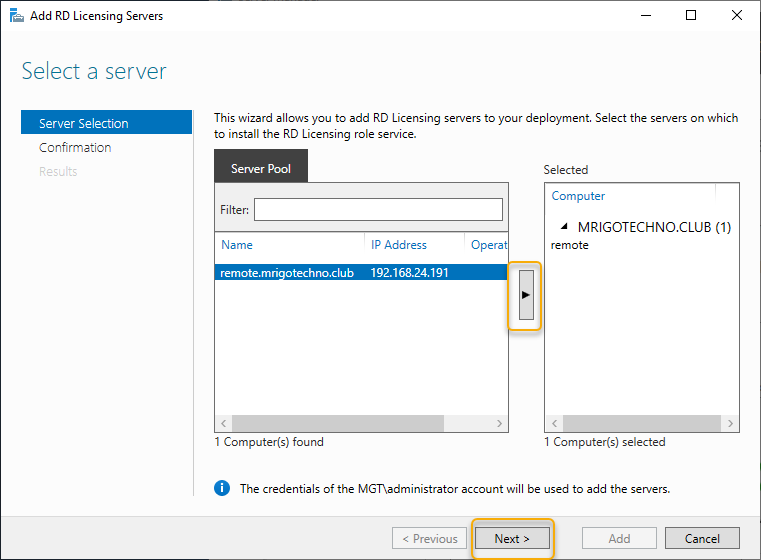
On the RD Licensing deployment windows select the server which in our case the local server and selects the server and click on the arrow next to it to deploy RD Licensing server and click Next.
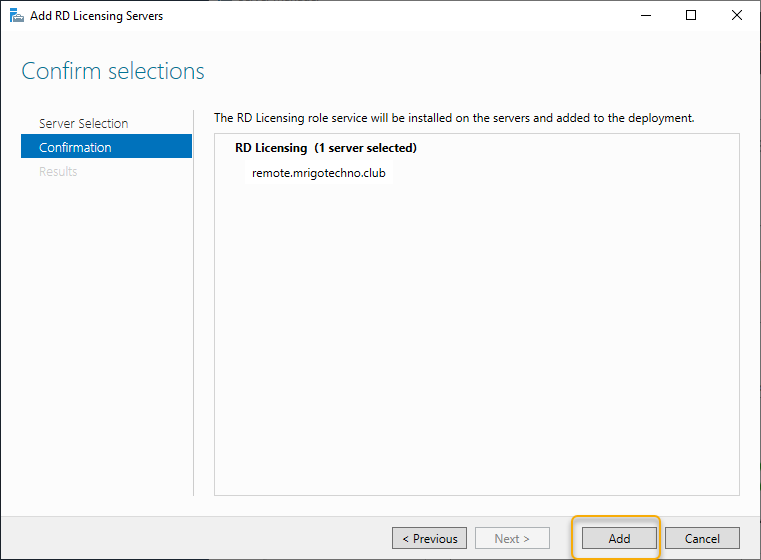
Once the RD licensing server added, the result indicates succeeded next to the progress bar. Click close to close out the RD License server deployment wizard.

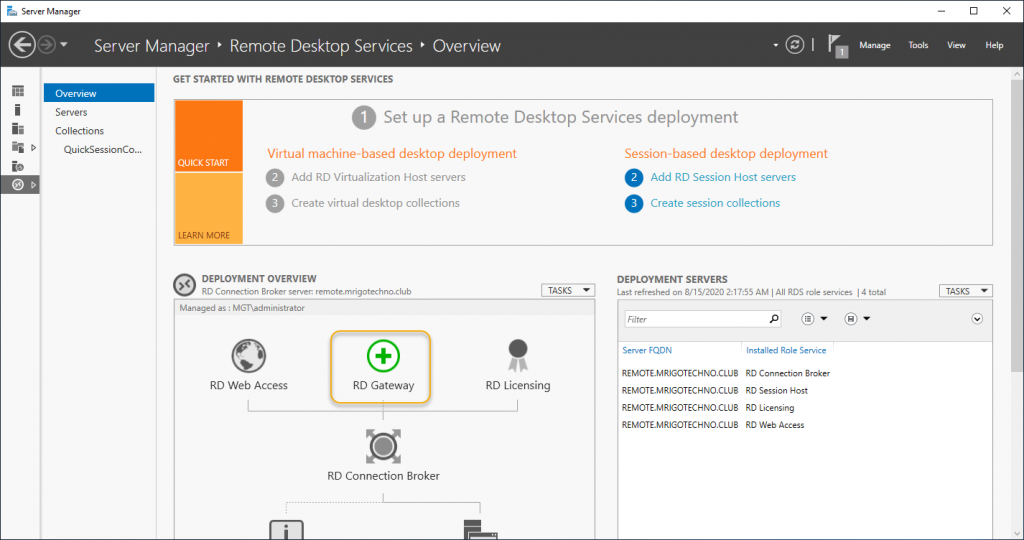
As we have already planned, this RDS server is accessed through the internet also, so our very next move is the deploy RD Gateway. Click the RD Gateway icon on the deployment overview area, which is in green, which means it has not been deployed yet. The RD Gateway deployment wizard will open, and we can deploy it with adding the server.
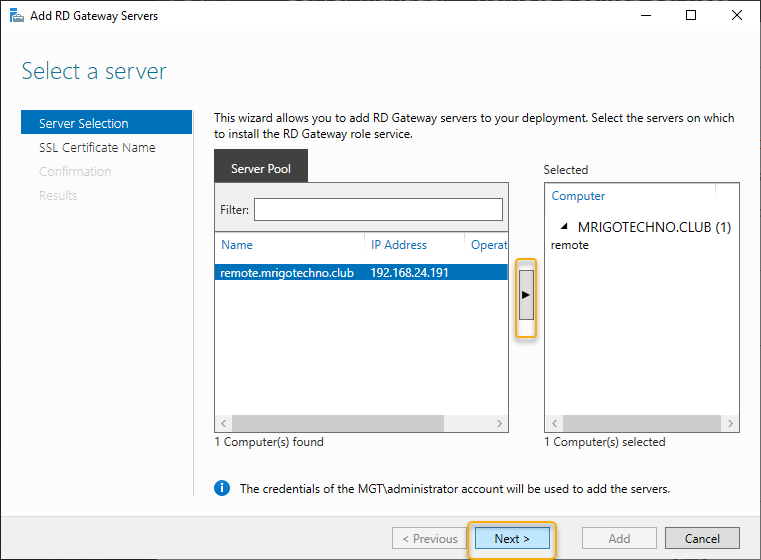
We are adding the local server as an RD Gateway server to the Remote Desktop Services by clicking the arrow in the middle of the selection, and once the server added, click next to configure SSL certificate name.
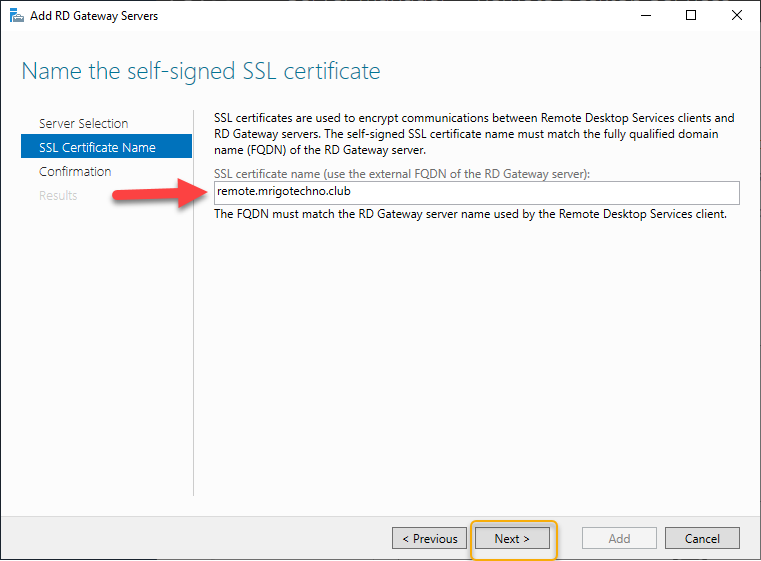
In this demonstration, I have already created a hostname under my public domain mrigotechno.club called remote, but you need to give a name that is relevant to your RDS gateway hostname and certificate pertinent to be purchased and installed on the internet information Server (IIS). Once the Certificate Name typed, click Next.
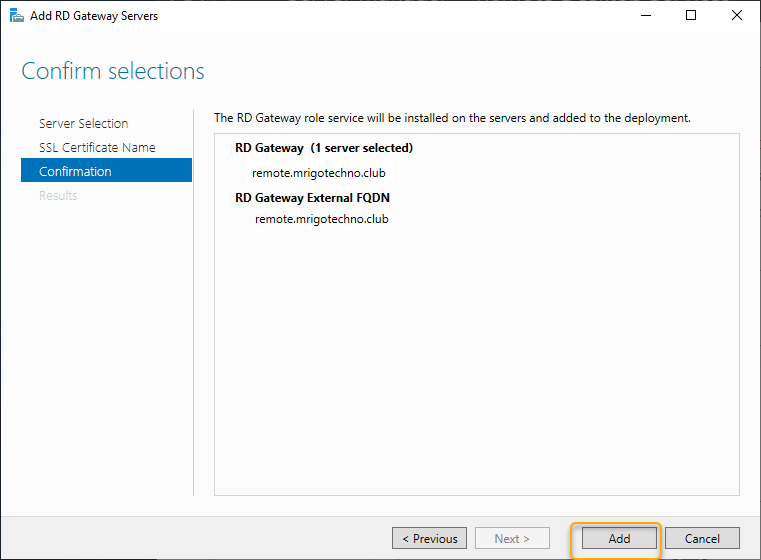
On the confirmation, click add to add RD Gateway server to the deployment. Click Add.
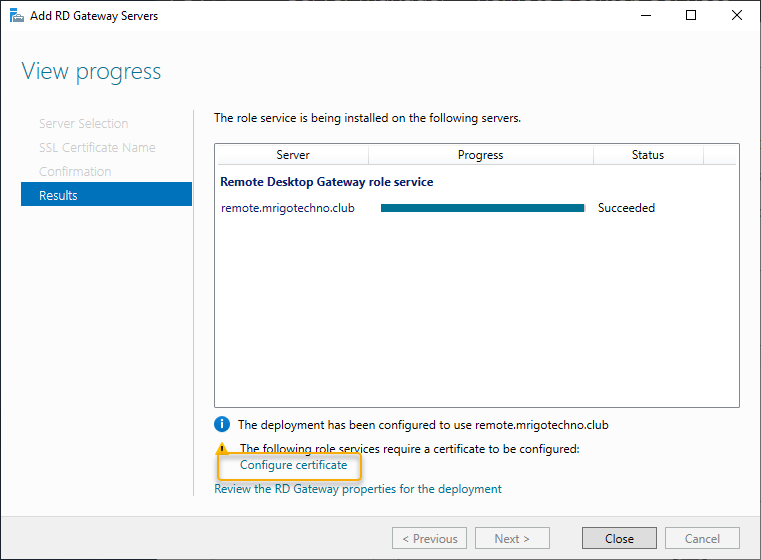
On the Results page, the progress indicator will show succeeded and click Configure Certificate to install the certificate.
Install public CA certificate to each role of RDS
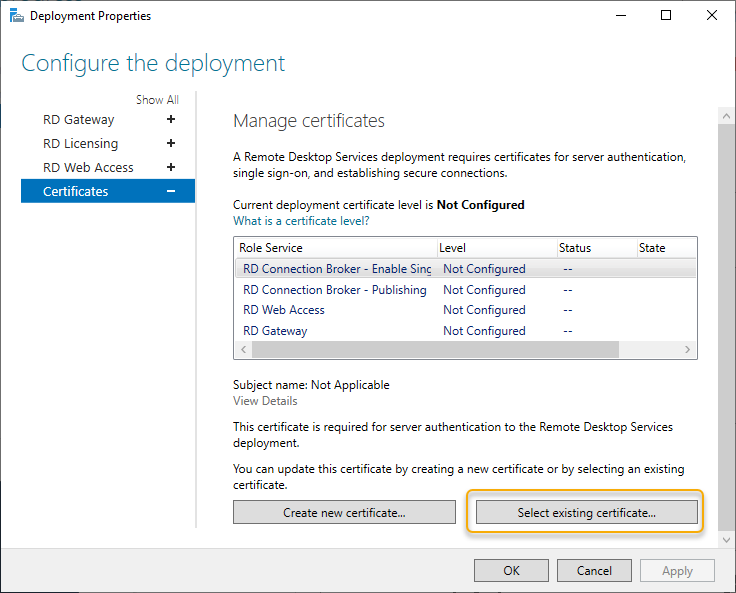
On each role services on the Manage Certificate, we need to configure the certificate, there are four roles, and we need to configure the certificate for them. I have installed the third-party CA certificate on Internet information server and export it as a pfx file format while exporting I have secured the certificate with a password. Please have your third party certificate in pfx format file and the password of the pfx file handy as we are going to apply the certificate from the topmost role and apply one by one till the fourth role.
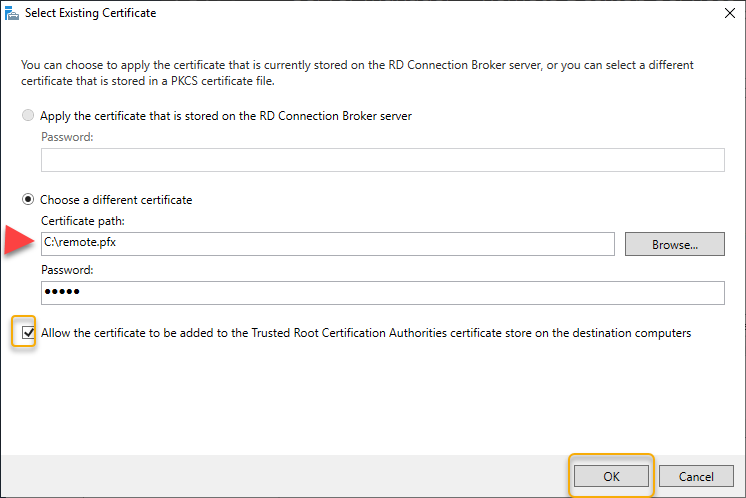
Select the first role and select an existing certificate to apply the certificate dialogue window.
On the Choose a different Certificate, click browse and select the pfx certificate file and type the password of the certificate and check “Allow the certificate to be added to the trusted root certification authorities certificate store on the destination computer.” Click OK to go back to manage the certificate window.
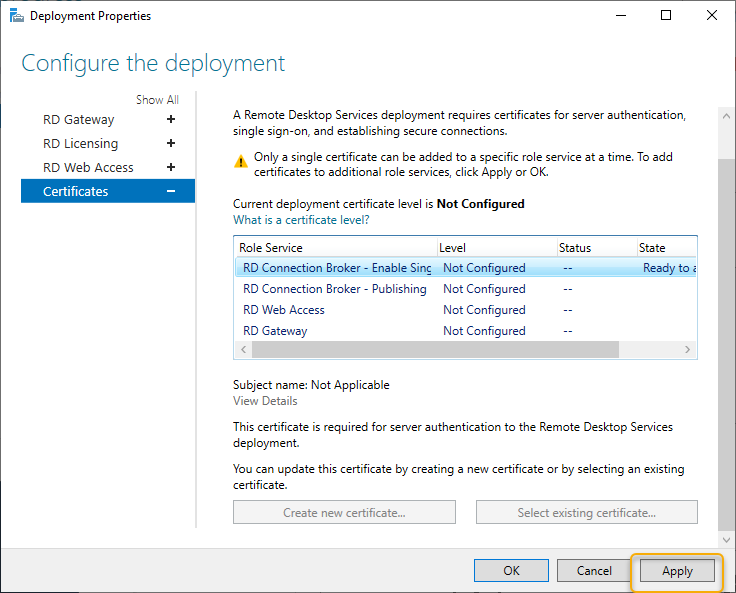
On the state of the certificate configuration for the role, you would see Ready to Apply on state column, click apply and wait to change for the level to Trusted and status to OK and the state to Success.
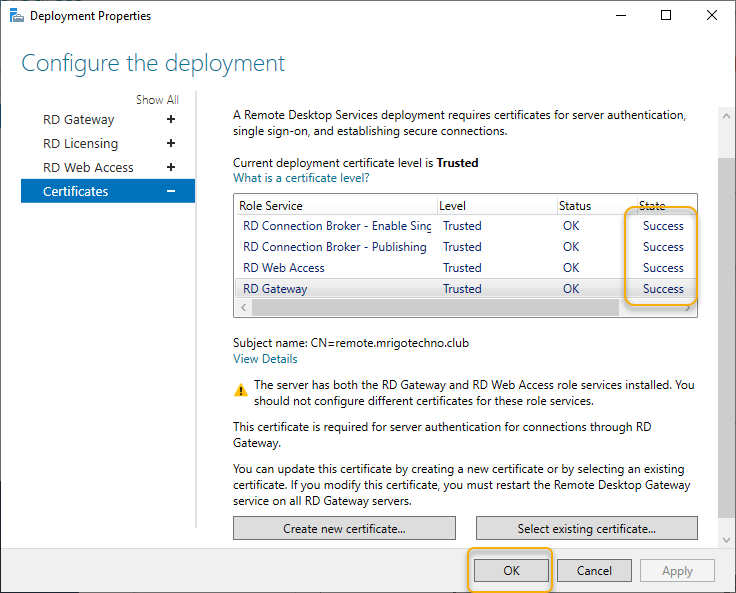
Do the same steps to apply the certificate to the next three roles, and you would see the State changes to Success as in the below screen capture. Click OK to complete the certificate Configure.
Configure RD Licenses
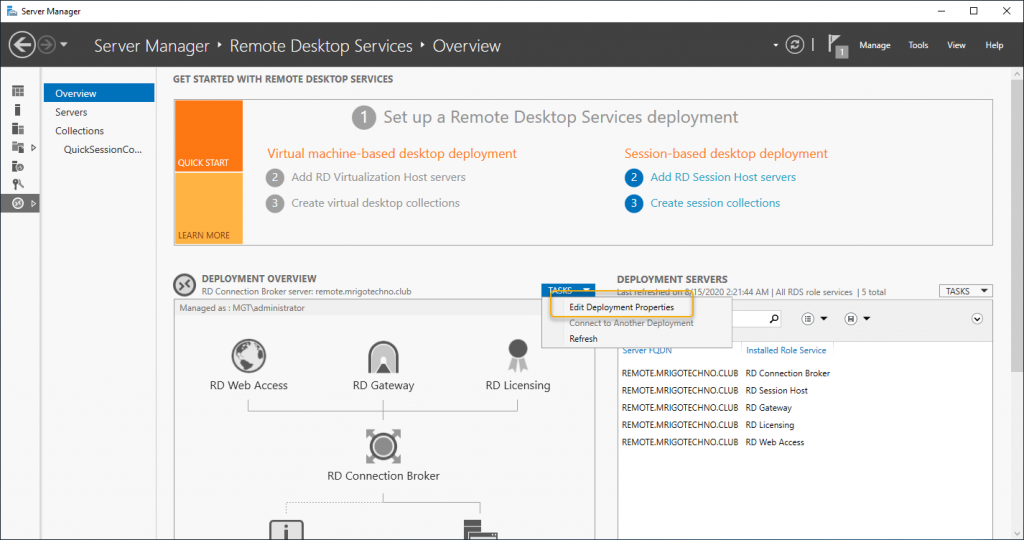
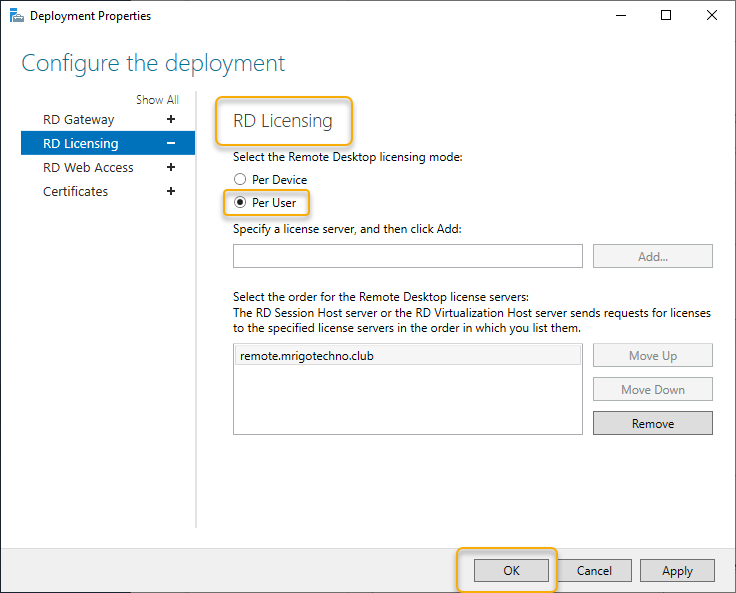
The Next step is to Edit Deployment properties, on the deployment overview click tasks, and select edit deployment propertied to start the wizard.
As we have already completed Certificate configuration, we have only edit that we need to do RD Licensing. On the RD Licensing under Configure the deployment, select the RDS Licensing mode as per your requirement in the example. I have chosen Per user, but choose the one which is relevant to your environment and click OK.
Configure Remote App Collection
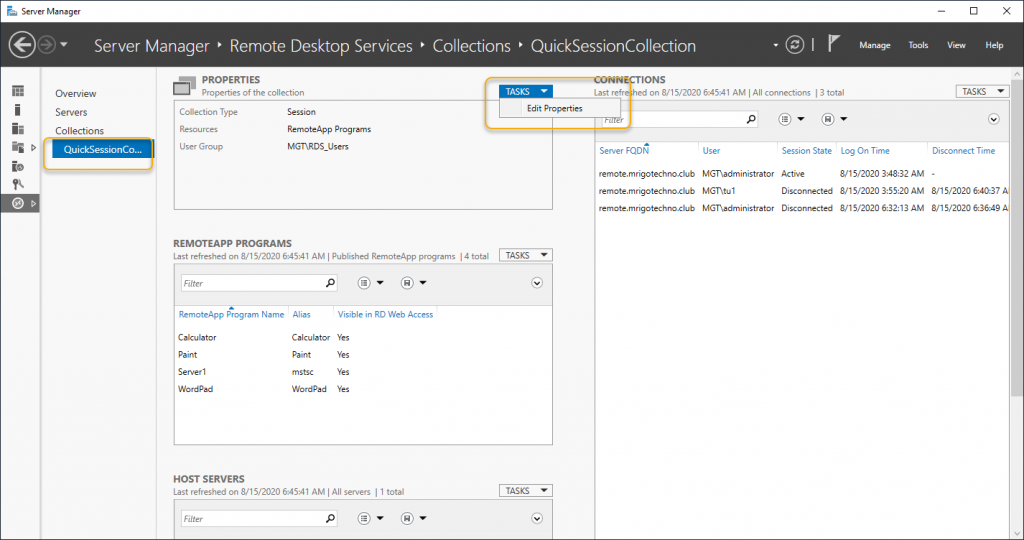
On the left side navigation on the Remote Desktop Services Setup, you would see Quick Session Collection, where the App publisher available to published App, which we would access through RD Web Access. On the Properties area, click properties and select edit properties.
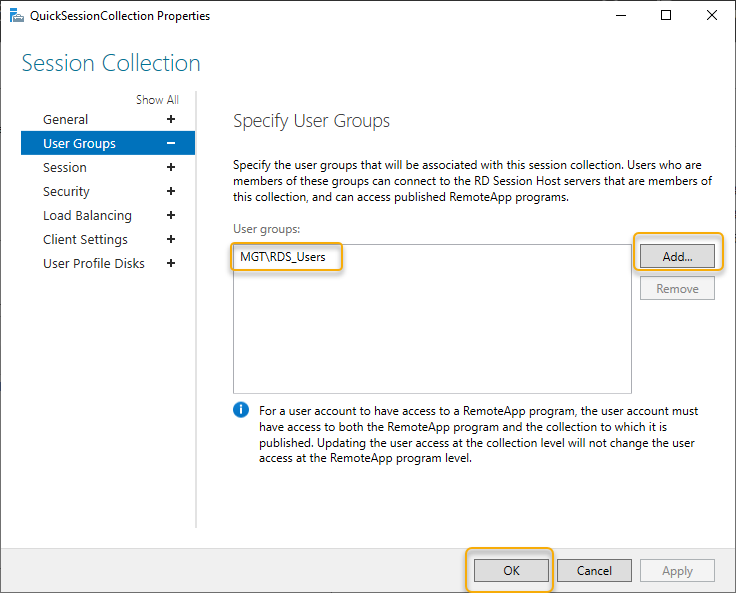
We are going to edit only one option in these properties that we are going to add the User groups to associate to this collection. I have already created a security group called RDS_Users and added some test users to it. I’m adding that group here to associate with the collection., click OK and back to the main window.
Publish and Configure Remote App
In this demonstration we are going to see how to access a member server or a user desktop from the RD web access from the internet, without opening RDP port 3389, the same steps will apply to add a user’s desktop. But make sure the member server or user desktop is enabled Remote Desktop on the system property of the computer. So I got a server on the network that can be configured to access from RD Web, we are going to configure Remote Desktop App by publishing the RDP app to the Quick Collection Apps.
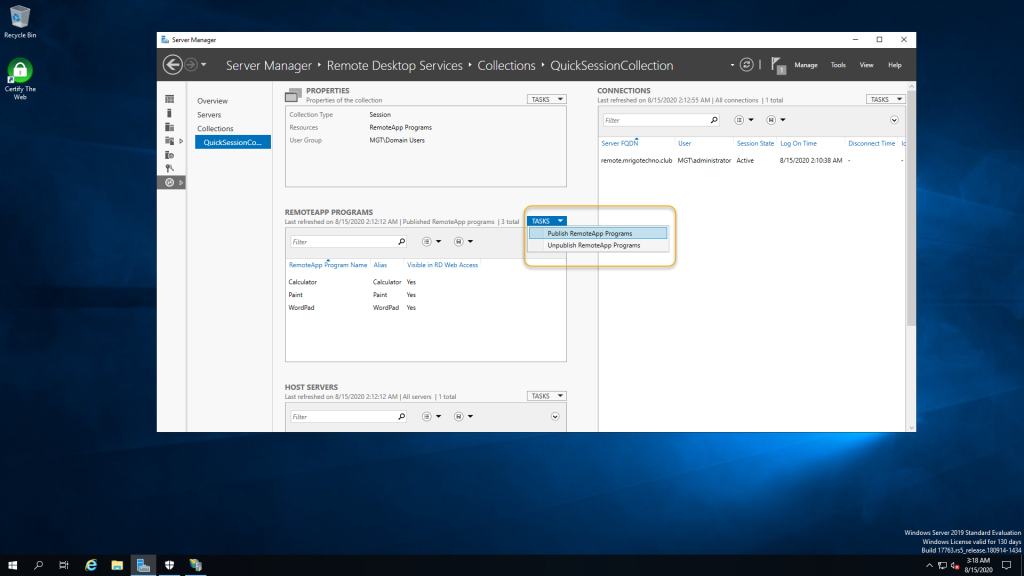
On the Remote App Programs area, click tasks on the screen below and click “Publish RemoteApp Programs.”
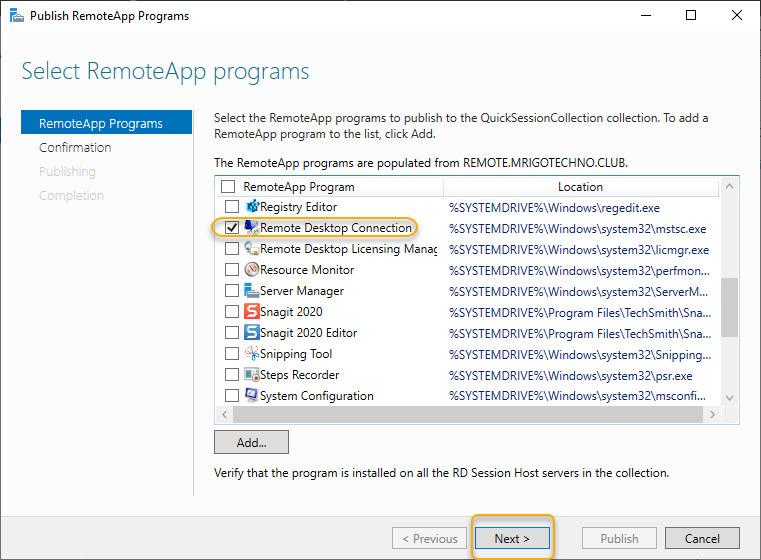
You will be presented with selecting the RemoteApp programs list and choose the App you want to publish. In this case, the Remote Desktop Connection. Select “Remote Desktop connection” and click Next.
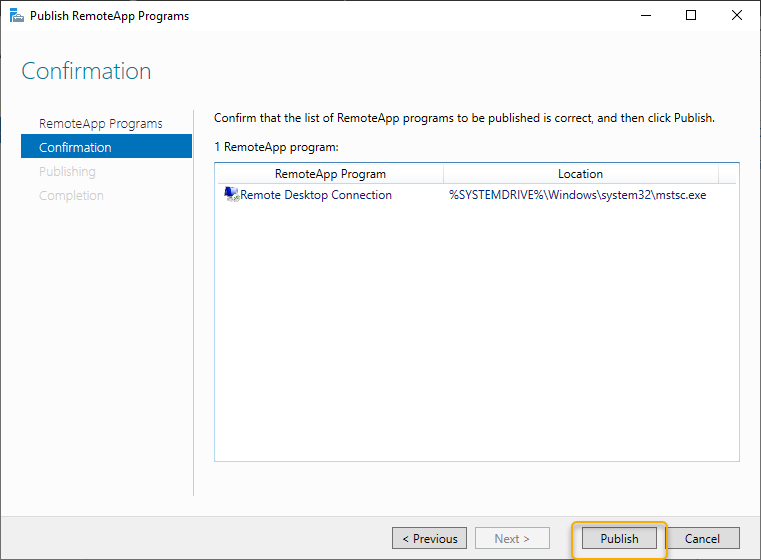
On the confirmation page, click publish.
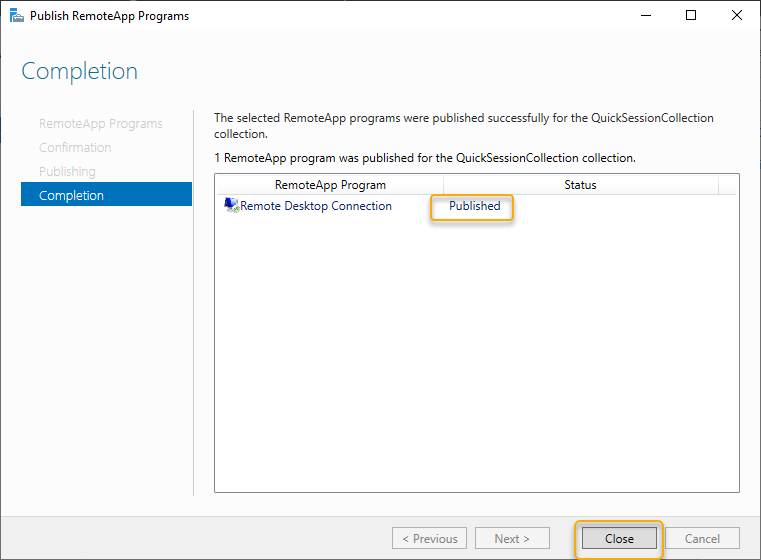
On the completion page, you would see published status message click close to go back to the main window.
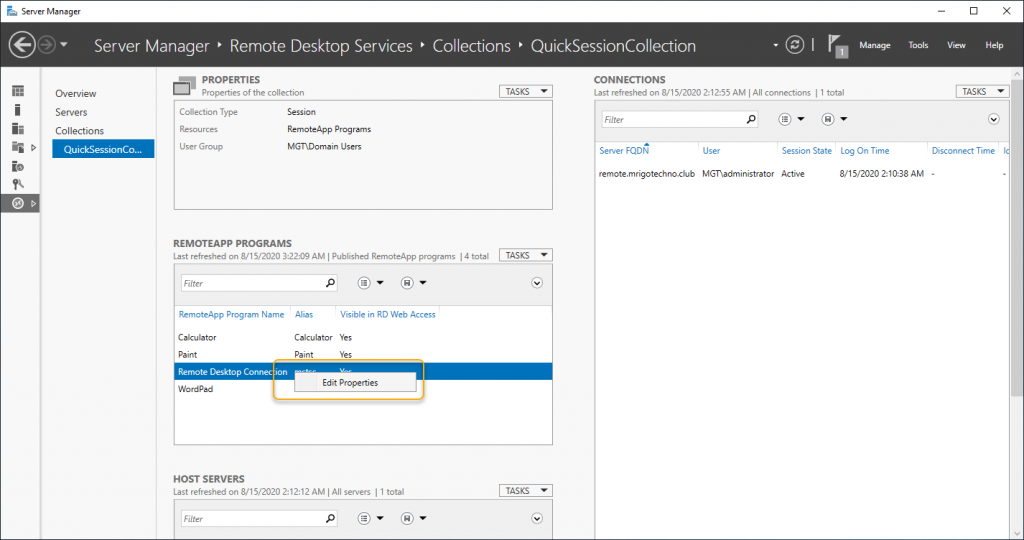
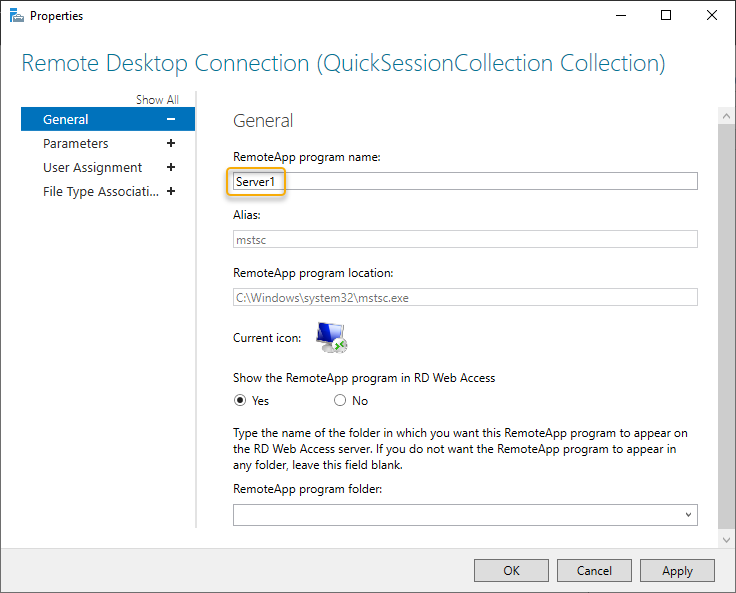
On the Remote Desktop Connection RemoteApp that we just published right-click and select edit properties to configure the properties of the App.
On the General page, type a name that is appropriate for the RDP Connection Computer. In this case, it a server called server1, so I type the name server1 on the name box.
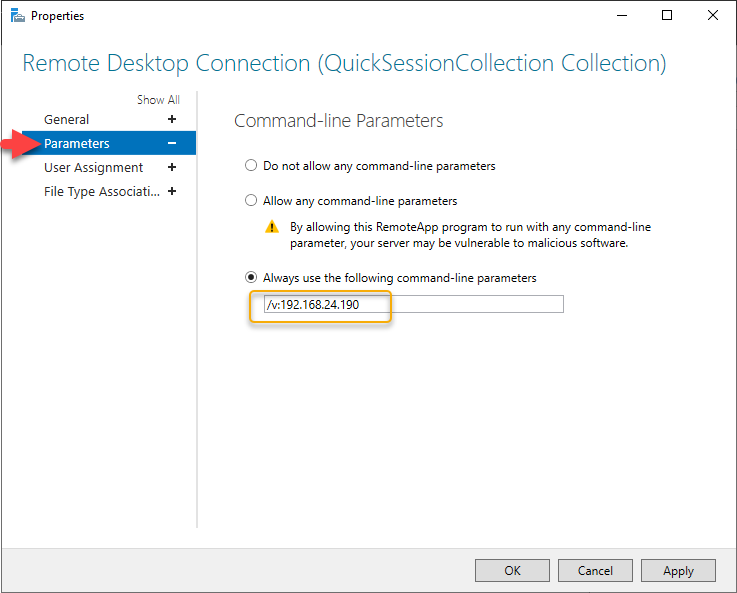
The next page is parameters, on the parameters page, click “Always use the following command paraments” radio button and type the IP address of the server or desktop to which the RDP connection to be established. In this case the private IP4 address of server1 is 192.168.24.190. The correct parameter value is /v:192.168.24.190. Replace the IP address with the one of the servers or Desktop IP address on your network.
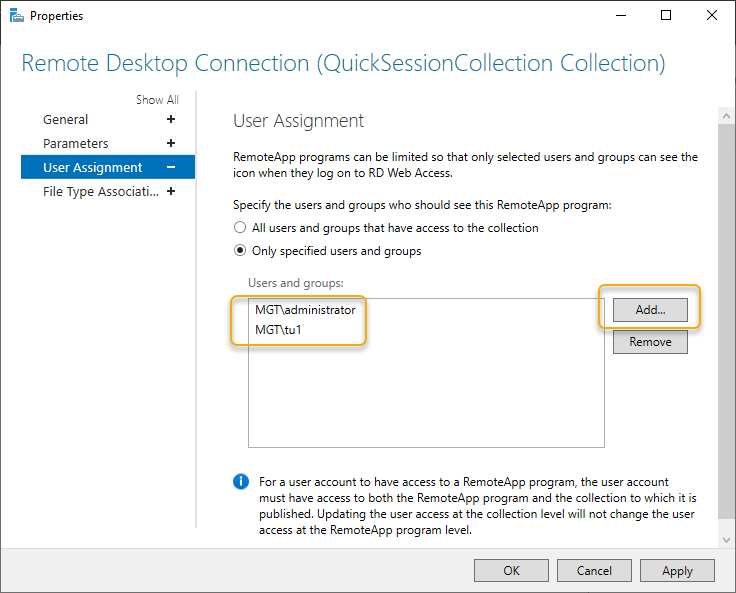
The next item is User Assignment, add the user account to which users need to find this Remote App program that has to be visible on the RD Web Access login. Click add and choose the relevant user or group.
On the next page, leave the file type association with default setting and click OK.

Access RD Web and Remote App
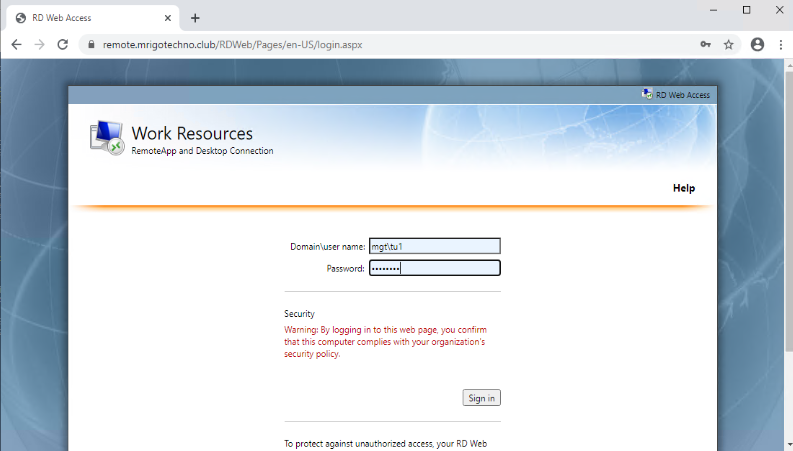
We have completed all RDS configuration and moving on to the RD Web portal to login to the portal and access the apps assigned to the use. The URL for the RD Web is https://remote.mrigotechno.club/rdweb
Replace the remote.migotechno.club with the one you have configured for your environment.
Type the username and password with the domain\user format and password of the user and click Sign In.
The portal will show the web resources, the Remote desktop connection app that we have configured with the name server1 is available for us to access from the RD Web access login. Click Server1 and follow the login screen.

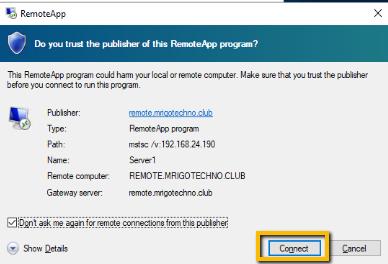
Click connect on the notification popup.
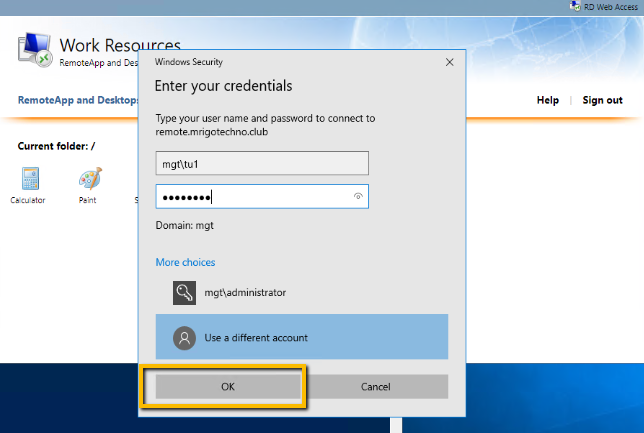
On the security login dialogue, type the user name and password of the user and click OK.
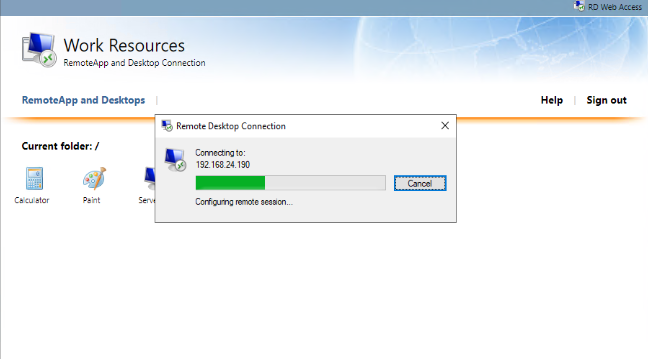
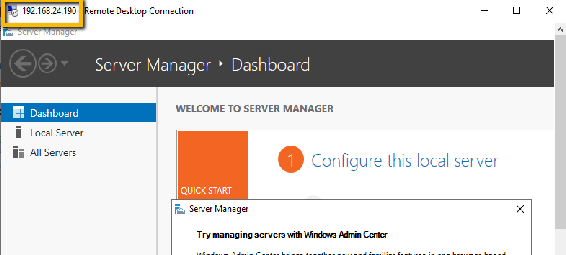
The RDP connection is remote into the server1 computer, as shown below.
The RDP access is successful to the IP address 192.168.24.190, and this concludes our demonstration.
Conclusion
In this article, we have discussed and gone through the demonstration of deploying Remote Access Services on Windows Server 2019 elaborately. You can follow the same step and deploy Remote Desktop Services on your lab or production environment.
I have demonstrated other roles of Windows Server 2019 in Get An Admin article. You may have some questions or feedback to share with me, please click the comments below and share your thoughts. I am so happy to answer your questions.